Kulinary Adventures of Kath

Food Photography, Recipes & Baking
  • home
  • About
  • Work with Kath
  • Shop
  • Blog
    • The Blog
    • Recipe Archive
  • Newsletter
  • Contact
  • home
  • About
  • Work with Kath
  • Shop
    • The Blog
    • Recipe Archive
  • Newsletter
  • Contact
Raspberry Pistachio Rose Cake (23 of 25).jpg

The Blog

Recipes and Food Photography by Kath Vincent.

  • The Blog
  • Recipe Archive
  • All
  • Biscuits/Cookies
  • Breads Etc.
  • Breakfast
  • Cakes & Slices
  • Confectionary
  • Drinks
  • Events
  • Food Photography Tips
  • From The Mailing List
  • Heirloom Recipes
  • Holidays
  • Ice Cream
  • Jams Preserves & Spreads
  • Muffins
  • Off the Shelf
  • Other Desserts
  • Savoury Dishes/Meals
  • Scones
  • Tarts & Pastry
  • Travel
Best Cookbooks of 2024

The Best Cookbooks of 2024

Kath February 5, 2025

I’m not sure how we’re here again, but somehow it’s time to talk about the best cookbooks of last year!

There were a lot of new cookbooks last year, quite a few in the baking category especially. Below are my top picks from everything that was released in 2024 (that I have in my collection anyway), these are the books I’d recommend adding to your collection if you haven’t already.

If you’d like to see reviews of these and other cookbooks from 2024, check out my newsletter archives here, more reviews here on my blog. Sign up to my newsletter to get content like this in your inbox regularly.

Let me know in the comments below what your top choices from the cookbooks released in 2024 are!

Sift by Nicola Lamb

Sift: The Elements of Great Baking by Nicola Lamb (Ebury Press) - 2024 gave us a few new baking books, all good in their own right and all very different too, but I think Sift is the stand out. The level of research and generosity of information in here is astounding. It’s technical without being inaccessible or boring, plus the recipes vary in simplicity and complexity meaning it’s a book that could be used by many. This is the book to get if you want to learn more about baking.

Bethlehem by Fadi Kattan

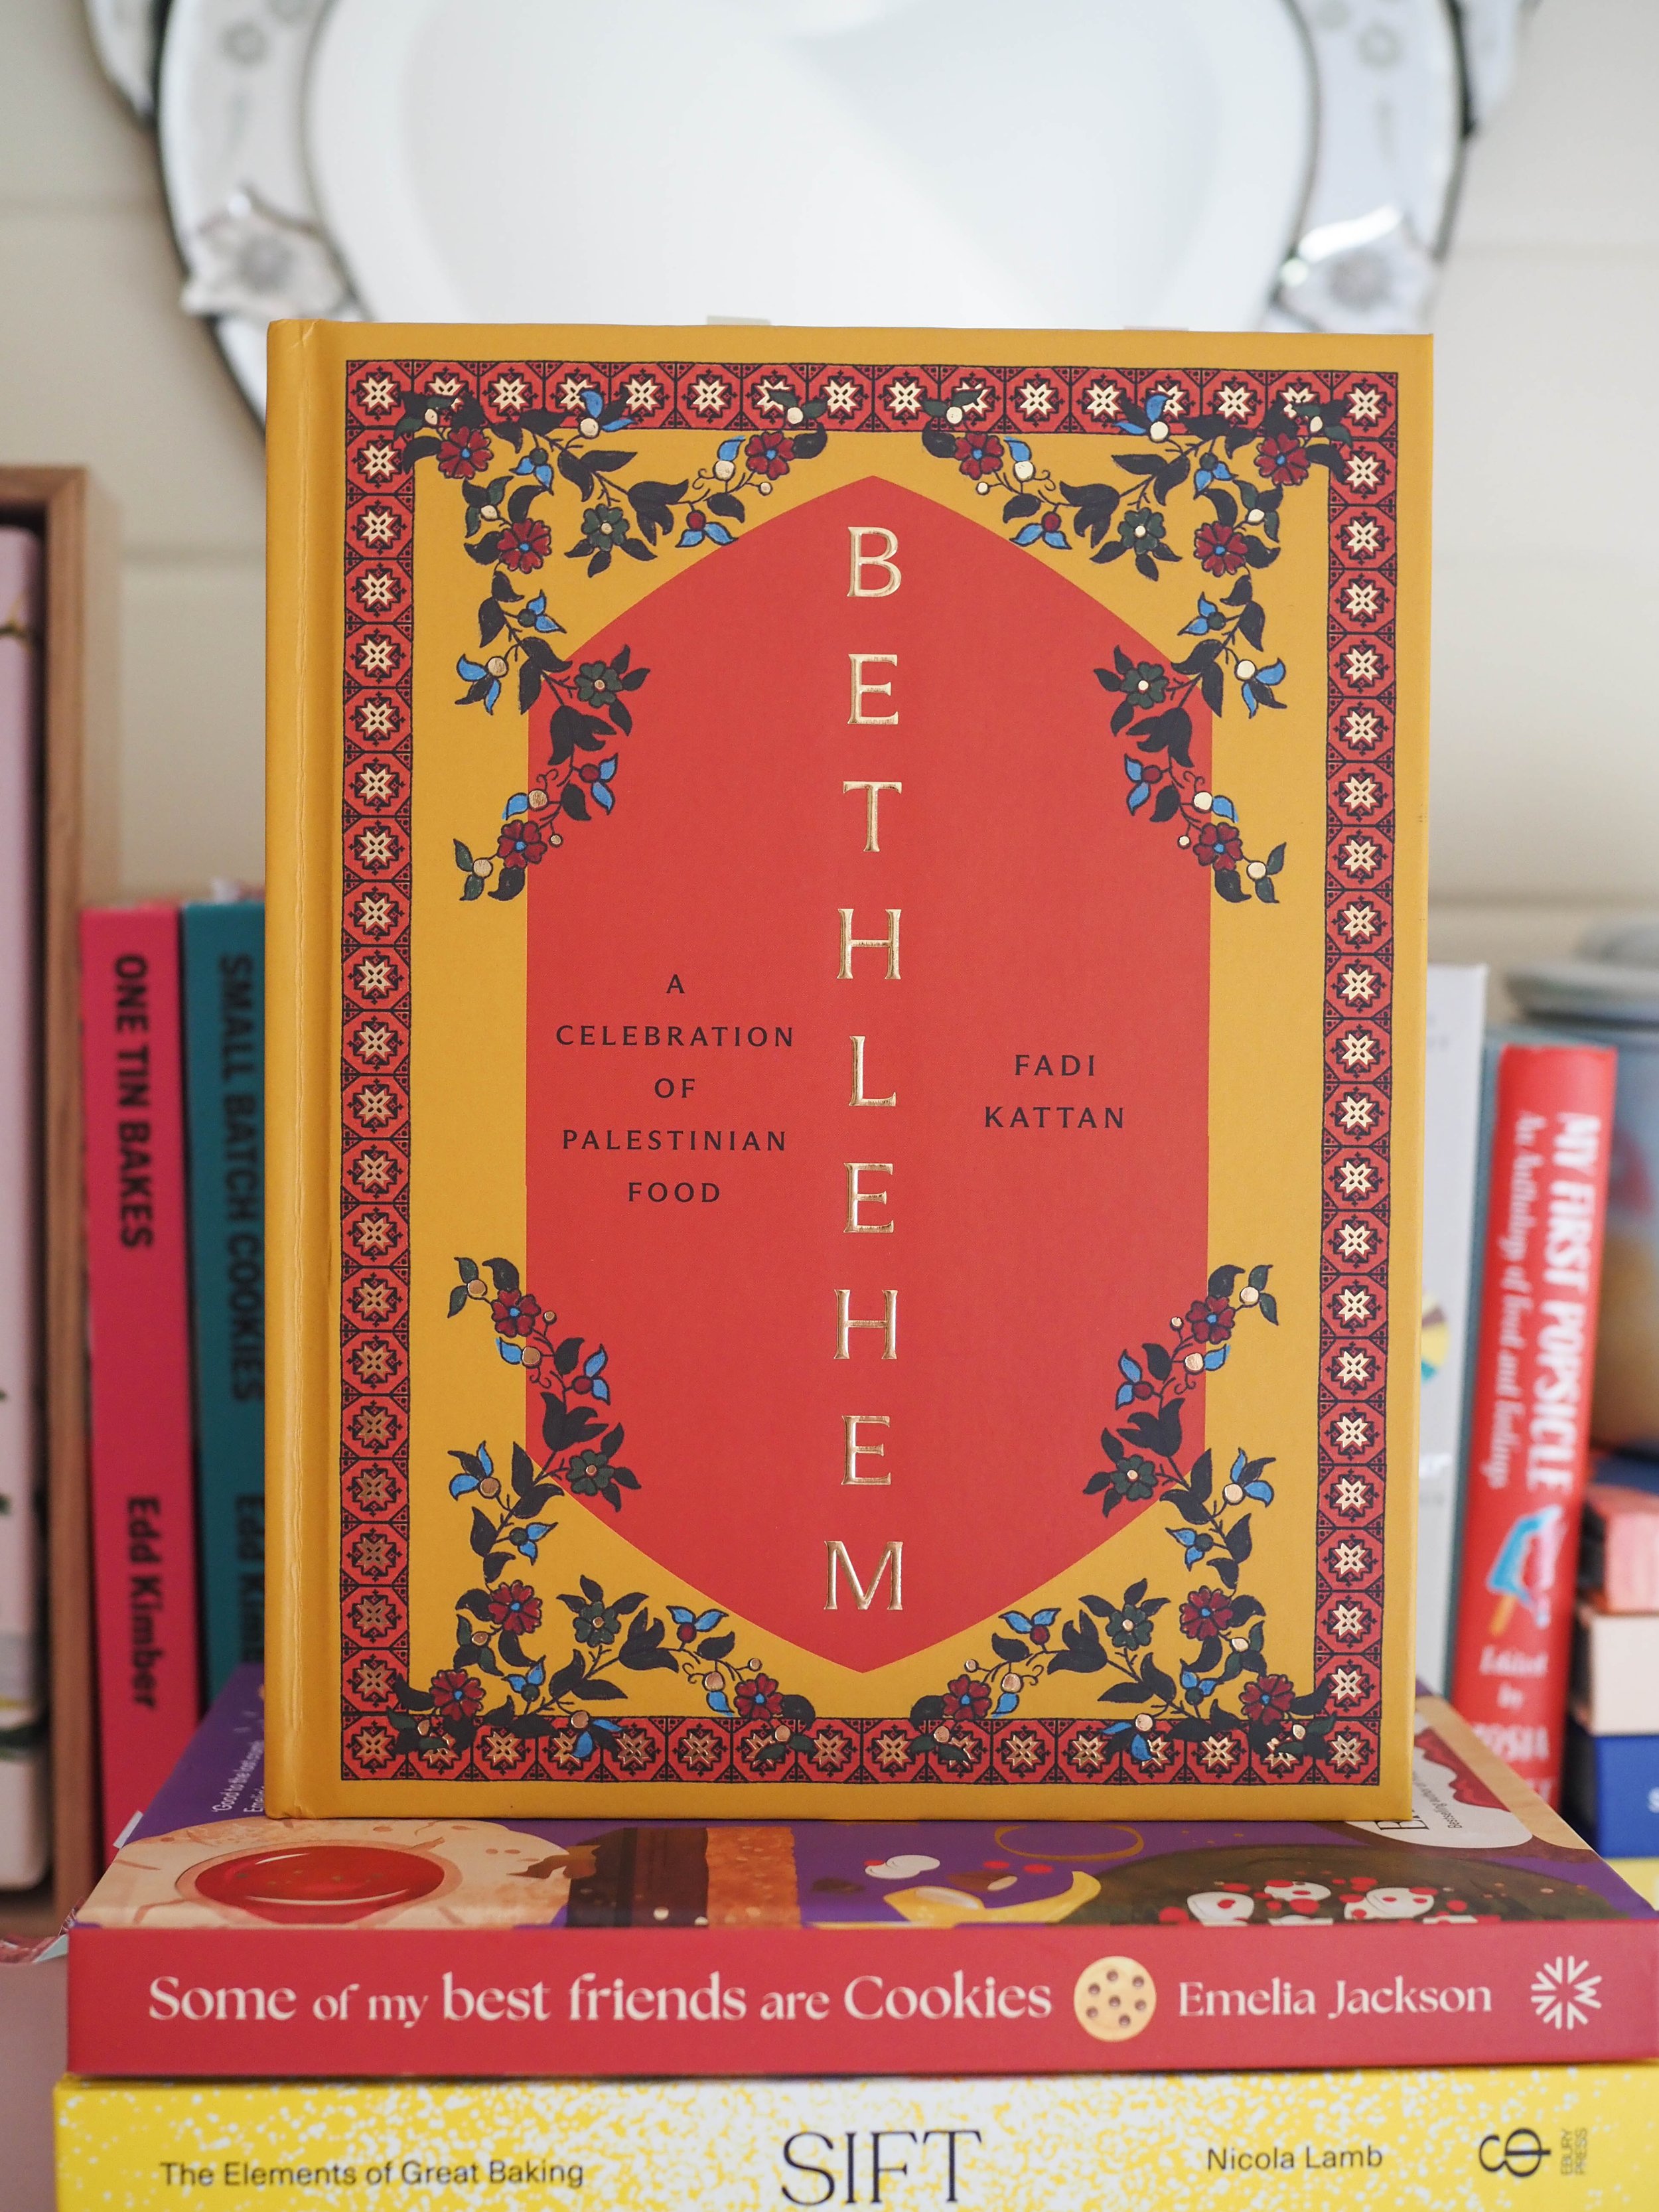
Bethlehem by Fadi Kattan - I am not alone in my feelings about this book. I have seen others say they think it is one of the best of 2024, and I wholeheartedly agree. The generosity and care Fadi takes us through the food and recipes of Bethlehem, often through his own families stories and recipes, is something few other books can compare to. Cookbooks with a story always appeal to me, however Bethlehem is not just a cookbook with a story, it is a book with heart and soul. The photography is also excellent, and the cover design stunning. A book everyone needs on their shelf and in their kitchen. 

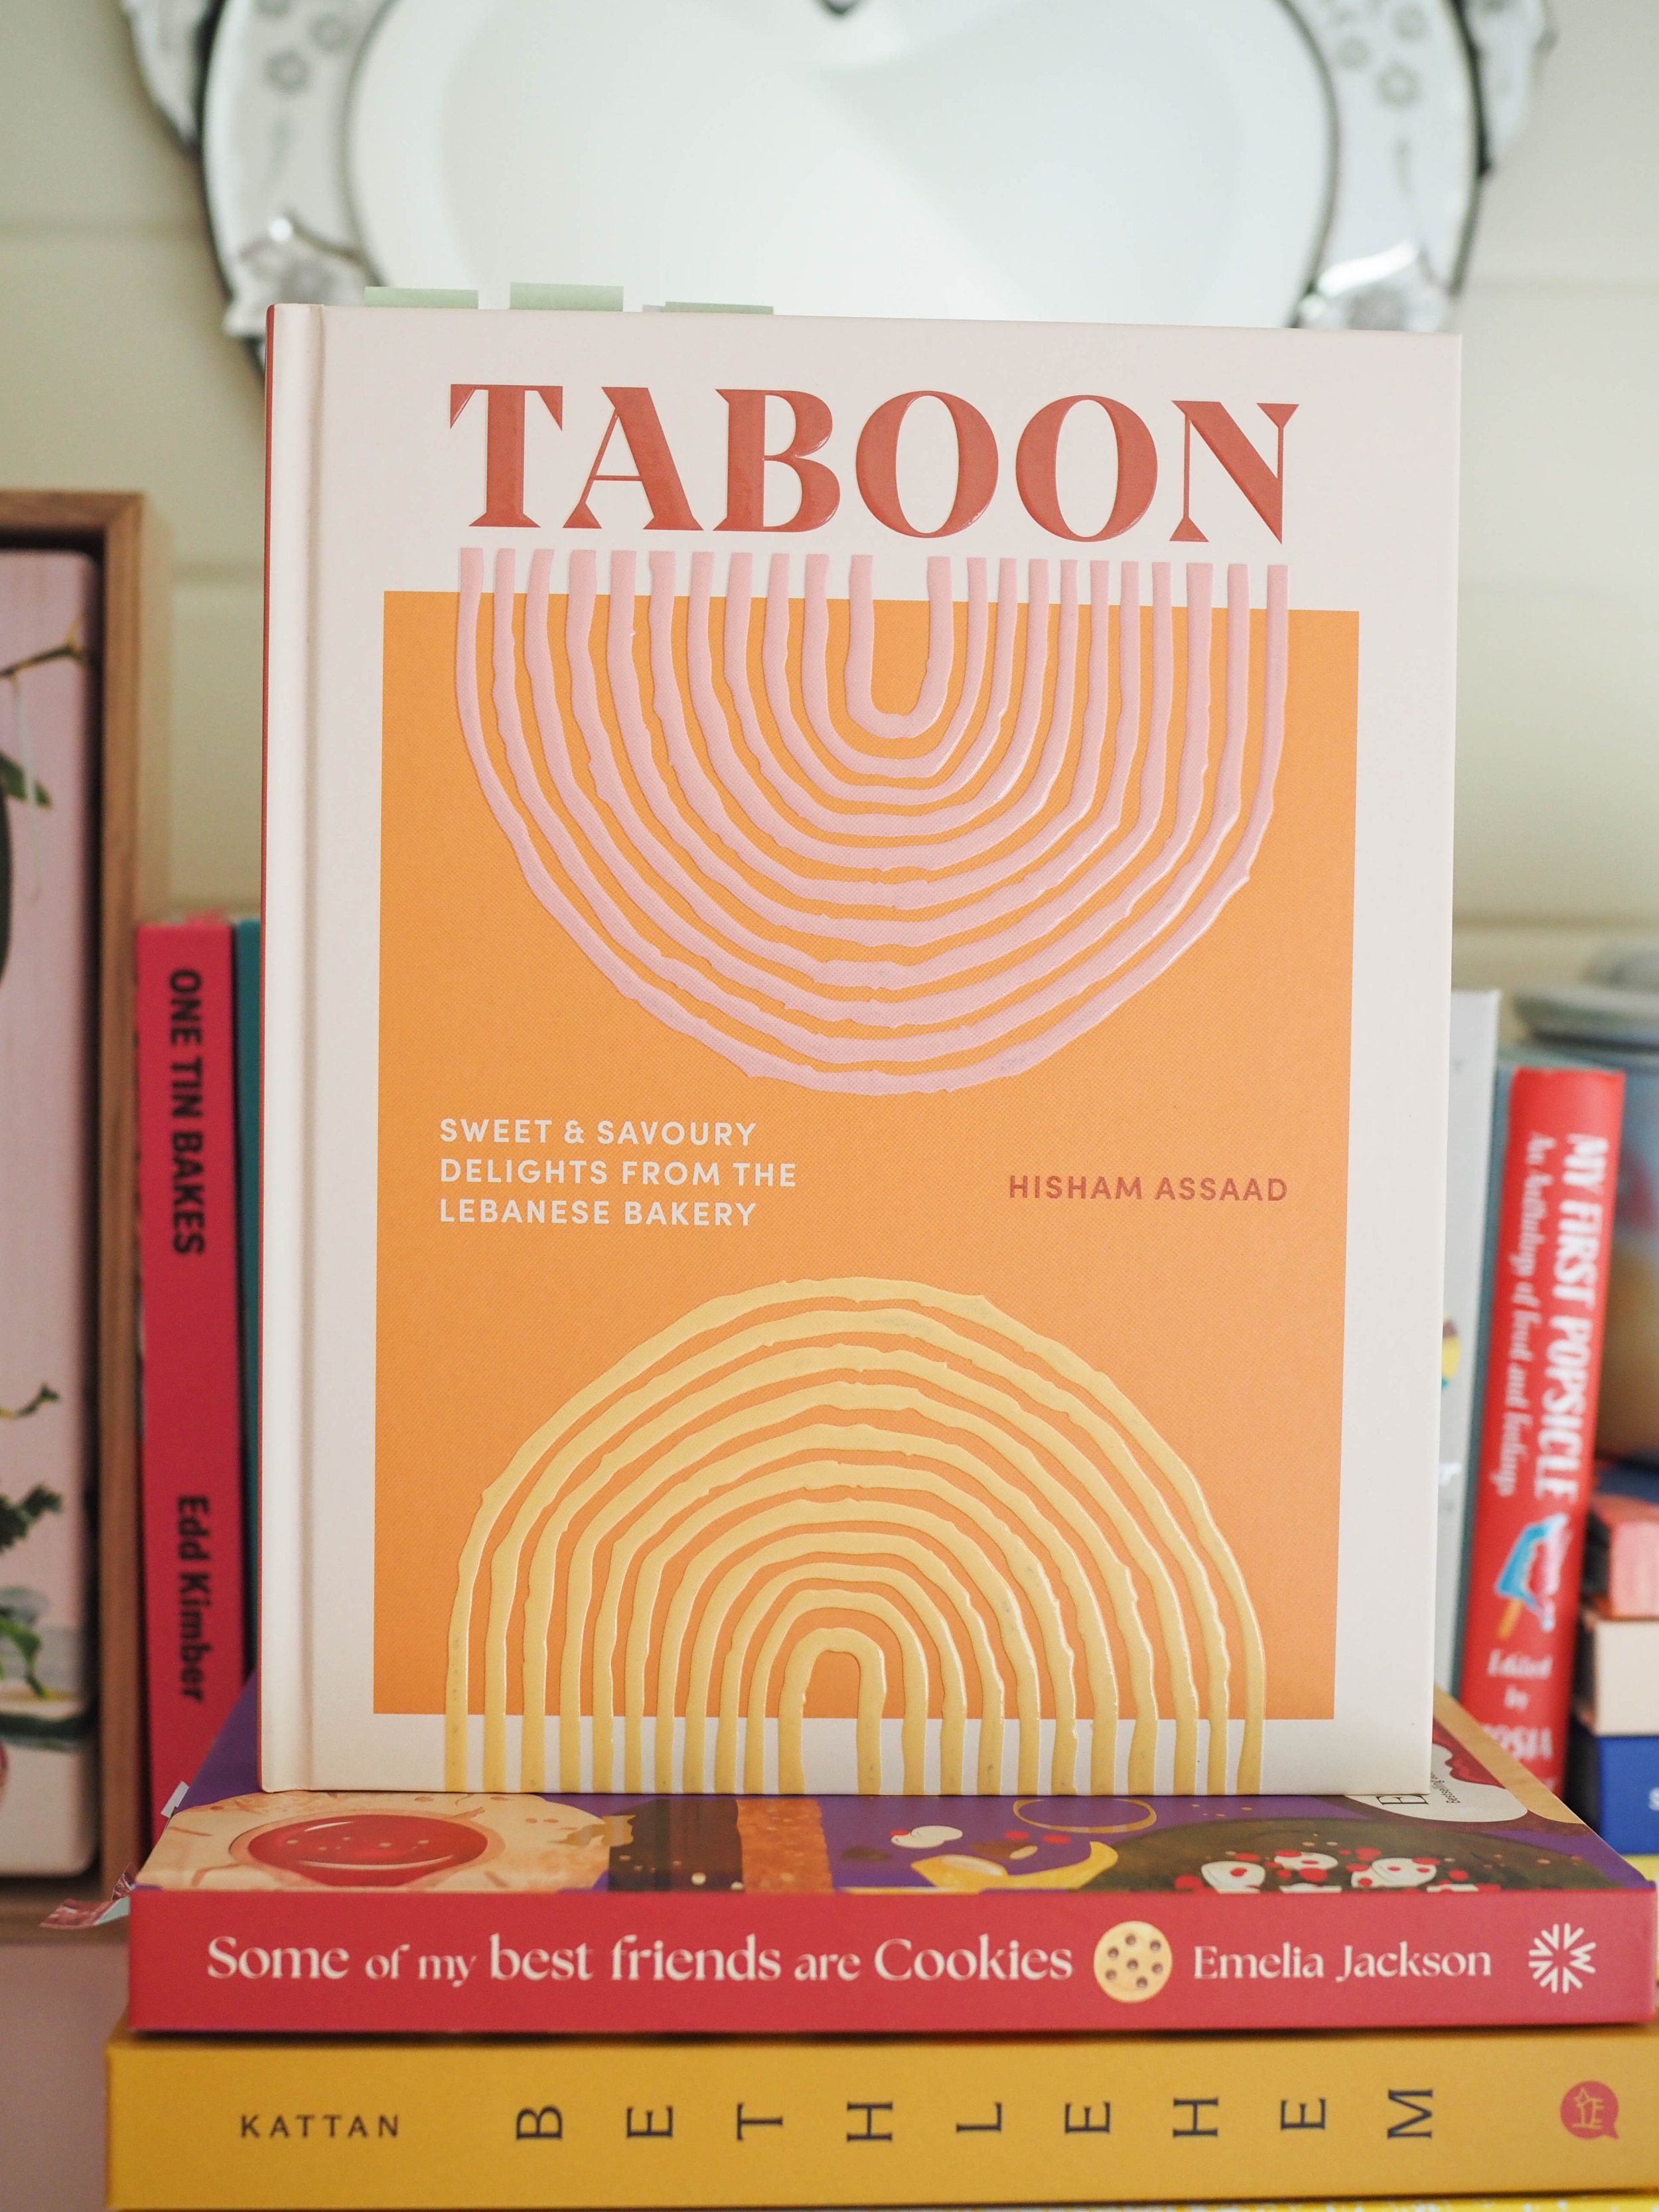
Taboon: Sweet and Savoury Delights from the Lebanese Bakery by Hisham Assaad (Smith Street Books) - Maybe one of the few cookbooks from 2024 that can compare to Bethlehem by Fadi Kattan, is Taboon. A similar vein of generosity, sharing and welcoming can be felt from this book. Focusing on the baked goods of Lebanon, especially through the lens of the displaced Palestinian community there, Taboon captures the recipes and stories around these foods in a way that is inviting and personal. There are many interesting recipes to try, both sweet and savoury, plus the photography is beautiful and engaging, as is Hisham’s writing. I don’t have Hisham’s first book Beyrut, so I don’t know how it compares to that, however I am hoping to rectify that situation as soon as I can!

Some of My Best Friends are Cookies by Emelia Jackson

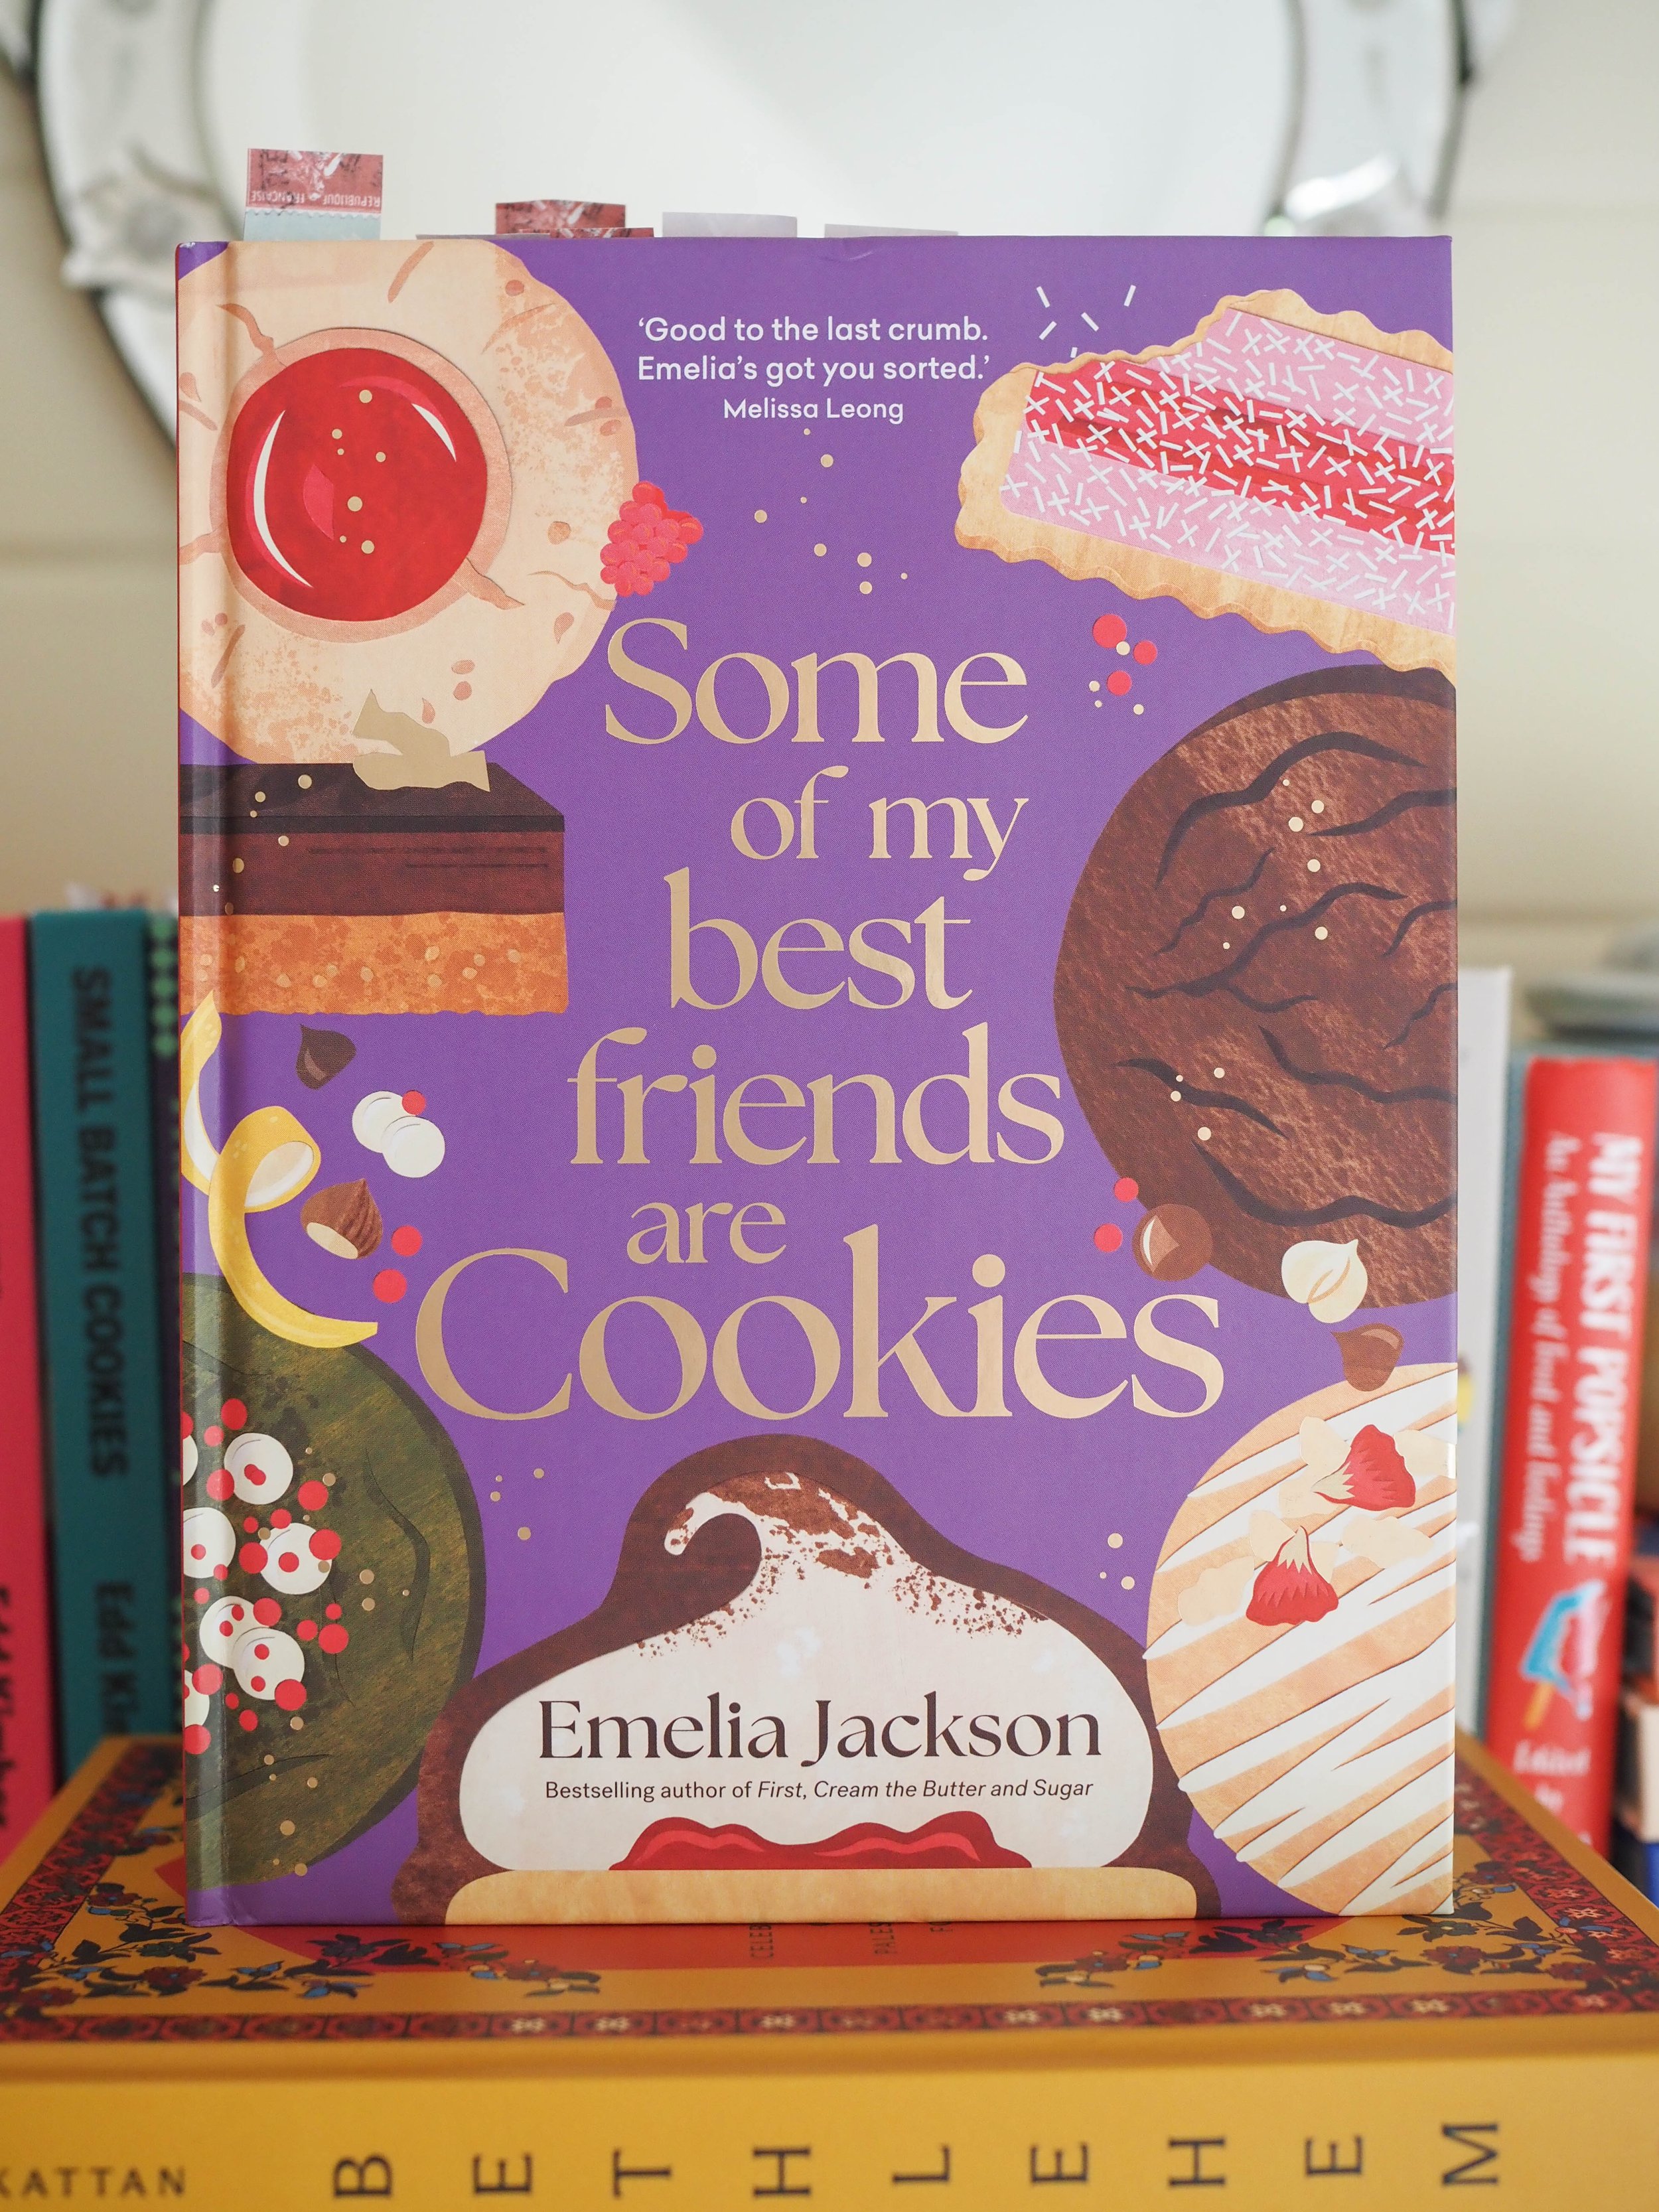
Some of My Best Friends are Cookies by Emelia Jackson (Murdoch Books)*- I was a little skeptical about Emelia’s second book, not being the biggest fan of her first (which I am aware is a minority opinion!), but Some of My Best Friends are Cookies is so fun, and the initial explanation about the use of the word ‘cookie’ (sometimes mildly controversial in Australia) set me at ease quickly. I really enjoyed the way the book is divided up into sections, and Emelia’s clear love for biscuits and cookies is evident on every page. 

There is a great variety of recipes here too, something I think some baking books lacked in 2024. There are only so many cookbooks I can house, especially of the kind that are lovely and beautiful, but don’t contain many recipes I will actually make. Some of My Best Friends are Cookies is the antithesis to this (as is Sift above with regards to baking books), with baking cookies and biscuits in and of themselves being often smaller baking projects than their layered cake counterparts only adding to the usefulness of this small but mighty book. 

*Many thanks to Murdoch Books for gifting a copy of Some of My Best Friends Are Cookies to me.

In Off the Shelf Tags Cookbook Review, Cookbooks, Best Cookbooks, Cookbooks 2024, Sift, Nicola Lamb, Bethlehem, Fadi Kattan, Taboon, Hisham Assaad, Some of My Best Friends Are Cookies, Emelia Jackson
Comment
Easy Christmas Spiced Cookies

Crunchy Christmas Spiced Biscuits

Kath December 17, 2024

These biscuits (or cookies) are inspired by the Crunchy Cinnamon Cookies I made over a year ago, but with a festive twist. 

I love gingerbread inspired biscuits and cakes, so these are a great addition to my Christmas biscuit repertoire. They are also a relatively quick biscuit to make, they don’t require too much time in the fridge, just enough so the dough firms up a bit. 

You can also freeze the dough if you’d like to make the recipe in stages - freeze either rolled into a log and roll the log in the spiced sugar mixture, or roll into balls as the recipe suggests but rather than baking you can freeze them at that stage (already rolled in the spiced sugar mix). Frozen biscuits will need about 2 minutes longer to cook, but check them as you go as that’s the best way to determine if they are ready. 

If you have leftover egg yolks after other Christmas baking, you can substitute the one egg in this recipe for two egg yolks to help use them up. 

I hope you have a very Merry Christmas, filled with lots of good food. 

Crunchy Spiced Christmas Cookies

Ingredients:

120g unsalted butter

125g caster sugar

100g dark brown sugar

2 tbsp treacle

1 tsp vanilla bean paste (or extract)

1 egg

290g self raising flour

1.5 tsp ground cinnamon

1.5 tsp mixed spice

1/2 tsp ground ginger

1/2 tsp ground cardamom 

1/4 tsp ground cloves

1/4 tsp ground nutmeg

2 tsp Demerara or raw sugar 


Method:

Preheat oven to 170 degrees Celsius and line three large baking trays with baking paper.

In a small saucepan melt the butter over low-medium heat. Once the butter has melted remove from the heat and allow to cool for a few minutes. Then whisk in the caster sugar, brown sugar, treacle, vanilla and the egg. 

In a large bowl whisk together the flour, 1/2 tsp ground cinnamon, 1/2 tsp mixed spice, and all of the ground ginger, cardamom, clove and nutmeg. 

Add the butter mixture to the flour and mix with a wooden spoon until combined.

Cover and chill in fridge for at least 20 mins (however you could do overnight).

In a small bowl mix together the remaining 1 tsp cinnamon, 1 tsp mixed spice and the Demerara sugar.

Roll heaped teaspoonfuls of the dough into balls and roll into your spiced sugar mix. Place on the prepared trays - the biscuits will spread as they bake so leave enough room in between. 

Bake for 12-15 minutes or until golden brown. The biscuits will spread and flatten out as they good, and have a slightly crinkled look on the tops. Rotate the trays in the oven about halfway through to ensure the biscuits cook evenly.  

Allow to cool on their trays, then store in an airtight container. 

Makes about 34-36 biscuits.

Crunchy Christmas Spiced Cookies
In Biscuits/Cookies, Holidays Tags Christmas, Biscuits/Cookies, Gingerbread Spice, Crunchy Spiced Cookies, Easy Baking, Mixer Free Recipes
Comment

Cookbooks Worth Waiting for in 2024 Part 2 - A Recap

Kath November 20, 2024

It’s time for a recap of the cookbooks I hoped would be ‘worth waiting for’ in the second half of 2024.

We’ve had some great new releases this year, and this collection continues that theme. There is quite a different selection of books here, in that they are all pretty different and each would add something quite different to your cookbook collection. My only feeling after living with these books a little while, and maybe after some of the other releases this year too is, how many books from the same author do we really need? Do you ever wonder if there is a limit to how many useful/purposeful books someone can release, especially when their new releases are so regular?

Let me know your thoughts in the comments below - did you add any of these cookbooks to your collection too?


Previous editions of Cookbooks Worth Waiting For can be found here, and if you would like these cookbook reviews plus those that feature exclusively in my newsletter, sign up to my weekly newsletter Friday Food Chat with Kath.

*Thanks to HardieGrant and Murdoch Books for gifting me copies of Sofra and Karkalla at Home respectively.

Ottolenghi Comfort by Yotam Ottolenghi and Helen Goh (Ebury Press) - A new release from the Ottolenghi team is always worth waiting for! While Simple still remains my absolute favourite of all Ottolenghi’s cookbooks, Comfort has a great selection of recipes, and the influence of the other authors (Helen Goh, Verena Lochmuller and Tara Wigley), give Comfort a point of difference from other more recent Ottolenghi releases. The influence of Helen’s Malaysian/Australian background is clear with much use of Asian flavours and ingredients, while still having a very ‘Ottolenghi’ feel. I am starting to feel I’m not sure how many more books I need from Yotam Ottolenghi, we have quite a collection now and while the introduction of co-authors has been a great way of diversifying the recipes published and giving each book a unique focus, I do feel (as with many authors who churn out books on a regular basis), there must be a point where we reach capacity in our collections for these authors. Out of Comfort, I am keen to try the Salmon Fishcakes with Chermoula Remoulade (p.80) and Verena’s Potato Salad (p.224). 

Sofra by Karima Hazim Chatila and Sivine Tabbouch (Quadrille*) - Sofra feels like it is filled with love. It is a personal look at Karima and Sivine’s deep personal connection to Lebanon, specifically through food. Family stories and weaved through the book, and the way their family now comes together through food is shown as a staple of Lebanese food, culture and family. The chapters are divided into various ‘spreads’, so dishes you can make and serve together for a crowd. These recipes really do feed a crowd, and those of us who have smaller families or households may have to adapt (halve recipes), or feel contented in the knowledge that leftovers will continue to feed us for a few days more. Many of the recipes require some time and effort, and would great to make on the weekend when you might have more time to spend on making a meal. Karima and Sivine give tips on how to prepare things in advance and how to plan out making their menus in each chapter so you are in good hands.

As you might know by now if you read previous cookbook reviews of mine, I love books like this one that share personal stories and capture recipes that have been in families for a long time. Cookbooks such as Sofra not only provide us with a view of the authors connection to a place or time, in this case Lebanon, but give us an avenue to create our own through their recipes. The photography in this book is wonderful, and the table shots of the whole menus are stunning - which of course they are as the photographer is Luisa Brimble! Queen of the top down table scape shot! In terms of recipes I am keen to try the Muhammara (p.144), Ejjeh (courgette and herb fritters) (p.150) and the Maamoul (p.196-7). 

Bake with Brooki by Brooke Bellamy (Penguin) - The hype around this baking book (and the Brisbane based bakery itself) is crazy, I think thanks mostly to social media. Bake with Brooki has basically sold out, and did so very quickly after it’s release. It’s a more substantially sized book than I was expecting, it definitely isn’t just a quickly put together piece of merchandise to capitalise on the social media hype around Brooki Bakehouse. If you are a fan of the bakery, or it’s owner Brooke, I think you’ll find the recipes you are looking for in Bake with Brooki. The chapters cover the famous Brooki cookies, brownies, cupcakes and whole cakes, cheesecakes and more. If you are a seasoned baker you might notice that many of these recipes look like iterations of the same thing with a different flavour profile, but if you just want the recipes from the bakery then the book definitely delivers that.

There is a definite American feel to this book, especially the photography (which I’m not super keen on, I prefer naturally lit photos which isn’t a big thing in American style cookbook shoots it seems), however Brooke’s major influence in baking, developing her famous cookie recipes and successful bakery has largely come from American bakeries and baked goods discovered on her travels. However, every recipe does have an image, so in terms of practicalities when actually making the recipes you should be able to clearly see what the recipe should look like in the end, which is of course a major purpose of food photography in cookbooks! As a Caramilk lover, I am keen to try the Caramilk Blondies (p.79) and I’d like to make the Biscoff Cookies (p.34) as well after having tried them from the bakery last year.

Karkalla At Home by Mindy Woods (Murdoch Books*) - Karkalla at Home brings native Australian ingredients and flavours to our kitchens by using them in recipes you might otherwise recognise. Mindy has given the reader everything they need to know about cooking with ingredients indigenous to Australia and our First Nations communities, from understanding the seasons via Indigenous cultural practices, to explaining everything we need to know about various Indigenous ingredients specifically, and even where to buy them from Indigenous owned/run businesses. The recipe section of the book is divided into meal/recipe types, and in the header of each recipe is a quick list of the specific Native ingredients needed for each recipe. I think this is a really helpful element for each recipe, as in some cases the Native ingredient may be the thing you need to seek out and buy before starting to recipe if you didn’t already have it.

I think the array of specialised ingredients could seem overwhelming to some, though I do think Mindy has gone to a lot of effort to make this element of the book extremely accessible - and to be honest if you aren’t interested in buying a few new ingredients and learning about Indigenous Australian food and culture, then you are probably missing the entire purpose of this cookbook. As author Mindy says in her introduction, “I believe that to truly understand a culture you must experience its food”, and I think Karkalla at Home will be a great addition to anyone’s cookbook collection who wish to do that. In terms of recipes, I am keen to try the Campfire Eggs with Native Dukkah (p.78), Fluffy Ricotta Pancakes with Macadamia Praline Butter (p.84-5) and the Prawn Skewers with Macadamia Satay (p.102). 

In Off the Shelf Tags Cookbooks, Cookbook Review, Sofra, Bake with Brooki, Ottolenghi Comfort, Karkalla at Home, Cookbooks 2024, Cookbooks Worth Waiting For
Comment

Pistachio Filled Caramelised White Chocolate Cookies

Kath November 7, 2024

The internet seems to be having a big pistachio moment right now. I have been having a pistachio ‘moment’ for many years now, I am happy to see everyone else is catching on to how delicious everything pistachio is.

There are a few recipes floating around that use a pistachio cream (crema di pistacchio) as a filling for cookies, plus a few bakeries selling cookies like this too. I am all for pistahcio cream anything, however, when it comes to using it in baking at home I really consider how I am going to use it.

Crema di pistacchio is an expensive ingredient, and sometimes not easy to buy. I have had multiple times I’ve found a brand of pistachio cream I like, only for the shop I bought it from to never sell it again. I’ve got the impression that these shop’s suppliers find it hard to import these products from Italy for whatever reason. But it’s really annoying to find something, enjoy it, then never be able to buy it again.

And that’s not to mention the price per jar, which is usually around $20AUD for a 180g or so jar. If I’m using a whole jar in one recipe, that’s an expensive bake.

There are Australian based brands that are making/selling pistachio creams/spreads that you could use. One of the brands I found was genuinely disgusting in flavour, and the other has quite a low percentage of pistachios in the spread. While the second brand I thought flavour wise was pretty good considering the low percentage of pistachios and the price, baking with it is still a rather expensive exercise. I also didn’t love how many ‘extra’ ingredients were contained in some of these spreads, compared to the imported Italian varieties.

Considering all that, I decided if I were going to make some cookies/biscuits stuffed with a pistachio spread, I was going to make the spread myself. A homemade pistachio spread or butter will have a better flavour than many of the bought pistachio creams, plus it won’t be quite as expensive!

I have been making pistachio butter/spread like the one in the recipe below for years (if you have my ebook Cosy Winter Bakes you might recognise the pistachio butter recipe!). The addition of white chocolate gives the pistachio spread a sweetness and creamy texture that is similar to the bought varieties.

When using homemade pistachio spread/butter as a filling in cookies, you won’t get that oozing of the pistachio spread out of the cookie (when the cookie is broken in half) like you would when buying a cookie like this or making one using crema di pistacchio. However, I think its a small price to pay for a delicious cookie, that doesn’t have to use up your very expensive jar of pistachio cream, and is decidedly less messy to eat as well!

Homemade Pistachio Butter/Spread

Pistachio Filled Caramelised White Chocolate Cookies/Biscuits

Ingredients:

170g raw pistachios

160g caramelised white choc (e.g. Caramilk, or any white choc)

120g unsalted butter, melted

180g caster sugar 

1 tsp vanilla extract

1 tbsp milk

1 egg, beaten

290g self raising flour

1/4 tsp baking powder

2 tbsp slivered pistachios (or roughly chopped whole pistachios)


Method:

Preheat oven to 160 degrees Celsius and line a tray with baking paper. Place the pistachios on the tray, and roast in the oven for 5-7 minutes or until they are lightly golden and fragrant. Allow to cool. You won’t need your oven again for a while so you can turn it off for now.

Make the pistachio butter by blitzing the toasted pistachios in a food processor until they form fine crumbs. Measure out 50g of the pistachio crumbs and set aside, this will be used in the biscuit dough later. 

Melt 60g of the caramelised white chocolate, then add to the blitzed pistachios. Keep blitzing until the pistachios form a paste (this will take around 10 minutes, depending on your food processor). Scrape down the sides of the food processor bowl now and then to ensure everything is processing evenly. Once done the pistachio butter will be smooth and creamy, and the texture will seem light and soft. Place the pistachio butter in a bowl or container and leave in the fridge until it has chilled and firmed up (at least 1 hour, but you can do this step in advance and leave overnight).

To make the biscuit dough, place the melted butter, sugar, vanilla, milk and egg in a large mixing bowl, and whisk until combined.

In another bowl, whisk together the flour, the 50g pistachio crumbs you set aside earlier, and the baking powder. 

Roughly chop the remaining caramelised white chocolate (100g), until you have small chunks. 

Add the flour mixture to the butter mixture, and mix with a wooden spoon until almost combined. Add the chopped chocolate and mix until everything is combined.  

Cover the bowl and place in the fridge to chill for at least 30 minutes. 

Once the dough has chilled, divide it into 12 equal portions. 

Take one of the portions and remove about 1/3 of the dough. Press the remaining larger portion of dough into a flatter disc, allowing the sides to curl up like a birds nest. Place a heaped teaspoon of the chilled pistachio butter inside the dough. Bring the sides of the dough up around the butter, then place the remaining 1/3 of dough over the top of the pistachio butter filled biscuit and smooth out so there are no gaps. Gently roll the filled biscuit between your hands so it is a nice round shape. 

Continue with each of the portions of dough so you have 12 pistachio butter filled individual dough balls. You should use most if not all of the pistachio butter across the 12 biscuits. 

Place the dough balls on a lined tray or in a container (or similar), cover, and place in the fridge for 3 hours (or overnight). 

When ready to bake the biscuits, preheat oven to 180 degrees Celsius. Ensure you have two large baking trays lined and ready. 

Spread the dough biscuit balls out over the prepared trays leaving enough room around the biscuits as they will spread. Sprinkle with the slivered pistachios, pushing them into the dough a bit.

Bake for about 15 minutes, or until they are gently golden in colour. Rotate the trays in the oven at least once during the cooking time so the biscuits cook more evenly. If you can’t bake the biscuits all at once leave the dough balls in the fridge until you have oven space.

Allow to cool on the trays for 10 minutes before eating. 

Makes 12 large biscuits.

These cookies are a more cake-y style cookie, so they are the absolute best the day they are baked. You can store them in an airtight container or jar, however they will have a slightly softer texture than when they were first baked. You can refresh them a bit by putting them in the oven for 5-8 minutes at 160 degrees Celsius.

Pistachio Spread Cookies
In Biscuits/Cookies Tags Pistachio Butter, Pistachio, Pistachio Cookies, Crema di Pistacchio, Pistachio Cream, Pistachio Spread, Caramelised White Chocolate
Comment

Strawberries and Cream Rocky Road

Kath October 24, 2024

I really enjoy a good white chocolate rocky road, so when the idea came to me for a strawberries and cream version I knew I had to make it ASAP. The strawberry element comes from homemade strawberry marshmallows (made using fresh strawberries) and some freeze dried strawberries too. The cream element comes from the white chocolate,

I have written before that I love marshmallows. I know they can be a divisive thing, people have strong opinions about them. Most of these opinions are formed by the marshmallows found on supermarket shelves. Those marshmallows pale in comparison to homemade ones as are used in this recipe, so please don’t judge them before you try them! Everyone I know who says they don’t like marshmallows has liked these homemade ones, and been very surprised at how different they are to bought ones and how fresh the flavour is (as they are made with fresh fruit not artificial flavourings).

You can make the marshmallows a few days in advance and make the rocky road another day, this recipe can’t be done in one day anyway as the marshmallows need time overnight to set.

You won’t need all the strawberry marshmallows for the rocky road (or you could probably make a double batch of rocky road if you were thinking of using them as gifts), however they are superb on their own, and last around 3 weeks in an airtight container. The marshmallows make wonderful gifts on their own too.

Strawberries & cream Rocky Road

Ingredients for the Marshmallows: 

275g pureed fresh strawberries (the seeds can be strained if you wish, however the total weight still needs to be 275g)

50g gelatine powder

115ml water

820g white/granulated sugar 

320g glucose 

50g potato flour/starch

50g icing sugar (pure or confectioners)

cooking spray

Method: 

Spray a slice tin or lamington tray (at least 30x20cm) with the cooking spray and set aside. A slighly deeper tin will work well for this. If your tin is quite shallow, you may wish to prepare a second smaller tin) or grease some baking paper for any excess marshmallow that doesn’t fit into your main prepared tin.

In the bowl of a stand mixer, briefly mix together the strawberry puree and the gelatine powder. Leave for now, ensuring the whisk attachment is fitted and everything is ready to go once your sugar syrup is ready. 

In a medium/large saucepan place the water, then the sugar, then the glucose. Place over high heat and cook until the syrup reaches 120 degrees Celsius on a candy thermometer.

With the mixer on low, gradually pour the sugar syrup into the strawberry mix. Whisk on medium speed for about 3 minutes, until the mixture turns a more opaque colour. The mixture will also start to thicken. Then increase mixer to high speed for about 8 minutes, until the marshmallow has tripled in volume and has thickened. 

Pour marshmallow into the prepared tray, tapping it down on the bench to remove any air bubbles and to ensure it is sitting in the tray evenly. 

Leave to set overnight before cutting (room temperature is best, preferably covered with a food net or cover).

Once the marshmallow is ready to cut, in a small bowl whisk together the potato flour and the icing sugar (sift if necessary). 

Dust some of this mixture onto your clean work surface. Remove the slab of marshmallow from the tin, use a spatula to pull the sides away from the tin and tip it onto the dusted work surface. 

Dust more of the icing sugar mix over the top of the marshmallow slab, and around the sides. Using a large sharp knife, cut into cubes, by cutting the slab into rows, then cutting rows in the other direction. Dust your knife regularly with the icing sugar mix, and continue to dust the marshmallows as they are cut. The size you cut the marshmallows is completely up to you, I like cutting them into larger cubes (as pictured). 

Ensure every part of the cut marshmallows are covered in the potato flour and icing sugar mix. Toss them around on the bench to remove any excess.

Store in an airtight container. The marshmallows will keep for about 3 weeks. 

Ingredients for the Rocky Road:

700g white chocolate - choose one you like to eat (I used Cadbury Dream)

80g flaked or slivered almonds, lightly toasted

20g (approx.) freeze dried strawberries (sliced or roughly chopped whole strawberries)

500g homemade strawberry marshmallows 

Method: 

Line a square baking tin (approx. 22-23cm) with baking paper - I like to use small bulldog clips to hold the paper in place. 

Have all the rocky road elements ready to go next to your prepared tin. 

Melt the chocolate by placing a small pot with a little water on the stove and allow to simmer. Plate another pot or bowl that will comfortably sit over the top of the water pot, on top of the smaller pan, and add the chocolate to this pot/bowl. Gently mix the chocolate until completely melted. 

Pour about a third of the chocolate into the base of the prepared tin and allow it cover the base completely. Scatter in half the marshmallows, and one third of the almonds and freeze dried strawberries. Cover with another third of the chocolate, then place the remaining marshmallows and another third of the almonds and freeze dried strawberries. Cover with the remaining chocolate, and scatter over the remaining almonds and freeze dried strawberries.

Place in the fridge for at least 30 minutes to set (especially if you are working in warm or humid conditions), however you can prepare this in advance and cut the next day.

Once set use a large sharp knife to cut the rocky road into desired sizes. 

I prefer to keep the rocky road in the fridge. Keeps for about 2-3 weeks. 

Makes 8 generous blocks of rocky road. 

Homemade Rocky Road with Strawberry Marshmallows
Homemade Strawberry Marshmallows
In Confectionary Tags Homemade Marshmallows, Rocky Road, strawberry, confectionary, edible gifts, egg free marshmallow
Comment

Macadamia and Davidson Plum Melting Moments

Kath October 9, 2024

I love a good melting moment. They are a classic Australian sandwich biscuit (or cookie if you are outside of Australia), and paired with macadamia and Davidson Plum they just end up being a little more Australian for it.

Davidson Plum is an native Australian fruit, purple like many plum varieties, however not technically part of the plum family. Often called ooray by Indigenous Australians, this fruit was traditionally eaten raw and used for medicinal purposes. Now it is often found in freeze dried powder form.

The freeze dried powder gives an intense purple colour, though quite a mild flavour when used in smaller quantities (such as this recipe). Davidson Plum is quite sour, so if you want to increase the quantities in the icing, just keep that in mind and taste and you go.

If you don’t have access to freeze dried Davidson Plum powder, you can substitute with freeze dried blackberry or raspberry powder.

Macadamia and Davidson Plum Melting Moments

Macadamia and Davidson Plum Melting Moments

Ingredients:   

65g macadamias                                    

300g unsalted butter, softened

120g icing sugar/mixture

450g plain flour

Ingredients for the filling:

80g unsalted butter, softened

200g icing sugar/mixture

2 tsp Davidson Plum powder

Method: 

Preheat oven to 145 degrees Celsius, and line three large baking trays with baking paper. 

Place the macadamias on one of the prepared trays, and toast in the oven for about 5-7 minutes, or until the macadamias are lightly golden.

Allow the macadamias to cool, then chop roughly into small pieces. 

In the bowl of a stand mixer using the paddle attachment, beat the butter and sugar until creamy.

Add the flour and chopped macadamias to the creamed butter, and mix on low speed until a dough forms (cover your mixer with a tea towel to avoid the flour going everywhere). 

Roll teaspoonfuls of the dough into balls and place on the prepared trays (you should end up with 40-44 individual dough balls/biscuits) leaving a little space in between each). Then lightly press down each ball with the back of a fork so they flatten out a little. Dip your fork in flour if it is sticking to the dough.

Bake for 25 minutes. They will be cooked when the undersides of the biscuits are lightly golden. To ensure a even bake, rotate the baking trays in the oven around half way through. 

Allow to cool on their trays.

Once the biscuits have cooled make the filling by beating the butter and sugar in the bowl of a stand mixer using the paddle attachment or by using a hand held mixer. Mix until light and fluffy and everything is well combined. Then add the Davidson Plum powder and mix until combined. 

Pair up the cooked biscuits, and turn one from each pair over so the underside is facing up. Spread or pipe the filling on to the underside of one biscuit in each biscuit pair, then gently sandwich the paired biscuits together. 

In Biscuits/Cookies Tags Melting Moments, Macadamia, Davidson Plum
Comment
  • The Blog
  • Older
  • Newer

recipes

  • Biscuits/Cookies 39
  • Breads Etc. 9
  • Breakfast 7
  • Cakes & Slices 68
  • Confectionary 5
  • Drinks 6
  • Events 14
  • Food Photography Tips 3
  • From The Mailing List 24
  • Heirloom Recipes 12
  • Holidays 44
  • Ice Cream 9
  • Jams Preserves & Spreads 9
  • Muffins 4
  • Off the Shelf 48
  • Other Desserts 25
  • Savoury Dishes/Meals 15
  • Scones 4
  • Tarts & Pastry 9
  • Travel 13

Sign up to Friday Food Chat with Kath, a weekly newsletter for more food, baking, cookbook chat and more!

Sign Up Here!
instagram-unauth pinterest facebook url

Website Accessibility: To enable text to speech function on the blog, click the sound button to the right of each blog post.

All images & content are the property of Kathryn Vincent, unless stated otherwise. Please do not use without permission.

Kulinary Adventures of Kath

Food Photography, Recipes & Baking

instagram-unauth pinterest facebook url