I had this idea for a Gingerbread Trifle at least a year ago, around Christmas. I didn’t have time to make it, but I was determined to try it the following year.
So this year was the year to make trifle, and while I almost didn’t make it (it’s lovely, but yes a bit of effort is required), I am so glad I did. I am loving the distinct layers and being able to use some of the currants I had frozen from last Christmas (plus we’ve owned this gorgeous glass trifle dish for years and never used it, so I’m glad I’ve finally put it to good use!).
I’ve actually never made a trifle until now, to be honest I don’t really like traditional ones. I absolutely hate that the cake used is soaked in some kind of alcohol, to me that just ruins the whole thing.
So I have made this trifle alcohol free, and the gingerbread cake used really doesn’t need to be soaked in anything. You can of course add some alcohol if you wish.
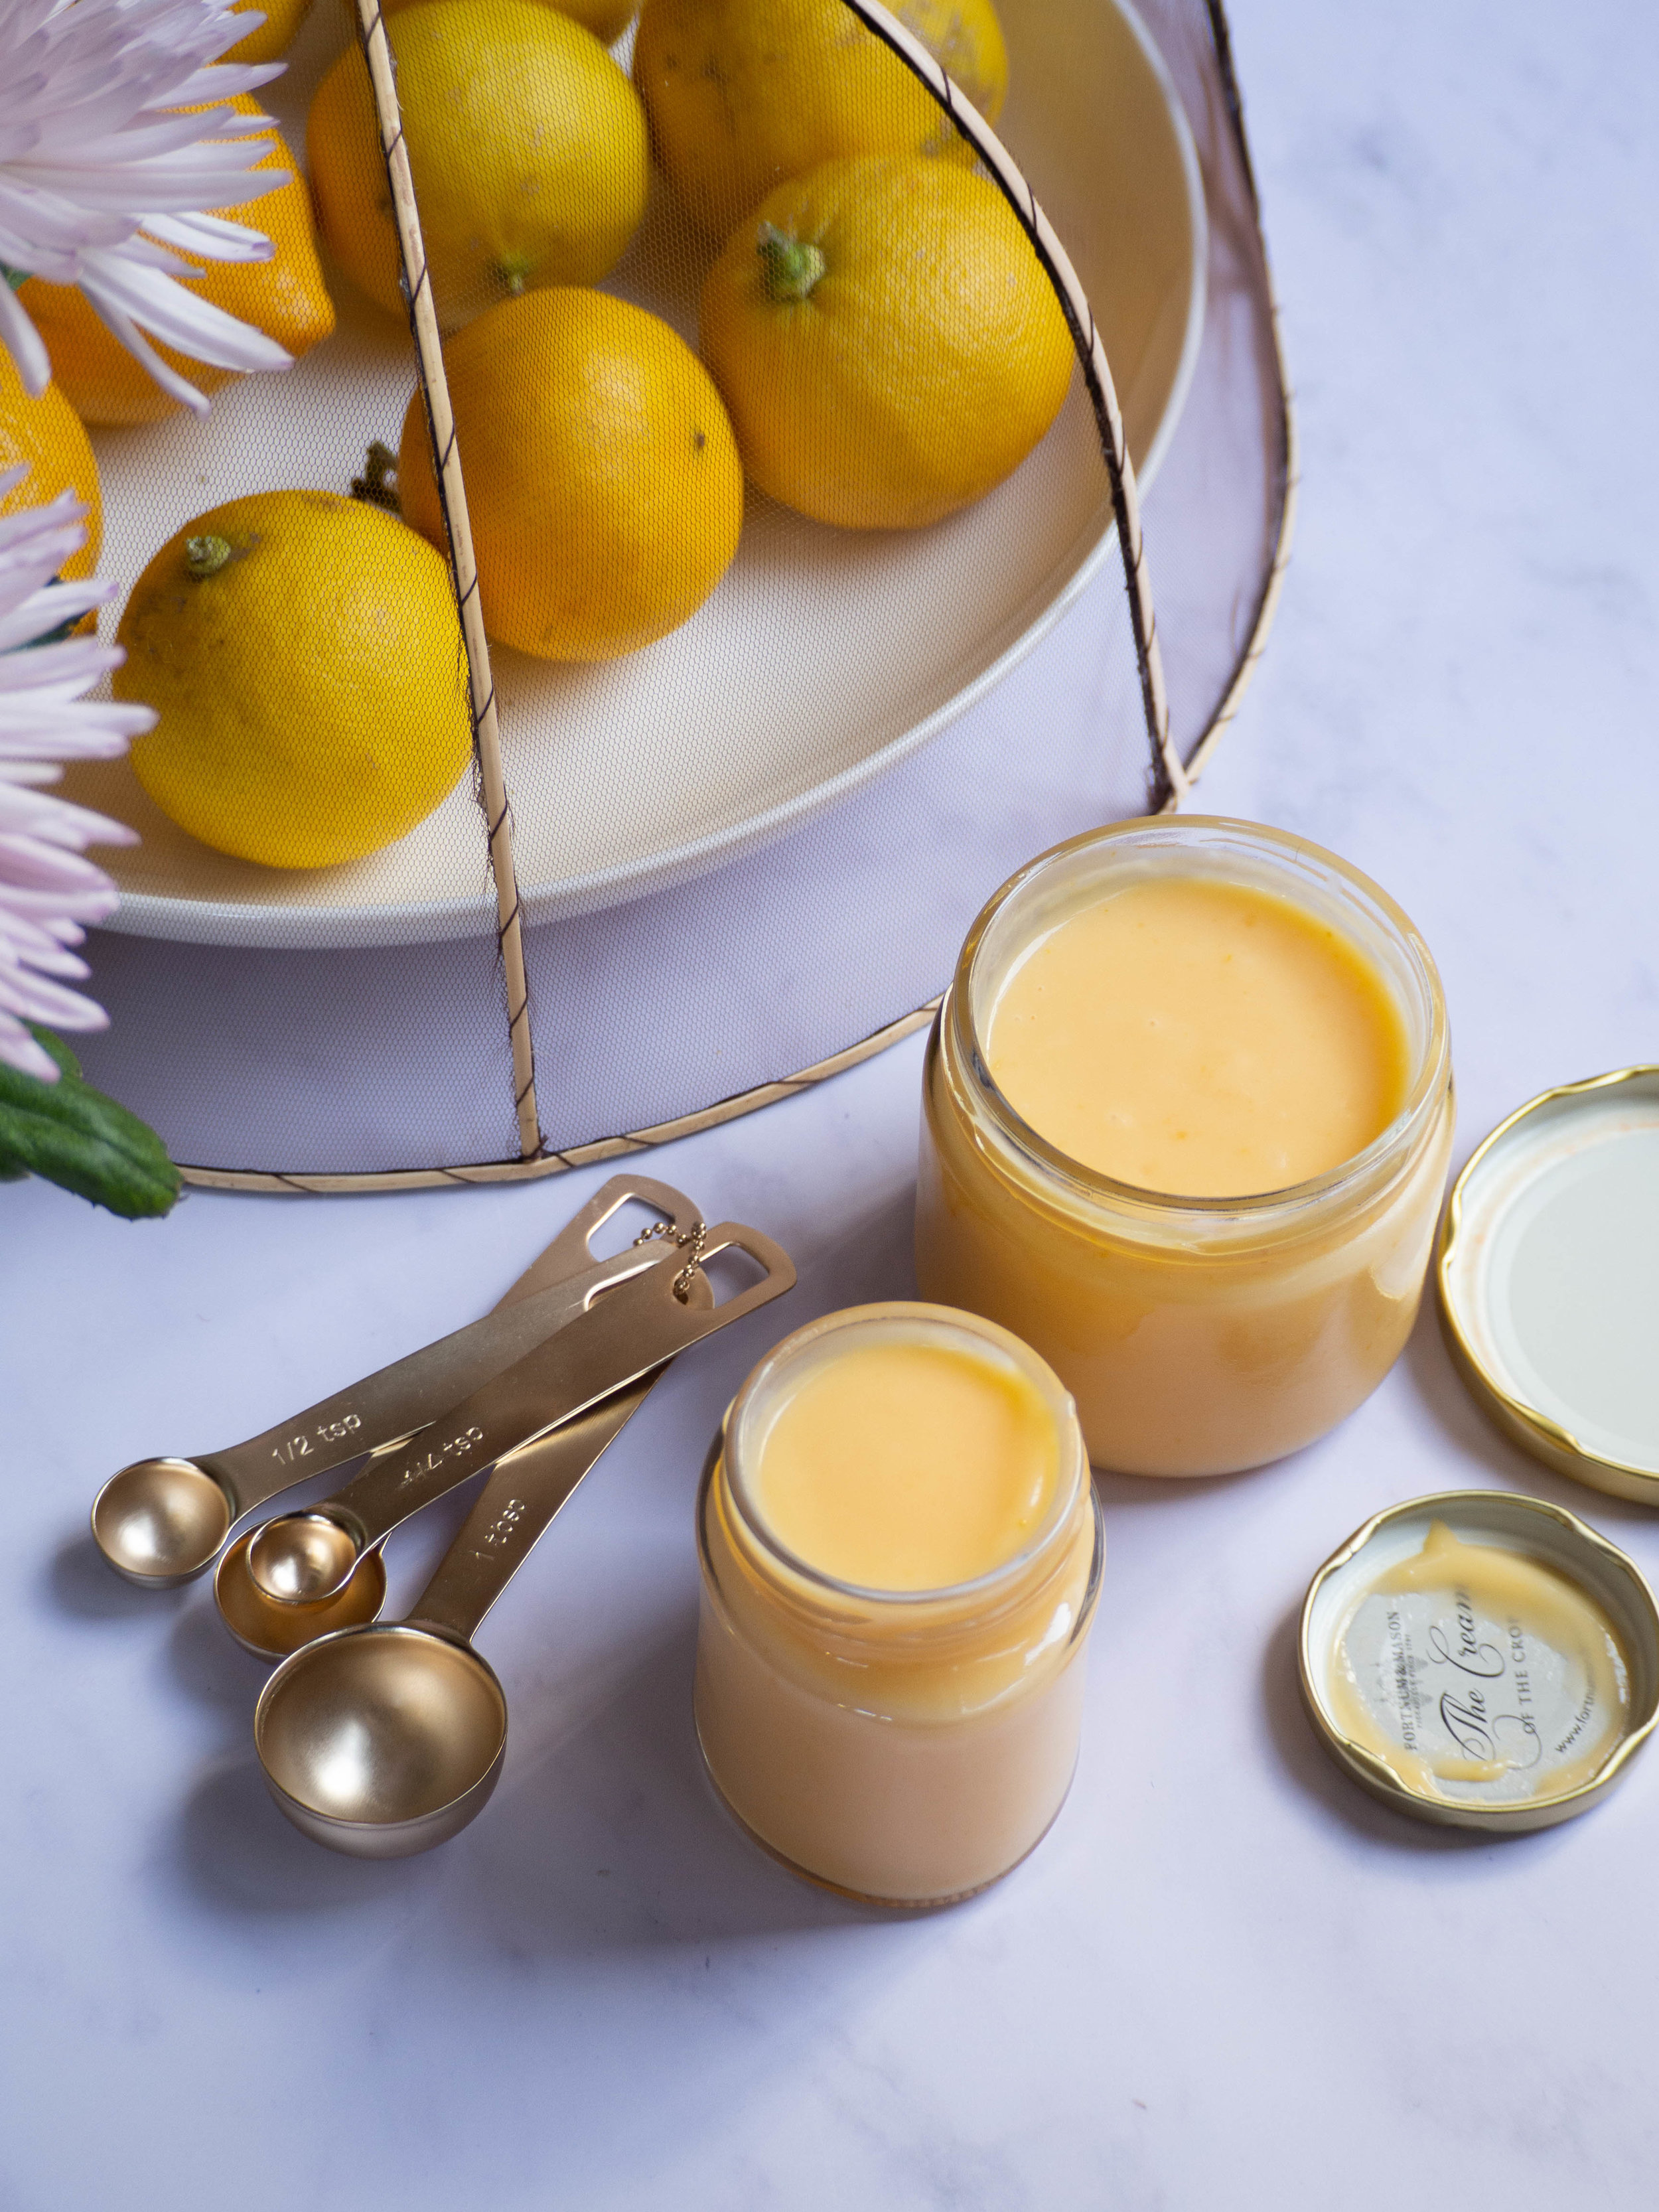
I have used red currants for the jelly, and decoration. I love them and the tart flavour they add. They come into season just before Christmas here in Australia, and I always buy a couple of punnets and freeze some too. I have used my freezer stash of currants for this trifle, but raspberries could also be used for the jelly and decoration. I think pomegranate juice could also be used instead of cranberry in the jelly as well, and then decorated with pomegranate arils.
It is best to start this recipe the day before. I made the jelly and cakes the day before, then just whipped the creams and assembled before serving the next day.
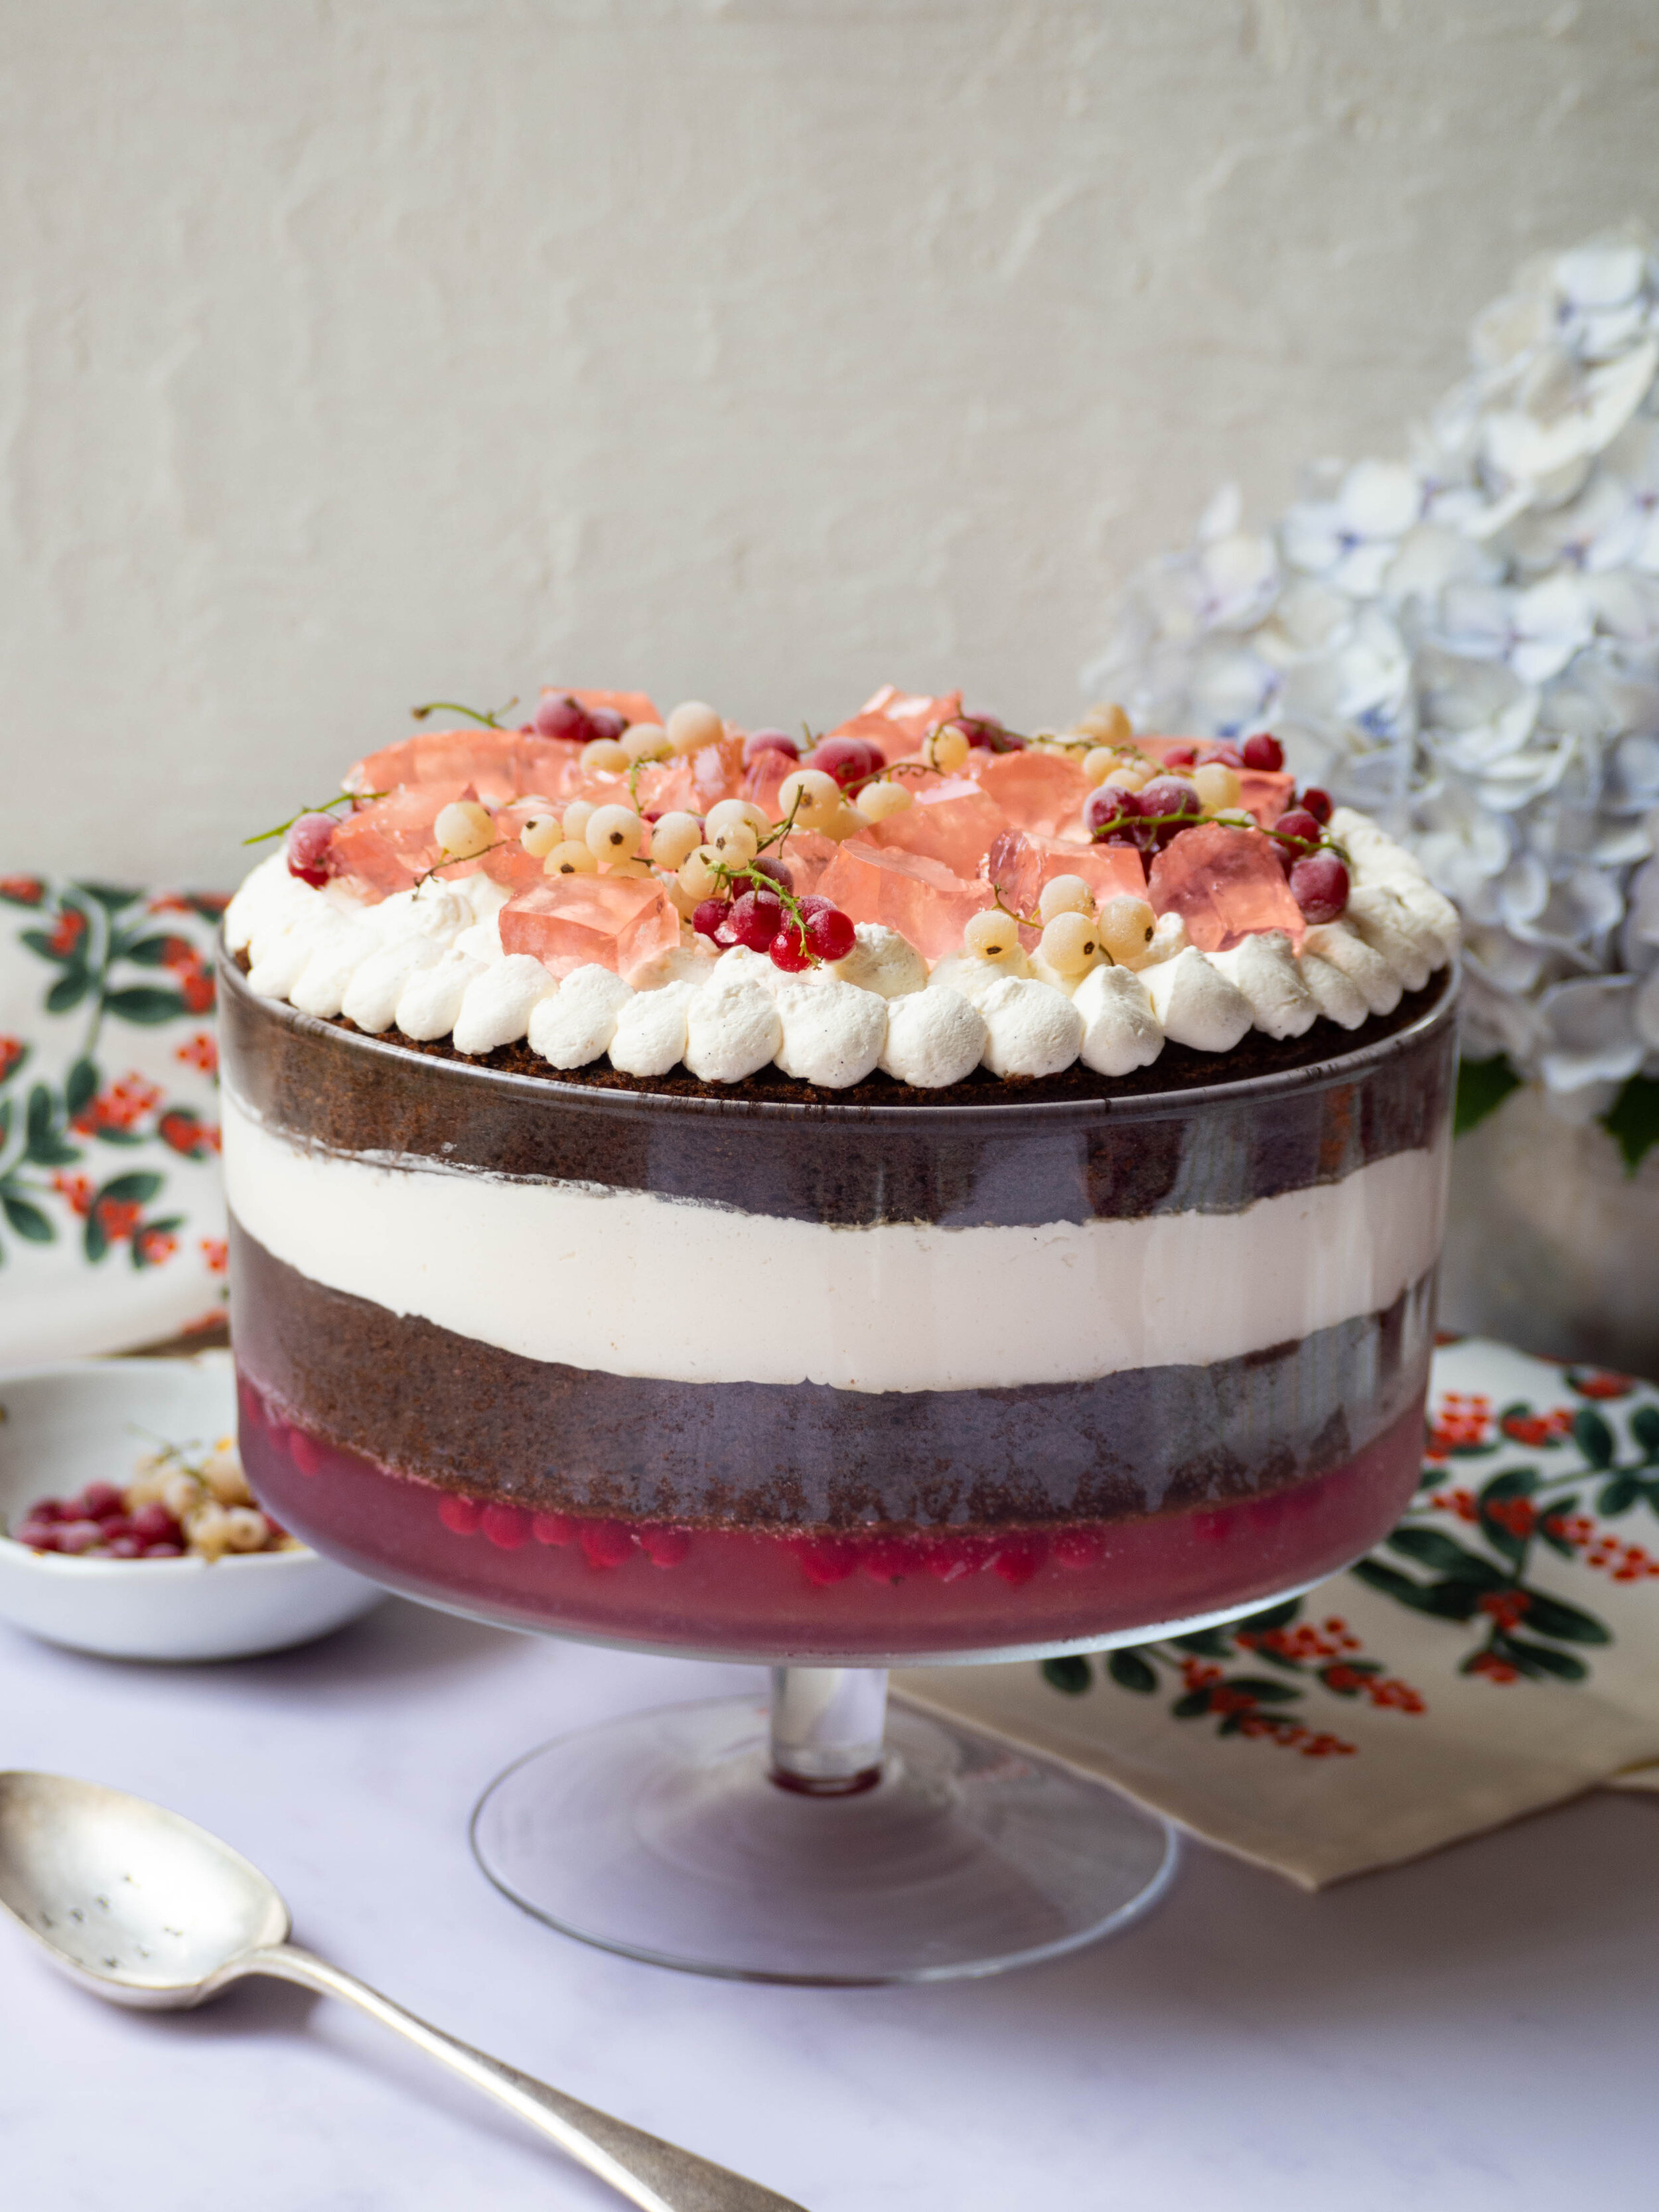
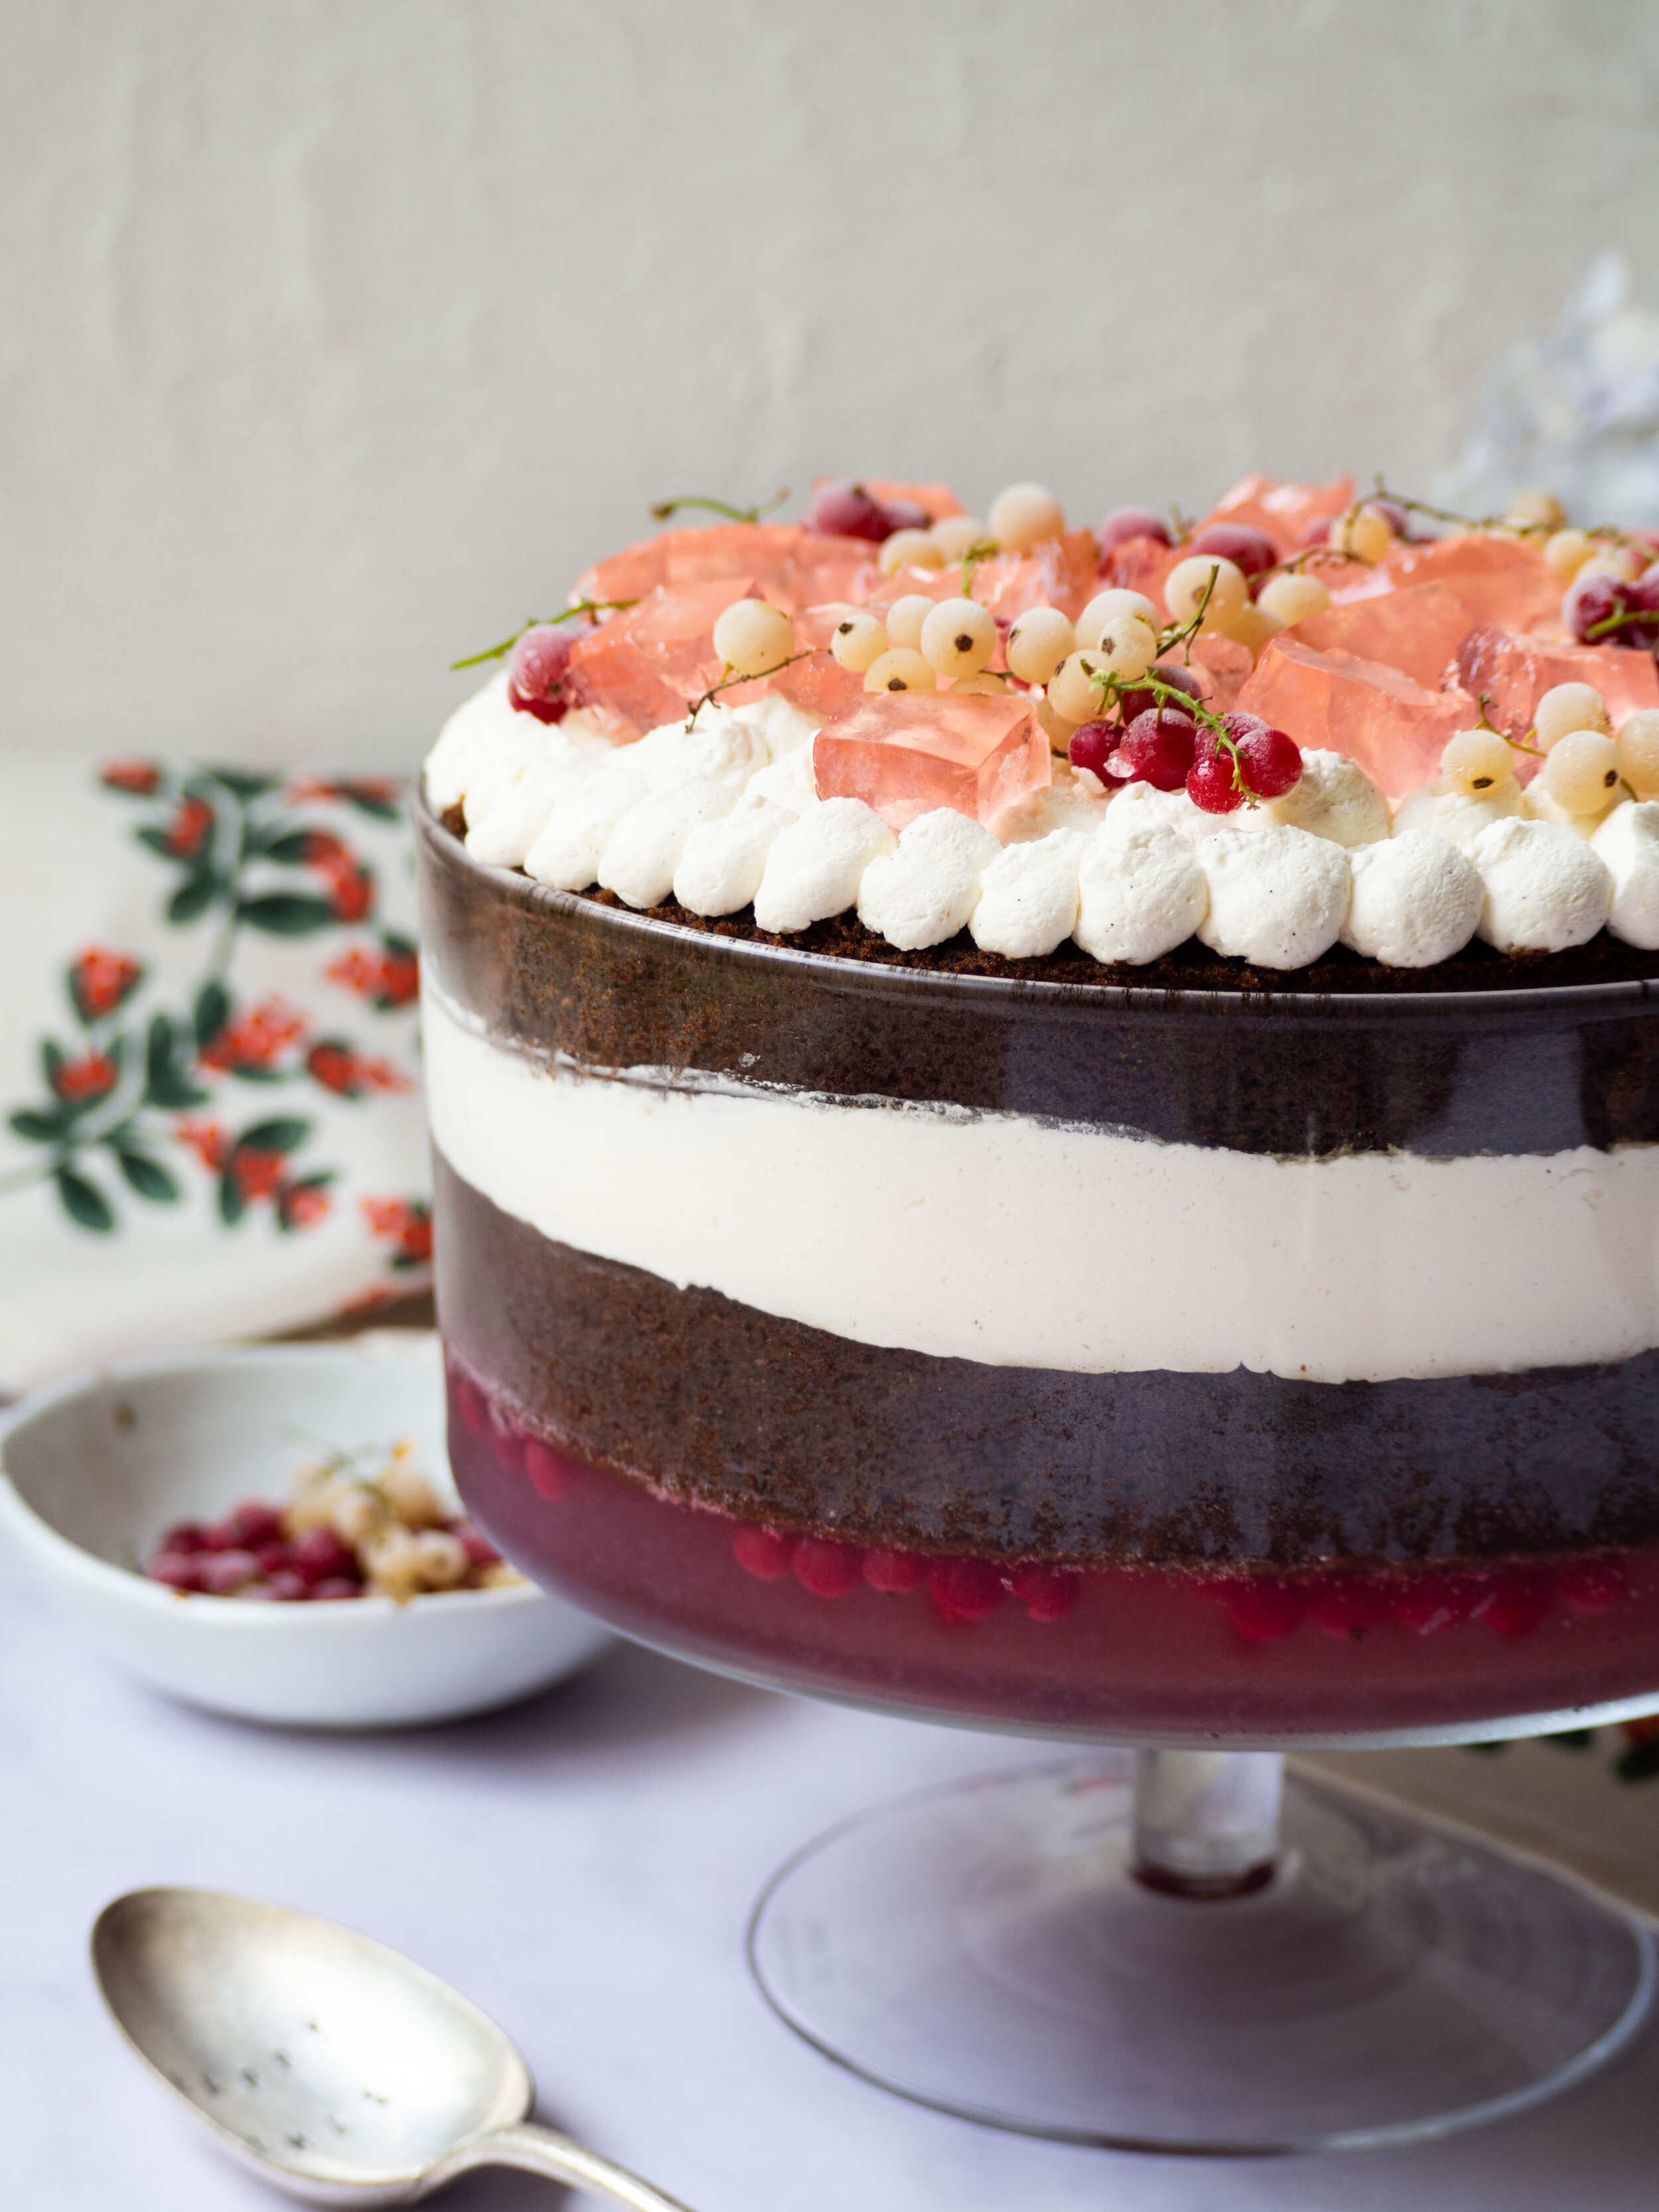
Try to use a glass trifle dish with straight sides like the one pictured. If not, use one that is also 4L capacity, and keep in mind that you may have to trim your cakes more to get them to fit.
A note on the jelly: Making jelly with red currants using the below method will create a slightly cloudy jelly. This is what happens when currants are pushed through a sieve to create a puree, rather than leaving them to gradually drip through muslin overnight on their own. I couldn’t think of anything worse than this recipe taking a whole day more just to wait for 55g of red currants to slowly strain overnight, so I opted for a slightly cloudy jelly instead. And in all honesty, once the trifle is all assembled, I can barely notice the difference.

Red Currant & Cranberry Jelly
Ingredients:
800ml water
350g caster sugar
16g gelatine sheets (I used titanium strength)
120ml cranberry juice
55g + 60g red currants (fresh or frozen)
Method:
You will need a 4L capacity (22-23cm in diameter) trifle dish for this recipe.
In a large saucepan add the water and sugar. Place on the stove over high heat and stir until the sugar has dissolved. Bring to the boil, then reduce the heat and allow to simmer for 10 minutes.
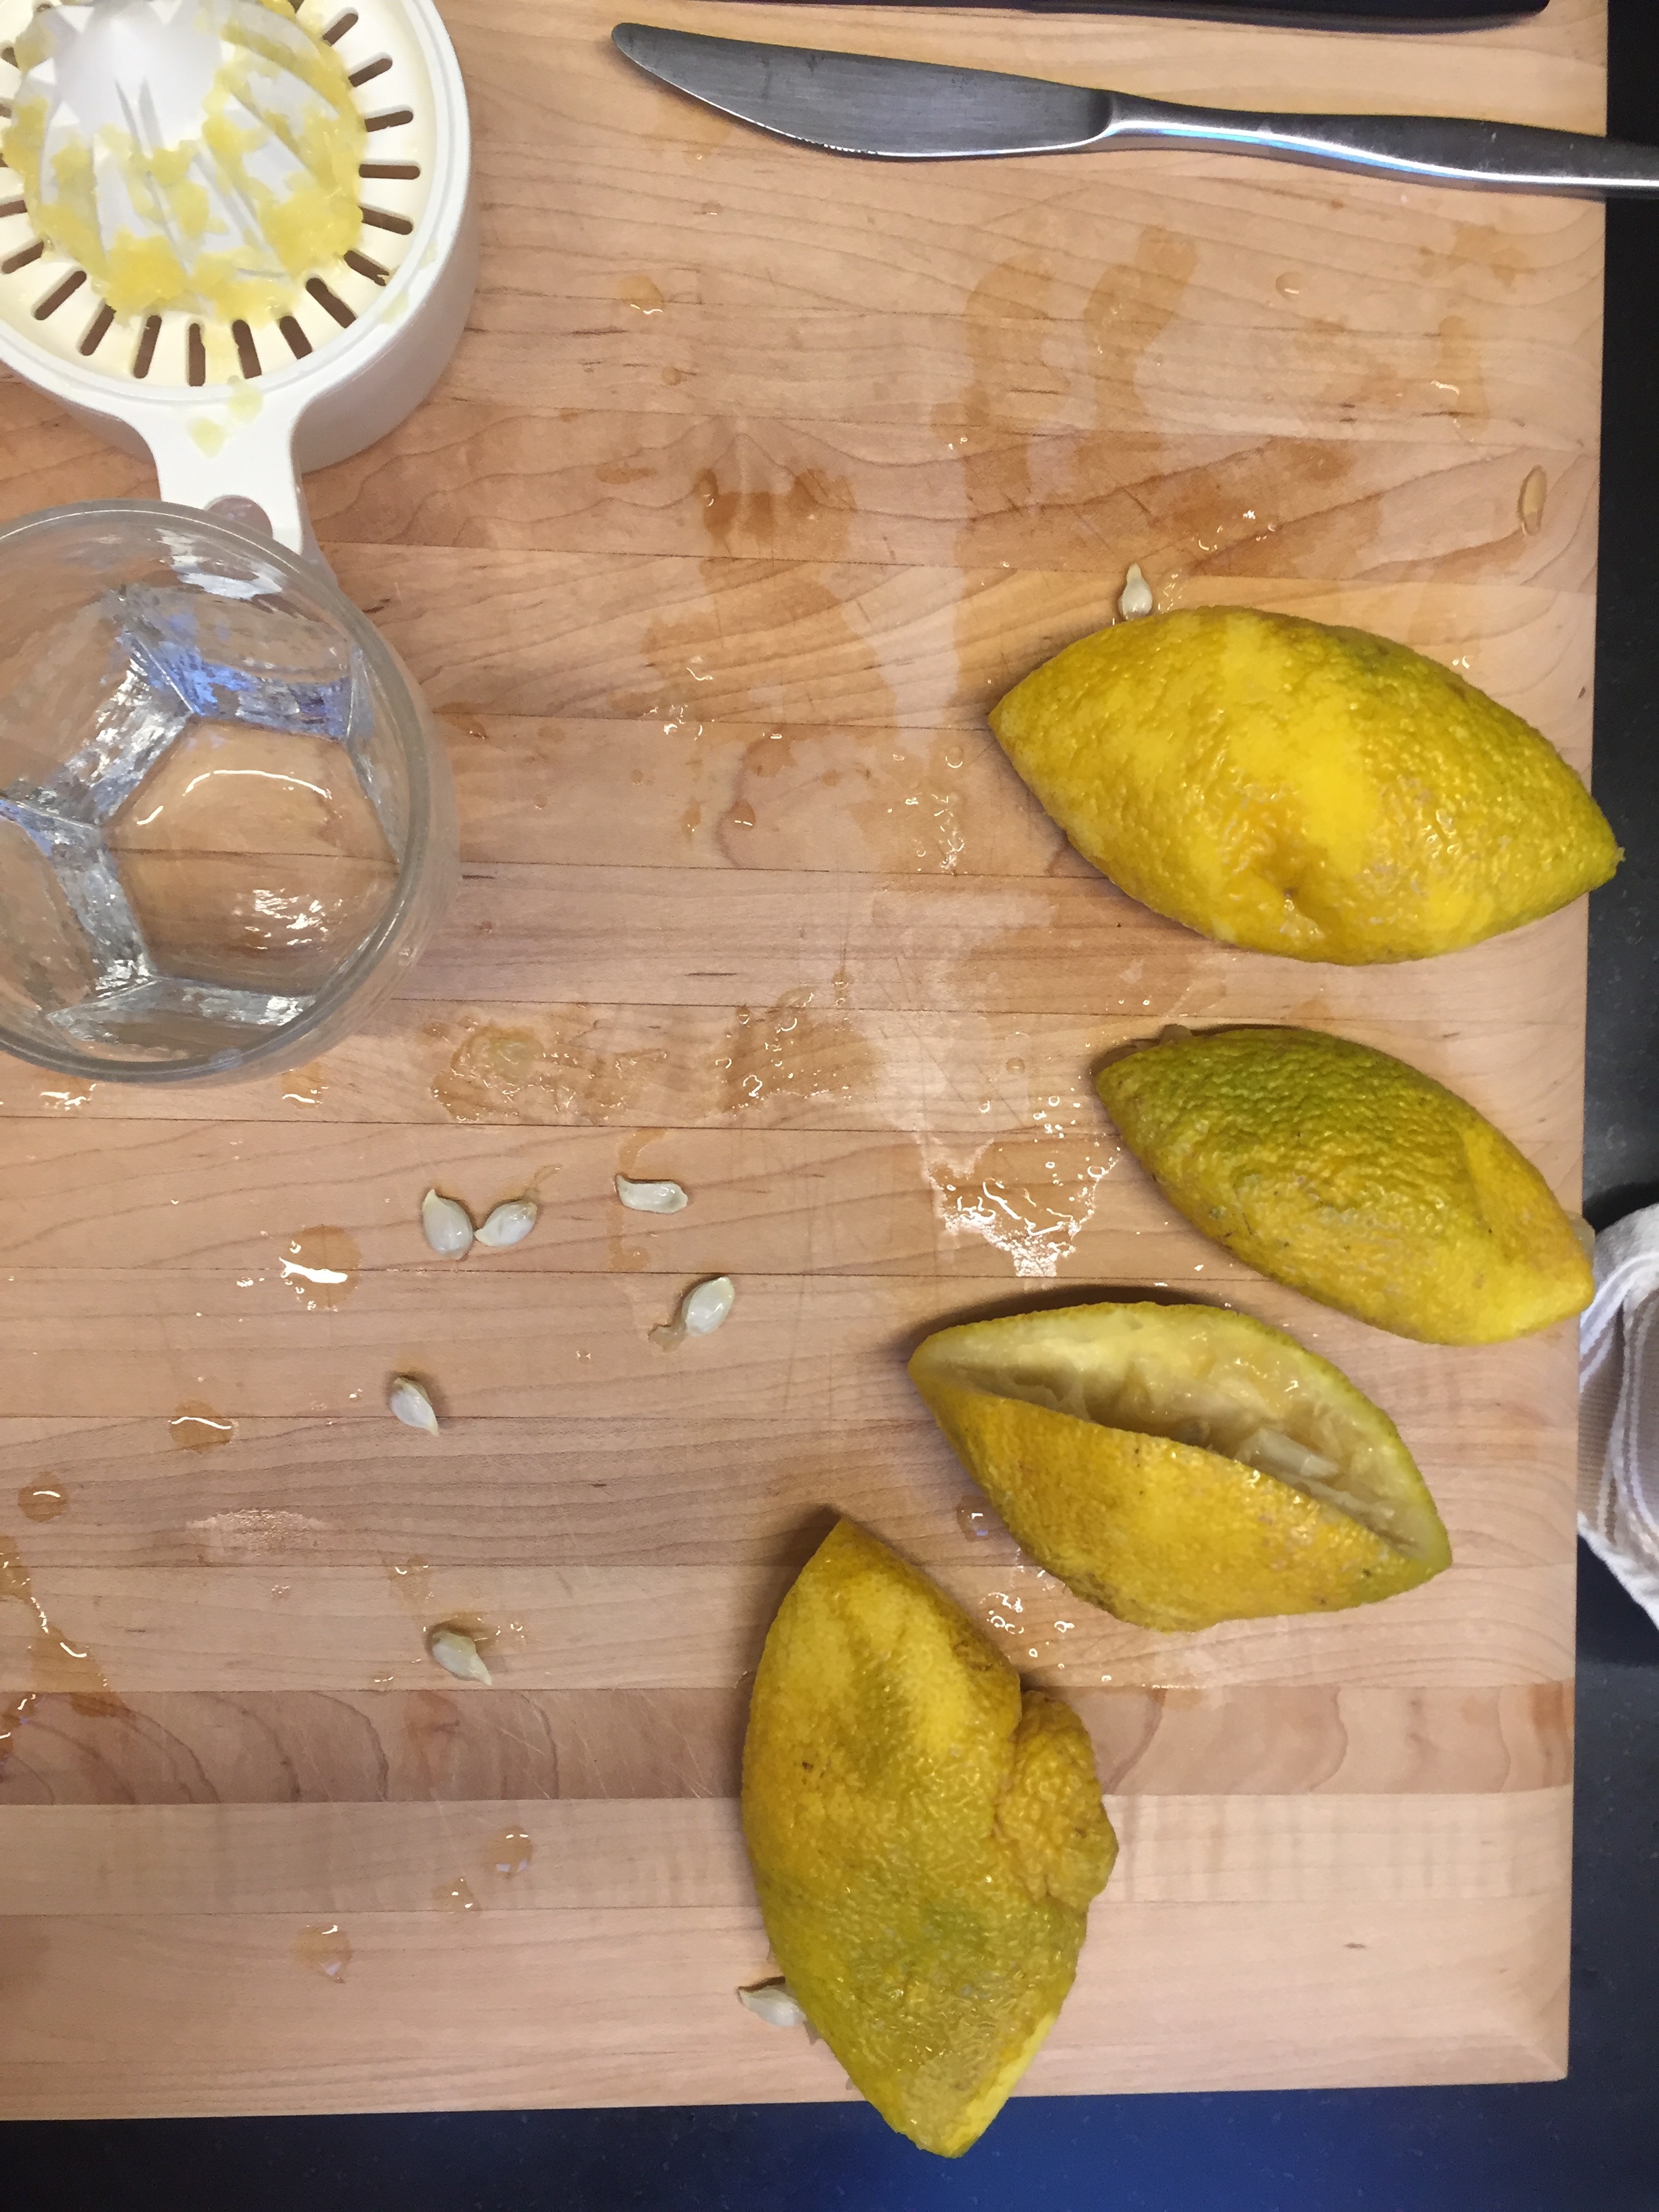
Place 55g of the red currants in a food processor and blitz until a puree forms. Strain the puree into the cranberry juice, discarding the seeds etc.
After 10 minutes, remove the sugar syrup from the heat and set aside to cool a little.
Place the gelatine sheets in a shallow bowl and cover with cold water. Leave to soak for 3 minutes, then remove from the water, squeezing out any excess water.
Add to the sugar syrup, and whisk until the gelatine has dissolved. Then add the cranberry juice and red currant puree and whisk until combined. If the jelly has formed lots of foam from all that whisking, try to scoop as much of it off as possible. I find if it isn’t removed the jelly will set with most of this foam remaining on top.
Pour about 750ml of the jelly into your trifle mould, and the remainder into a small plastic wrap lined container.
Scatter in 60g red currants over the jelly in the trifle dish, then place both jellies into the fridge to set overnight.
Makes about 1180ml jelly in total.
Gingerbread Cake
Ingredients:
375g unsalted butter, softened
300g brown sugar
3 eggs
465g molasses
345ml water
615g plain flour
1.5 tsp baking powder
1.5 tsp bicarb soda
1.5 tsp ground ginger
1.5 tsp ground nutmeg
1 tsp ground all spice
1 tsp ground cardamom
canola oil spray, for greasing
Method:
Grease and line two 22-23cm round cake tins (use round cake tins that are closest in diameter to your trifle dish). Preheat the oven to 160 degrees Celsius.
In a large bowl, whisk together the flour, spices and baking powder. Sift in the bicarb soda and whisk to combine.
In the bowl of a stand mixer, cream butter and brown sugar until light and fluffy using the paddle attachment. Beat in the eggs one at a time. Then beat in the water and molasses on a low speed (to avoid the water sloshing out of the mixing bowl!).
Add the flour mixture and beat on a low speed until the flour begins to combine, then increase the speed a little and mix until combined (you can also do this by hand with a wooden spoon or spatula if you wish).
Evenly divide the batter between the prepared tins, and bake for about 1 hour. The cakes probably won’t fit on the same oven shelf, so swap them over about half way through the cooking time to ensure they both cook evenly. The cakes will be ready when a skewer inserted in the centre of the cakes comes out clean. Cool for at least 20 minutes in their tins, before turning onto a cooling rack.
Once the cakes are cooled, they can either be used immediately in the trifle if ready, or wrapped in plastic wrap and stored in an airtight container.
Christmas Gingerbread Trifle
Ingredients:
Red Currant & Cranberry Jelly, as above
Gingerbread Cake, as above
550ml pouring cream
1 tbsp pure maple syrup
1.5 tsp vanilla bean paste
red and white currants, to decorate (fresh or frozen)
Method:
N.B. If you are making this on a fairly warm day, you may want to place the trifle back in the fridge in between some of the below steps to ensure all the layers keep their shape and remain cold.
Just before serving, take one of the gingerbread cakes, and even out the top if necessary. Trim the sides to fit into the trifle dish if necessary. Place the layer of cake on top of the jelly layer.
Whip 300ml of the cream with the maple syrup, and using a piping bag pipe a nice edge of the cream on the outer rim over the cake layer. Fill in the remaining layer with the cream, and smooth it out if necessary to ensure it is fairly even.
Take the second gingerbread cake and even out the top if necessary. Trim the sides of the cake to to fit into the trifle dish if necessary. This cake layer should sit right up to the top edge of the trifle dish. Place the cake on top of the layer of maple cream.
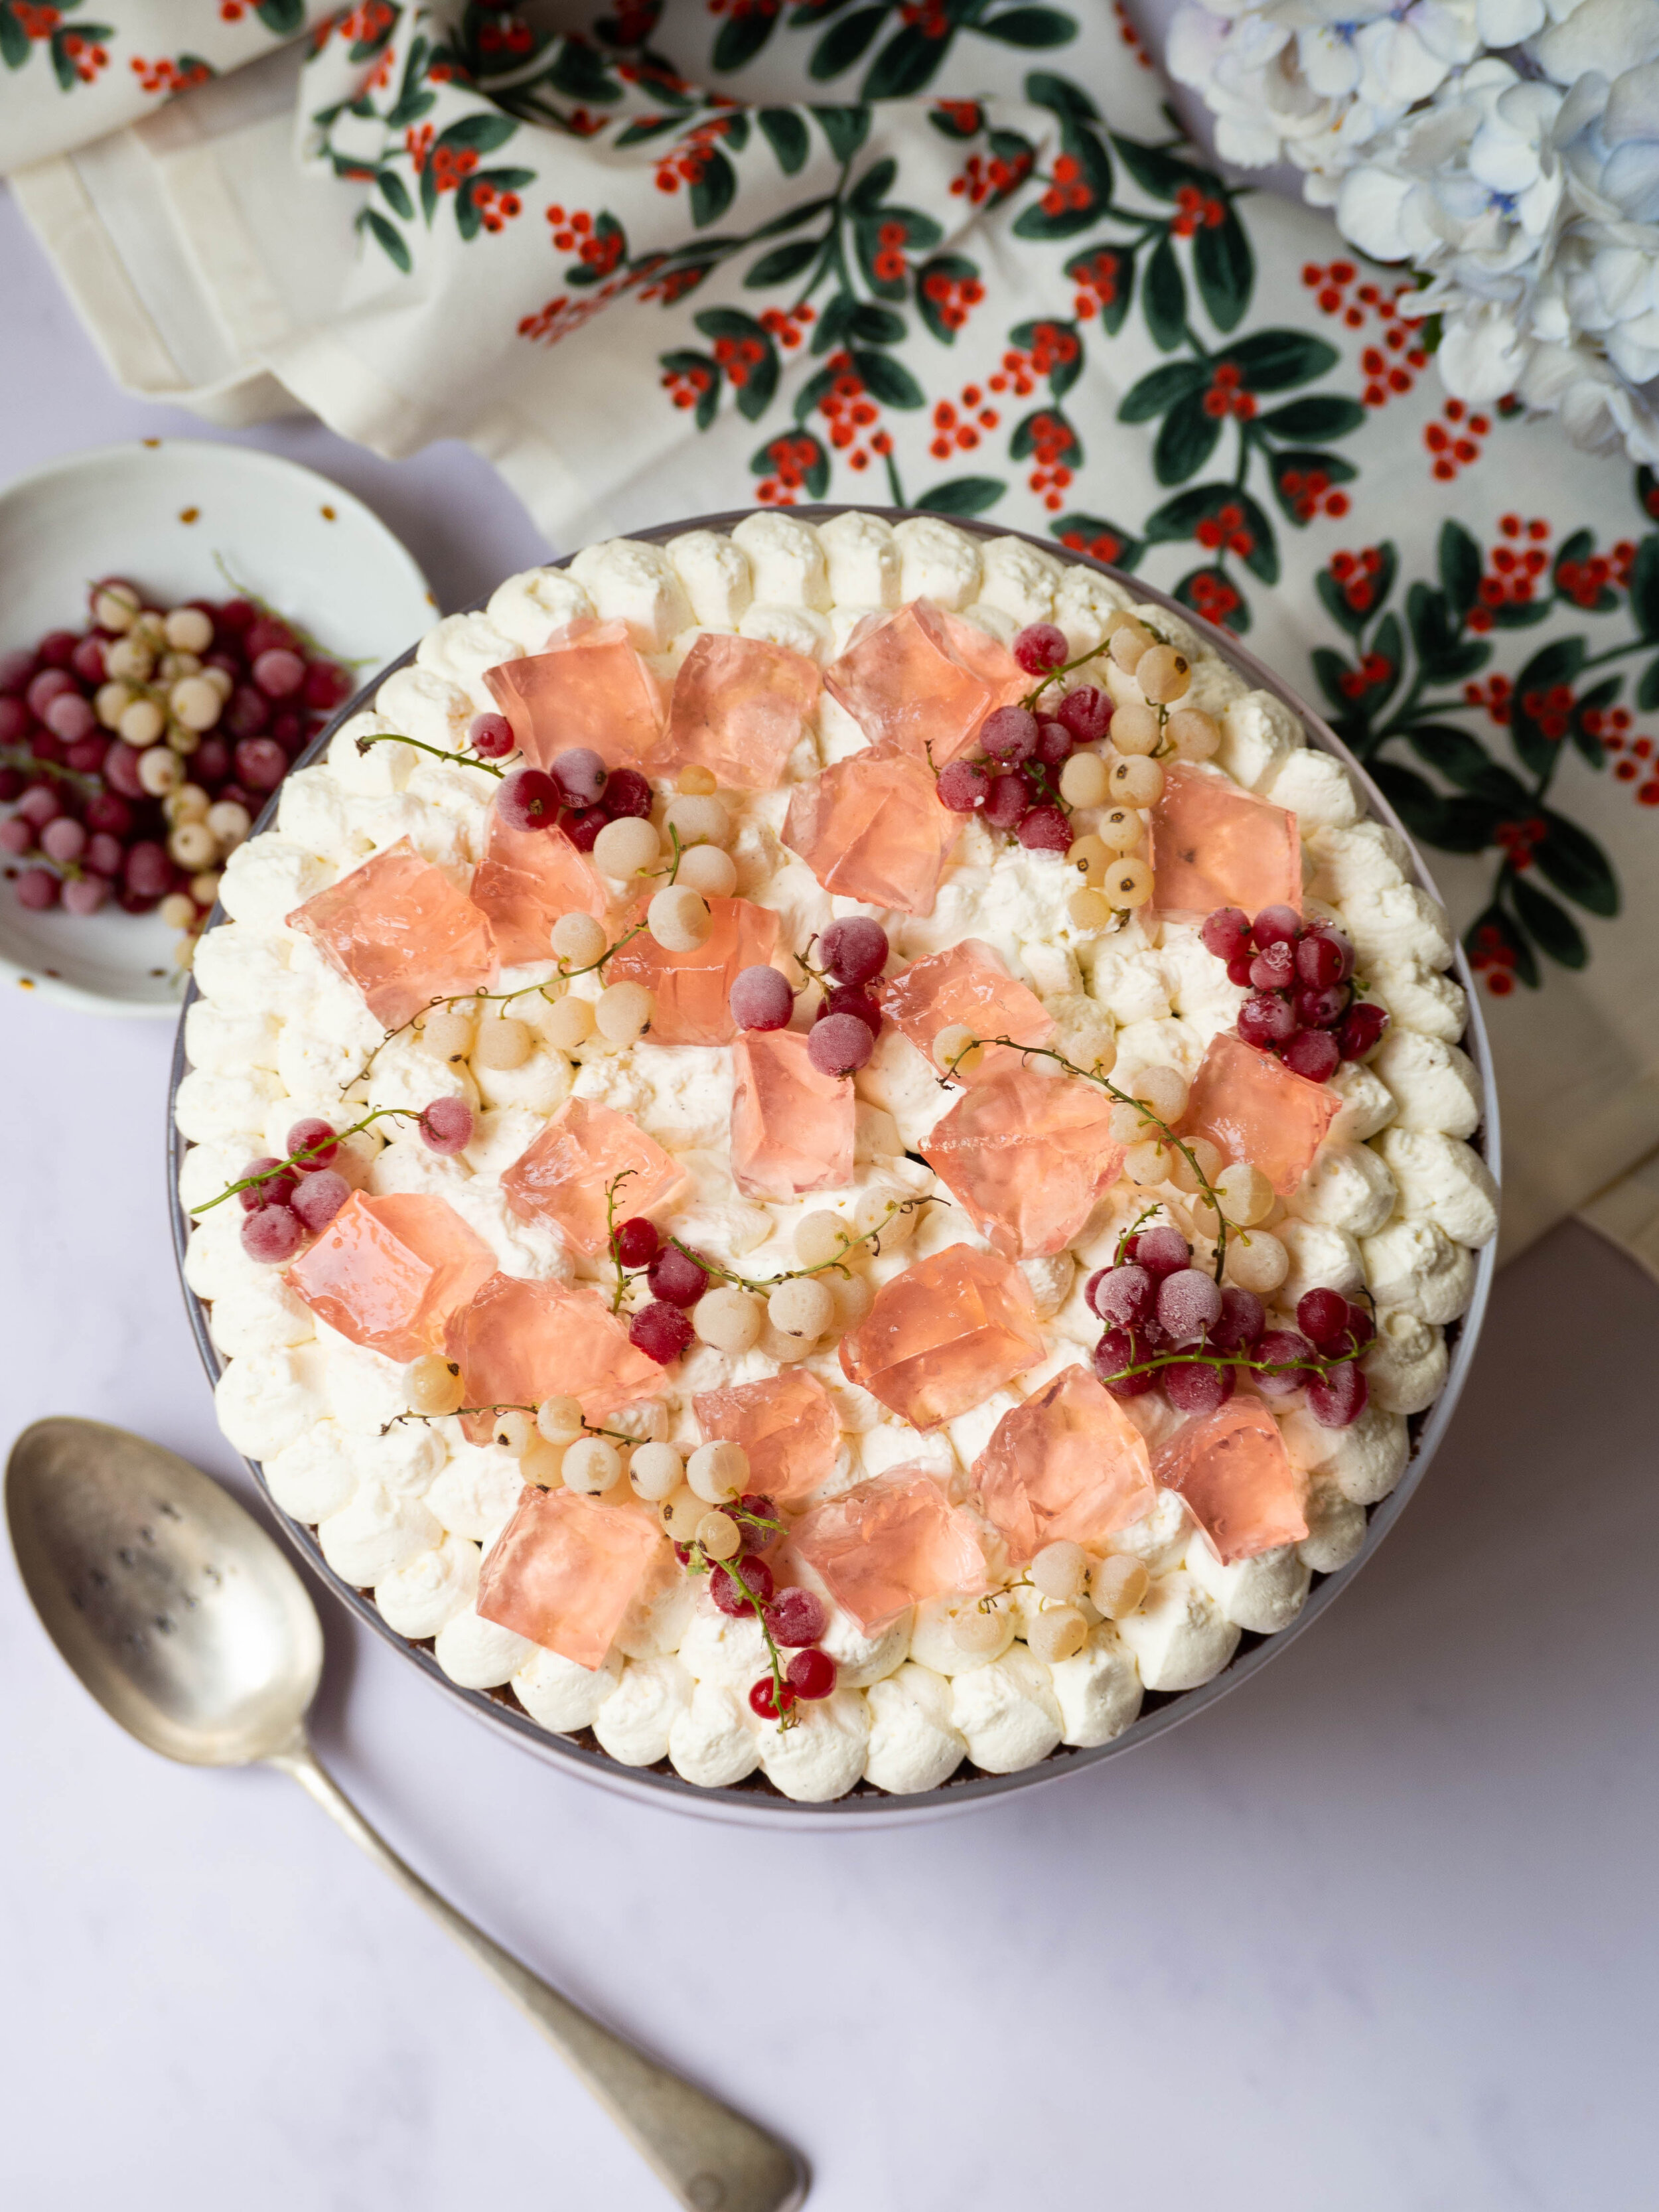
Whip the remaining 250ml of cream with the vanilla, then using a piping bag (just cut a small opening at the bottom of the bag, you don’t need to use a piping tip if you don’t have one), decorate the top of the trifle.
Remove the remaining jelly from its container, and cut into squares. Don’t worry if some of it breaks, I didn’t find I wanted to use all the jelly to decorate the top of the trifle anyway. Decorate the top of the trifle with some of the cut up jelly (any excess jelly can be placed back into the container and stored in the fridge, or added to each serve of trifle separately on each plate), and finish with some extra red and white currants.
Serve immediately, and store any leftovers in the fridge.
Serves about 12.
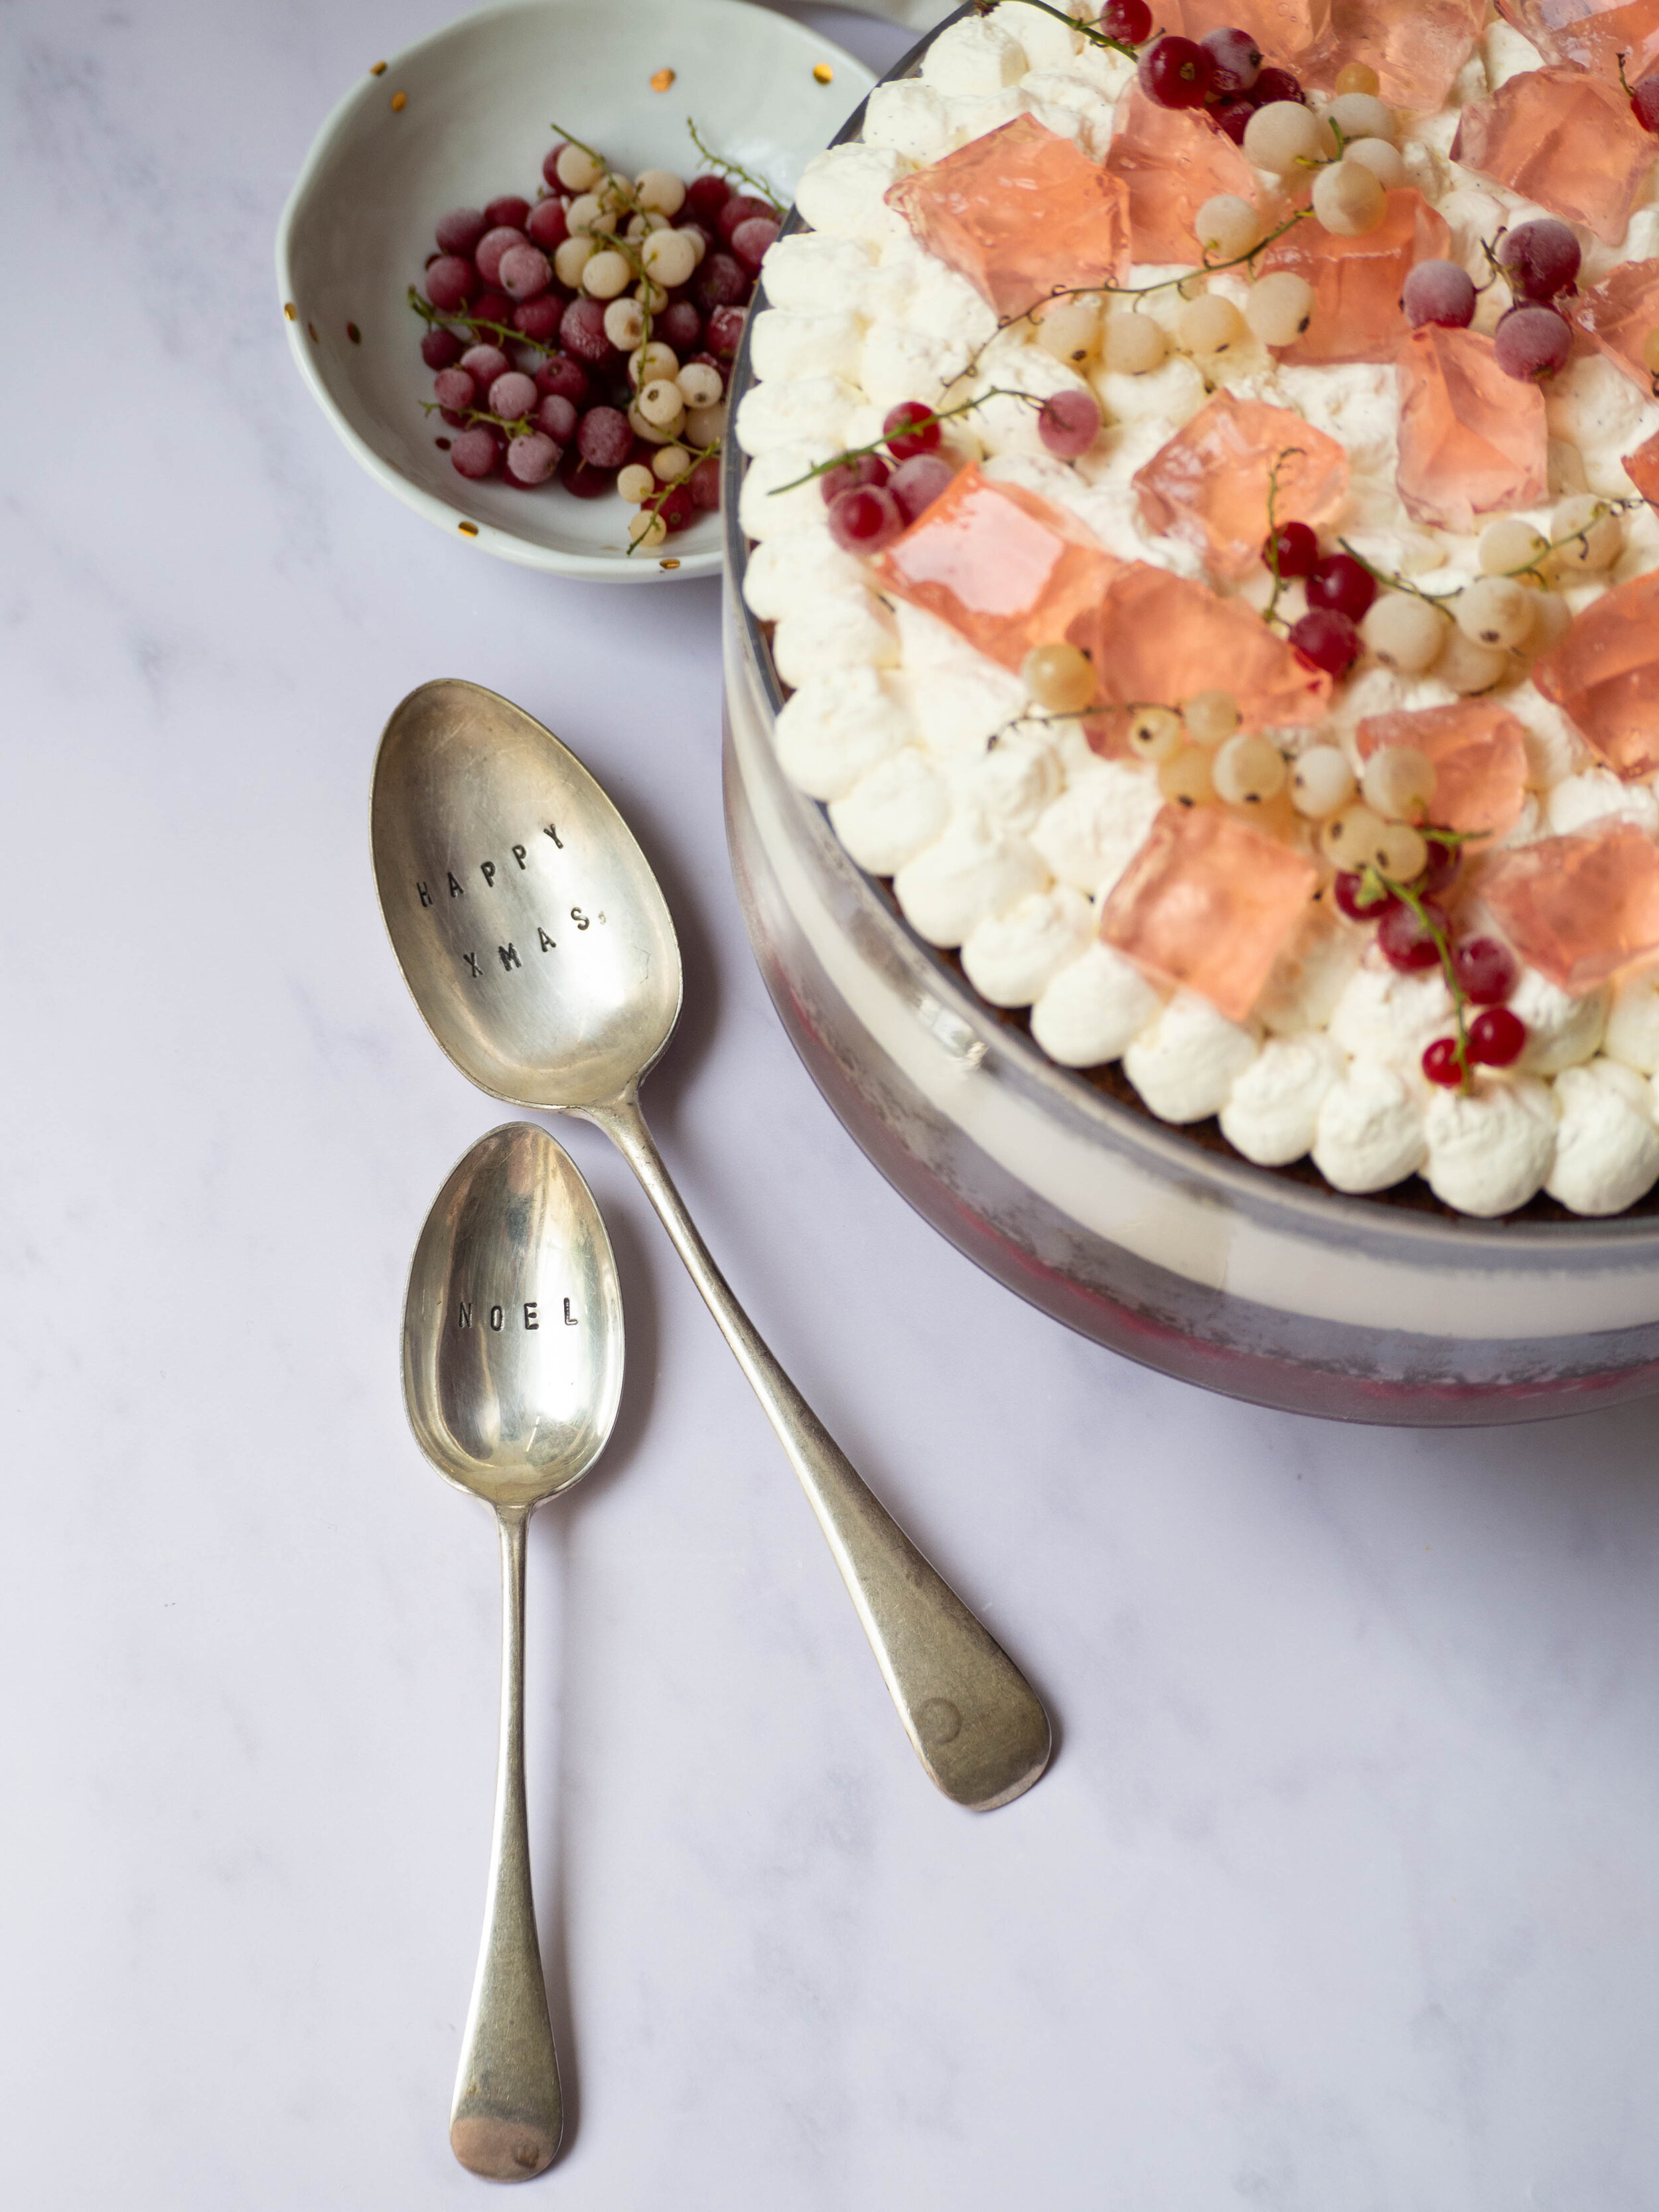
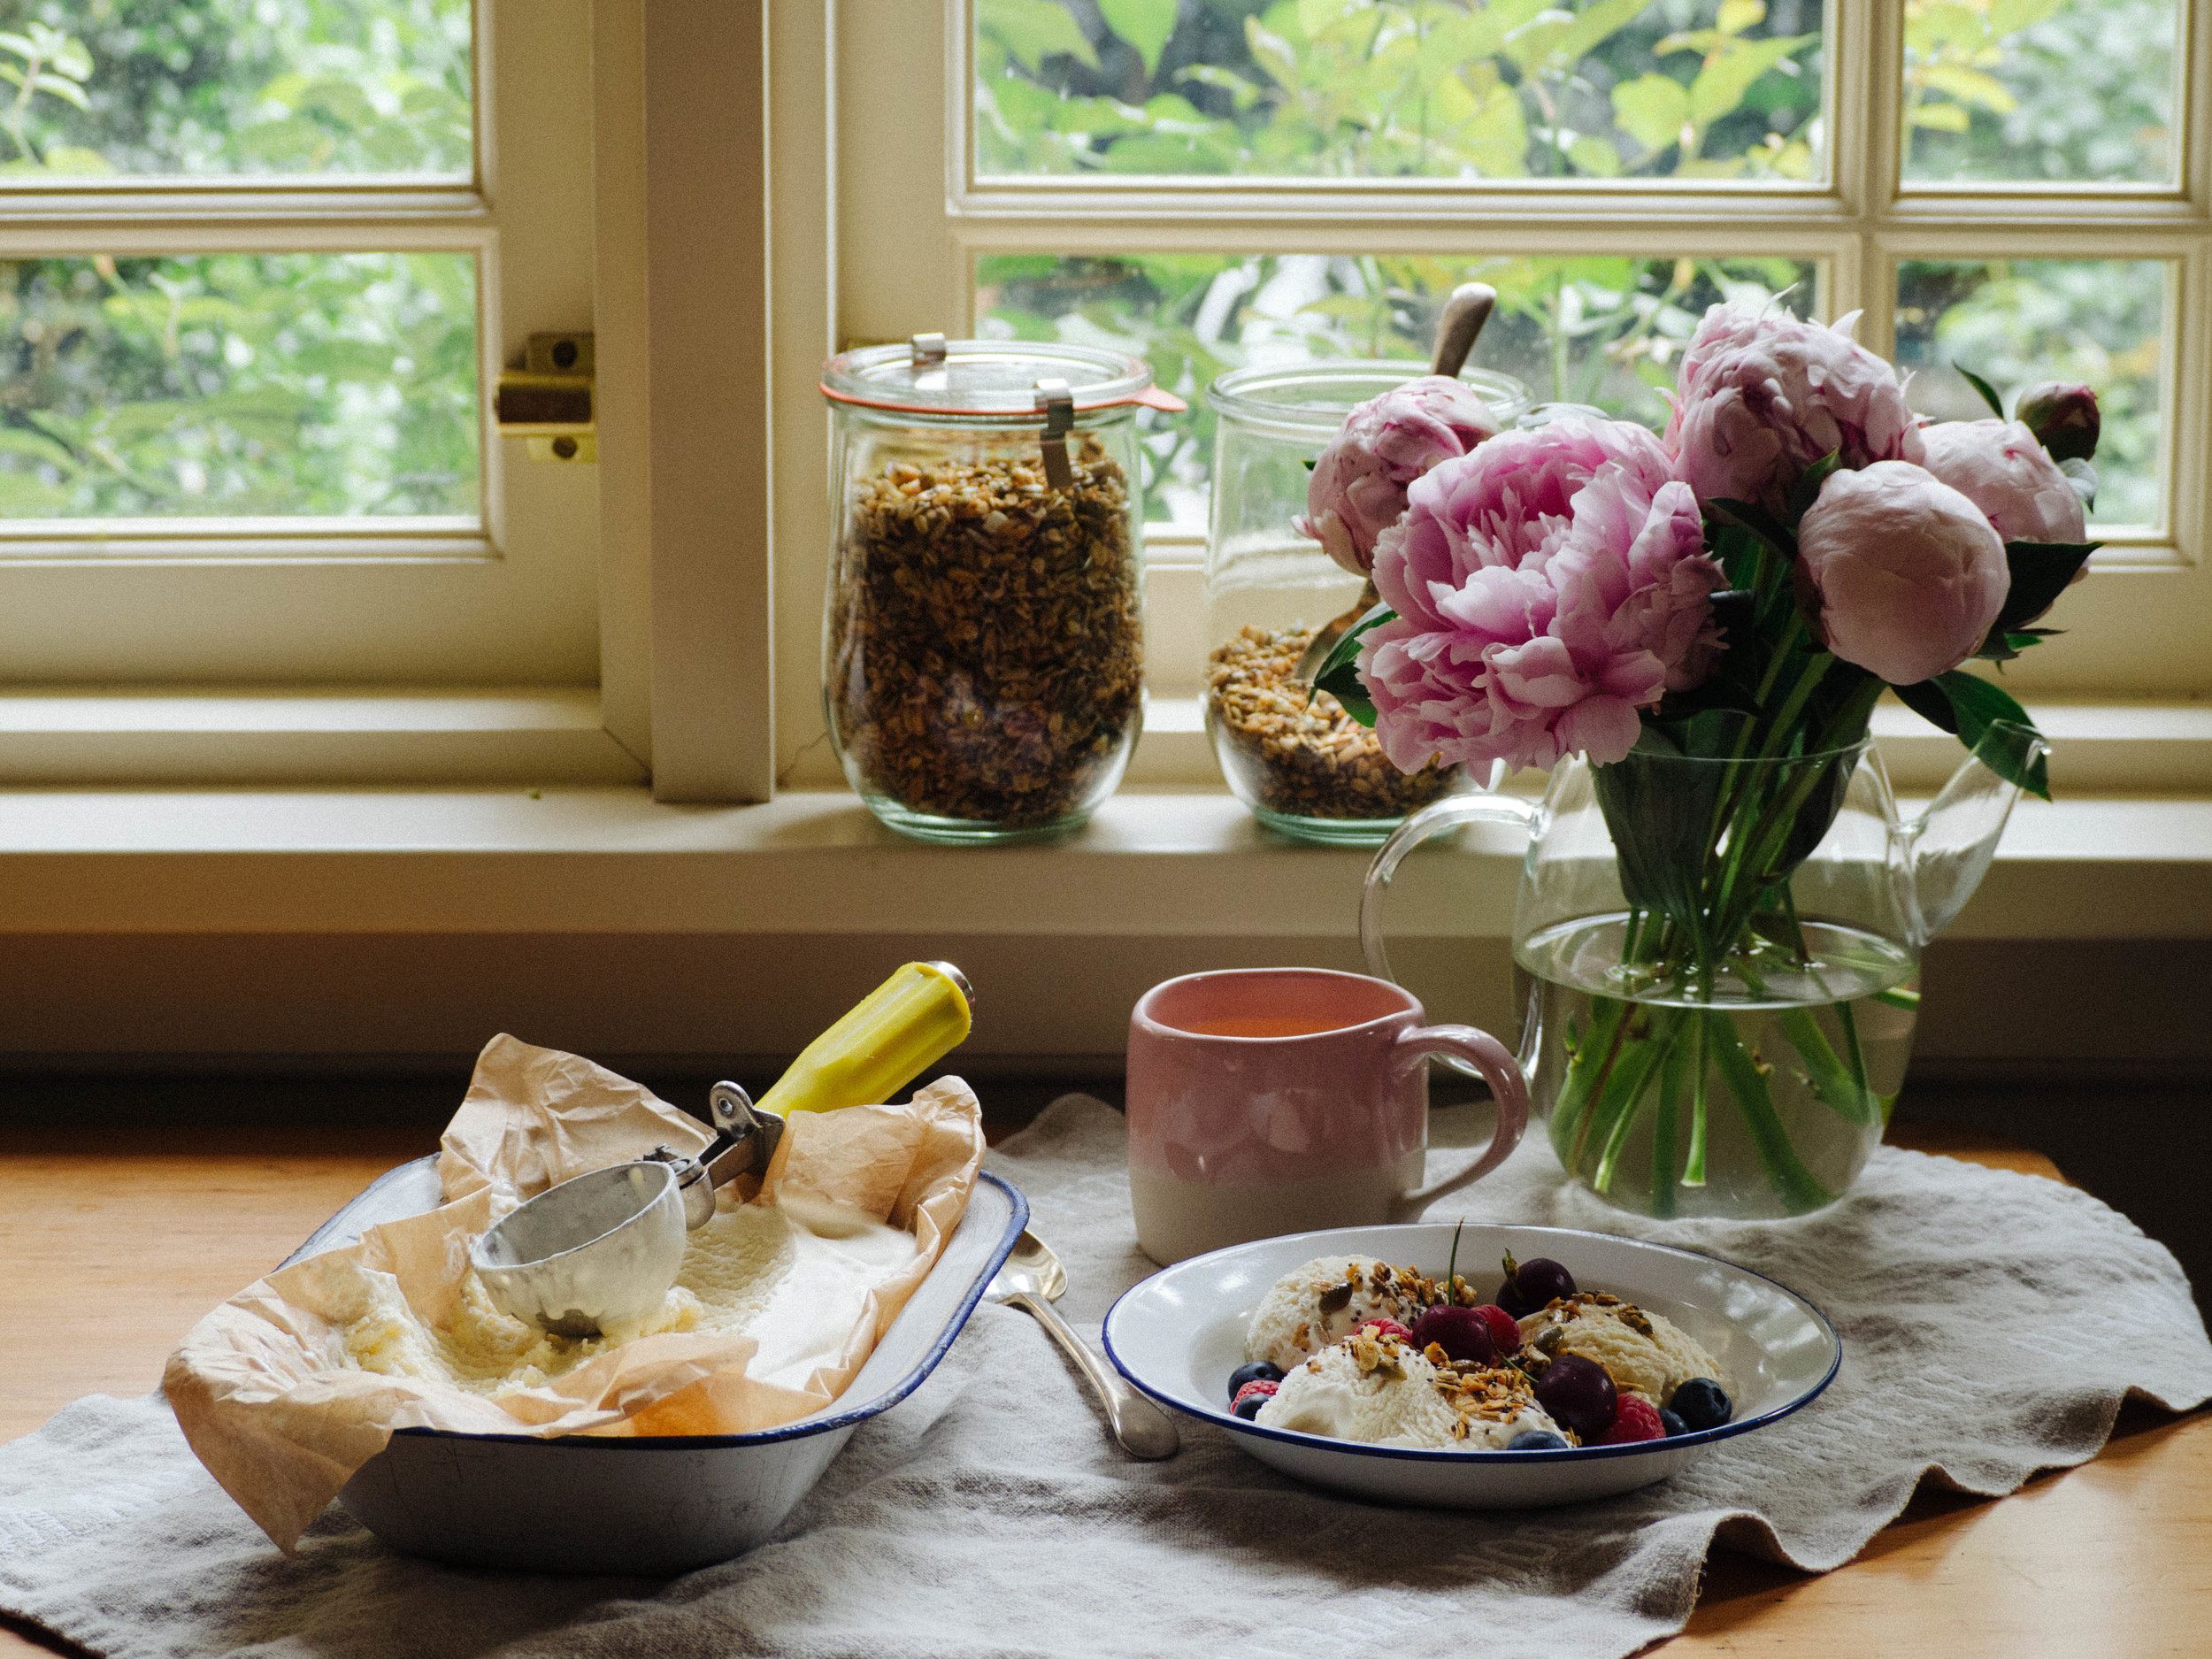
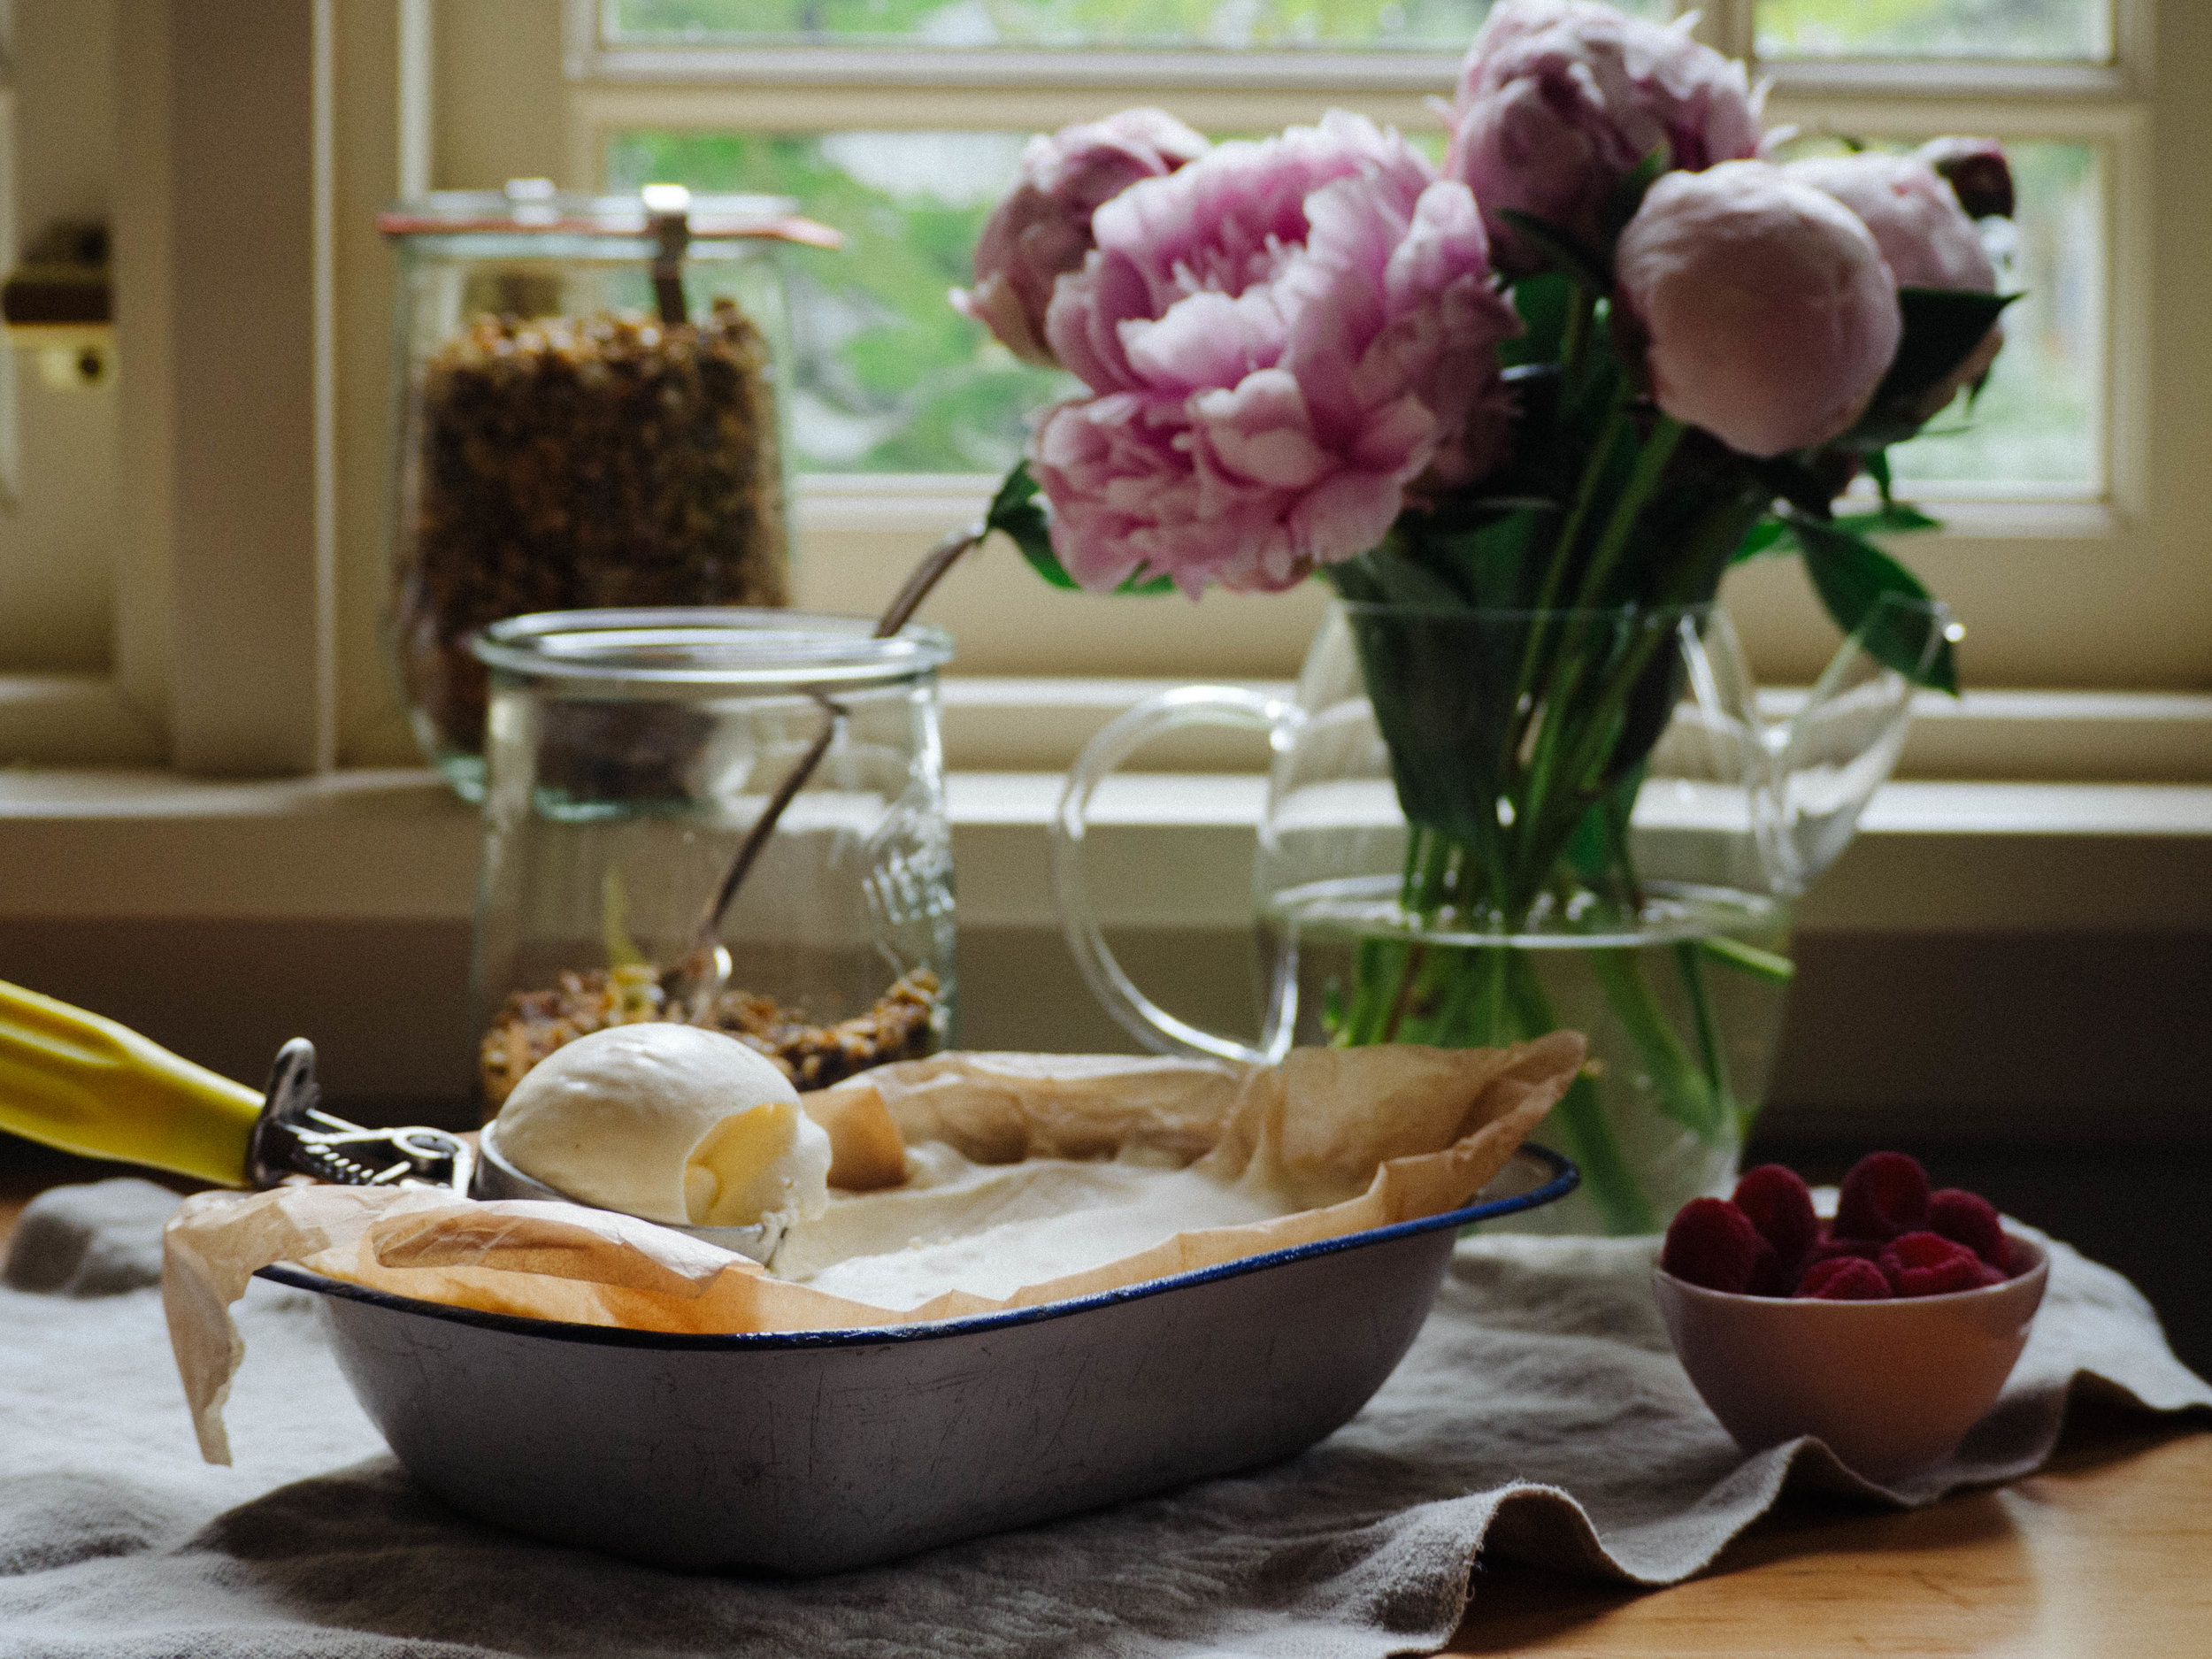
Vintage embossed spoons from The Coastal Marketplace


Unfortunately Trifle doesn’t look so great once served!