To me, this is a very satisfying cake to make. The most complex part is blitzing the pistachios to form a crumb. You can use a stand mixer for this recipe, however if your butter is very much at room temperature (or you are using an alternative like margarine, which is the perfect consistency straight from the fridge), you could just use a wooden spoon to mix it all together in a large mixing bowl.
The flavours are also exactly what I want to eat. Obviously I always want to eat cake that contains pistachio, and rhubarb adds a lovely sweet yet tart element to the whole thing that feels just right.
The inspiration for this cake came from the many times I have been looking at Tilly Pamment’s new book ‘The Plain Cake Appreciation Society’ of late, and my eye constantly being drawn to the recipes that used pistachio and those that used rhubarb. Tilly’s book uses a lot of flavours that I love to bake with and eat, and it gave me an idea to create a simple cake with some things I already had ingredient wise.
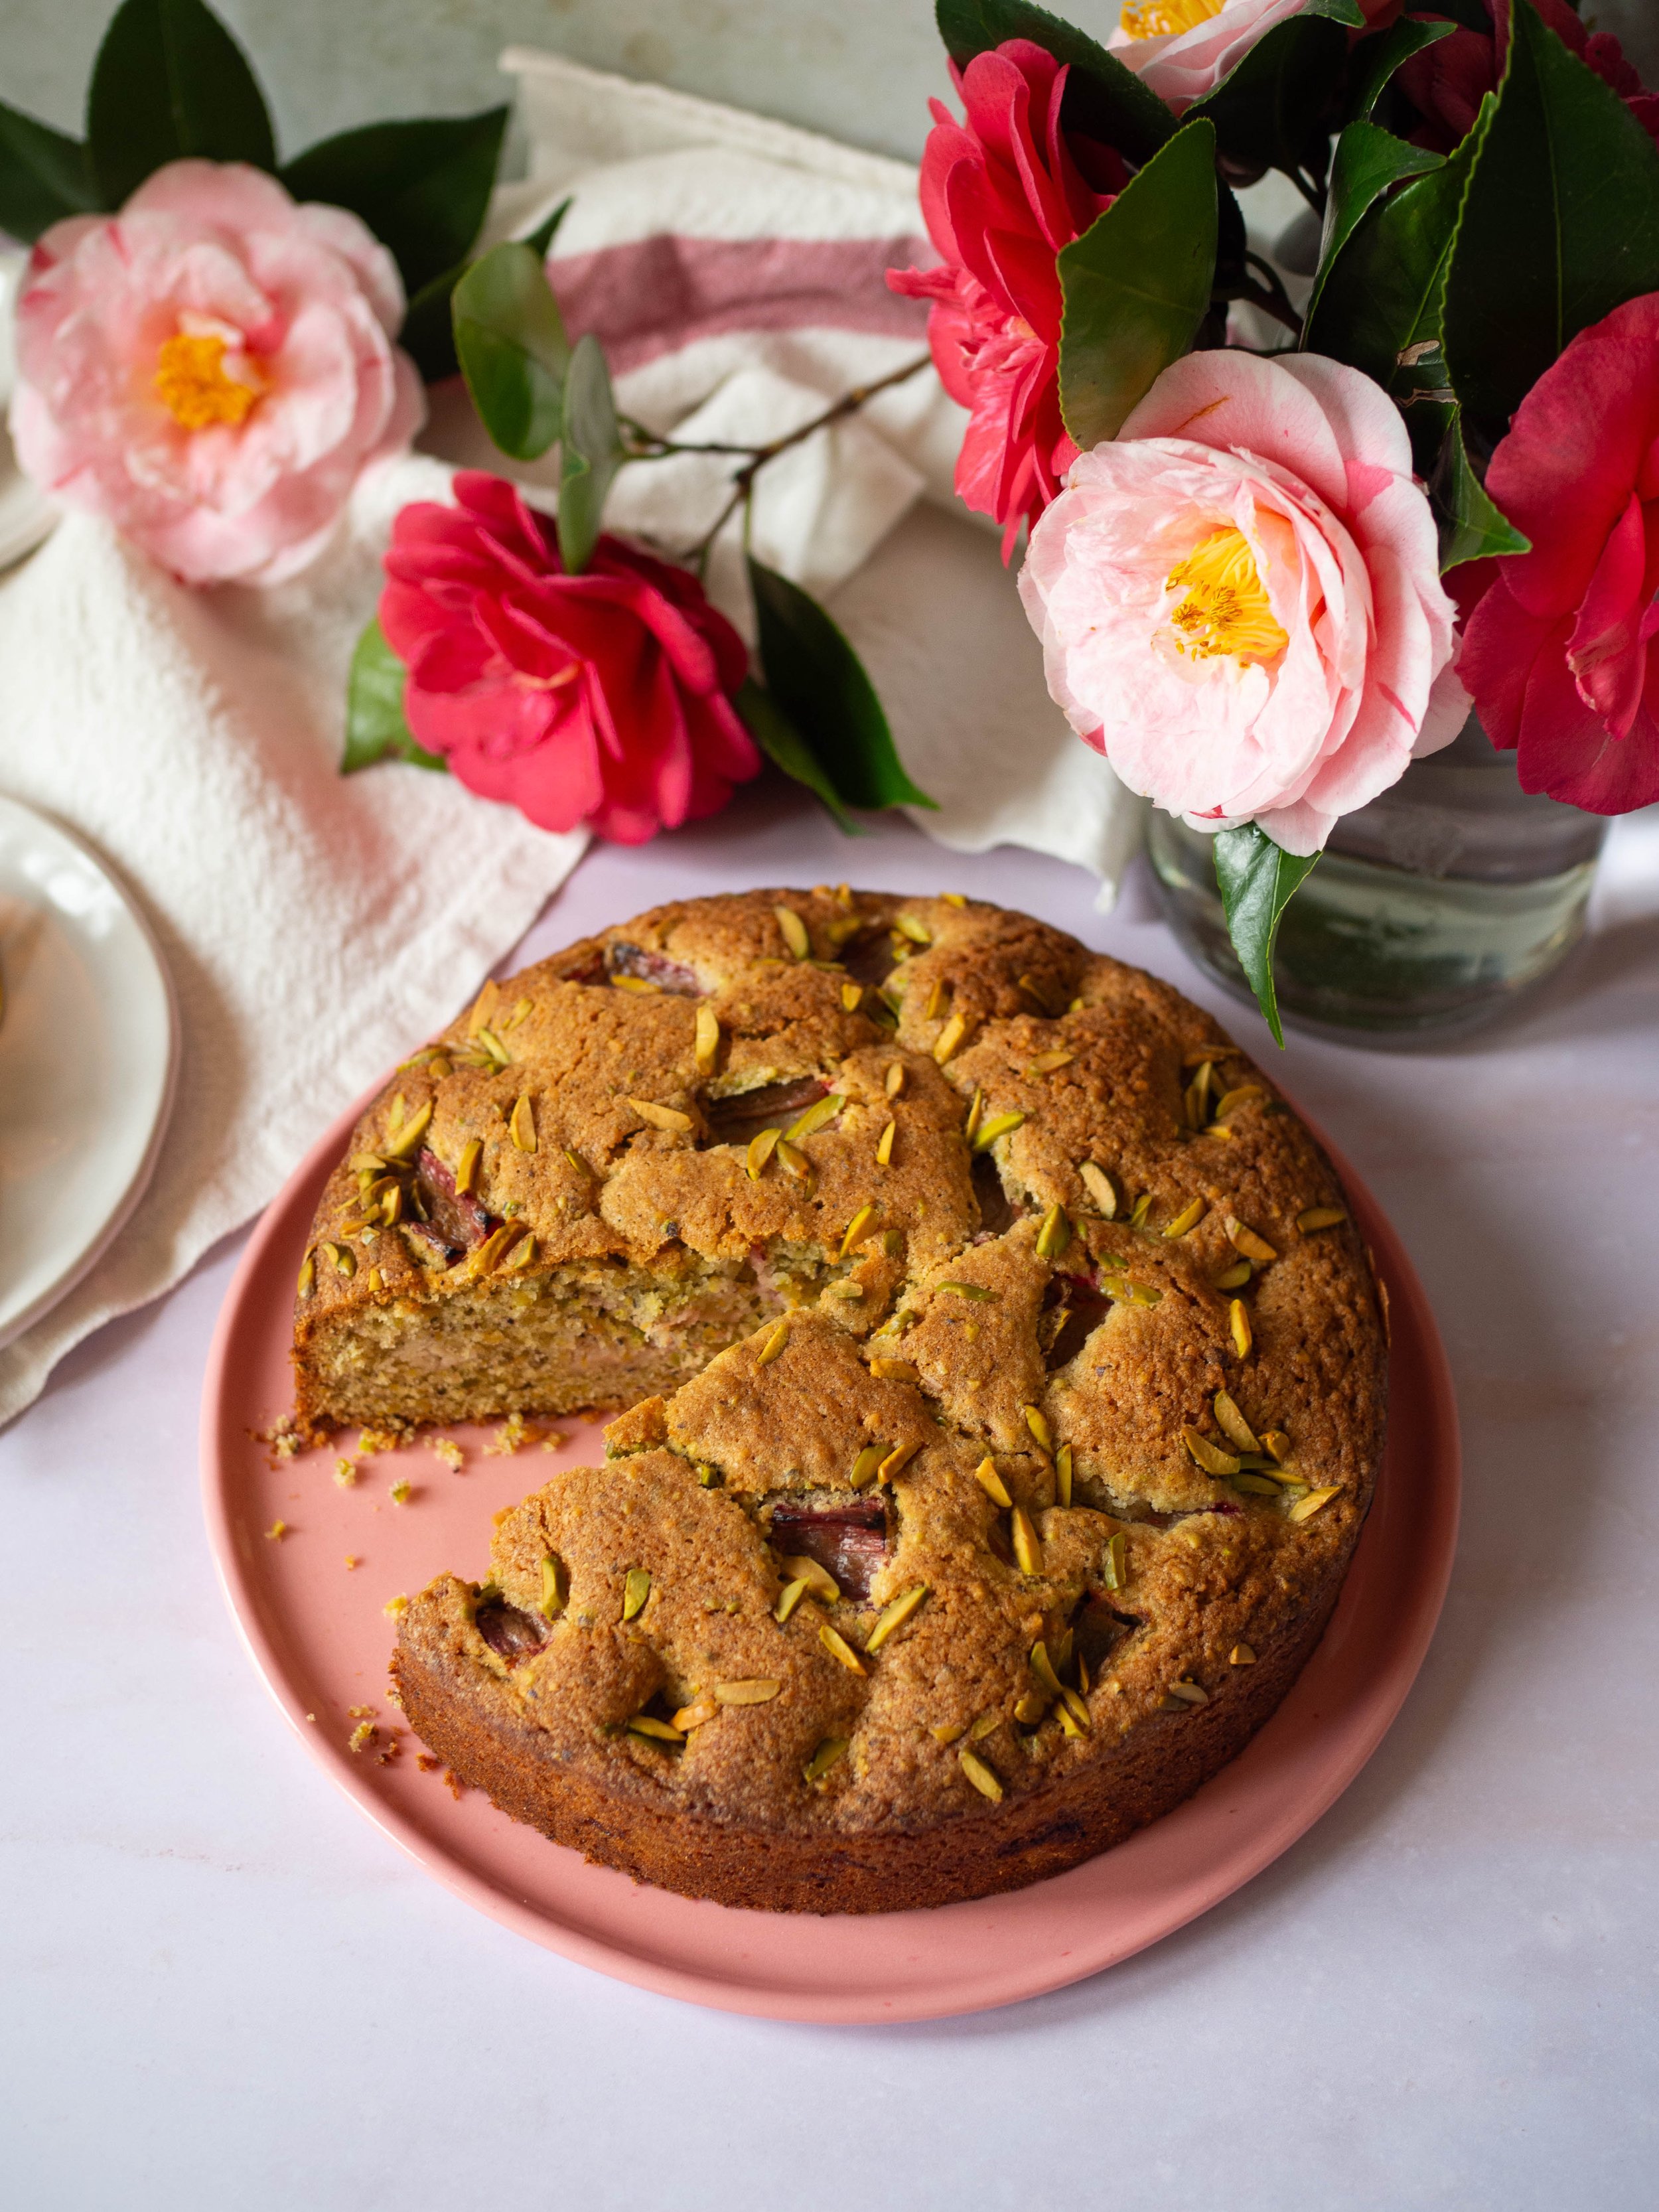
I basically always have pistachios of some kind on hand, and we have had some rhubarb in the freezer for a few months now that is crying out to be used. The pistachios add a really nice green colour to the cake, and also a great texture too. And as much as I love a cake with icing, I also really like that this cake doesn’t need one. The slightly chewy texture the pistachios give the outer of the cake is perfect the way it is. It also means a slice of cake can be enjoyed a little sooner, which is a win in my books.

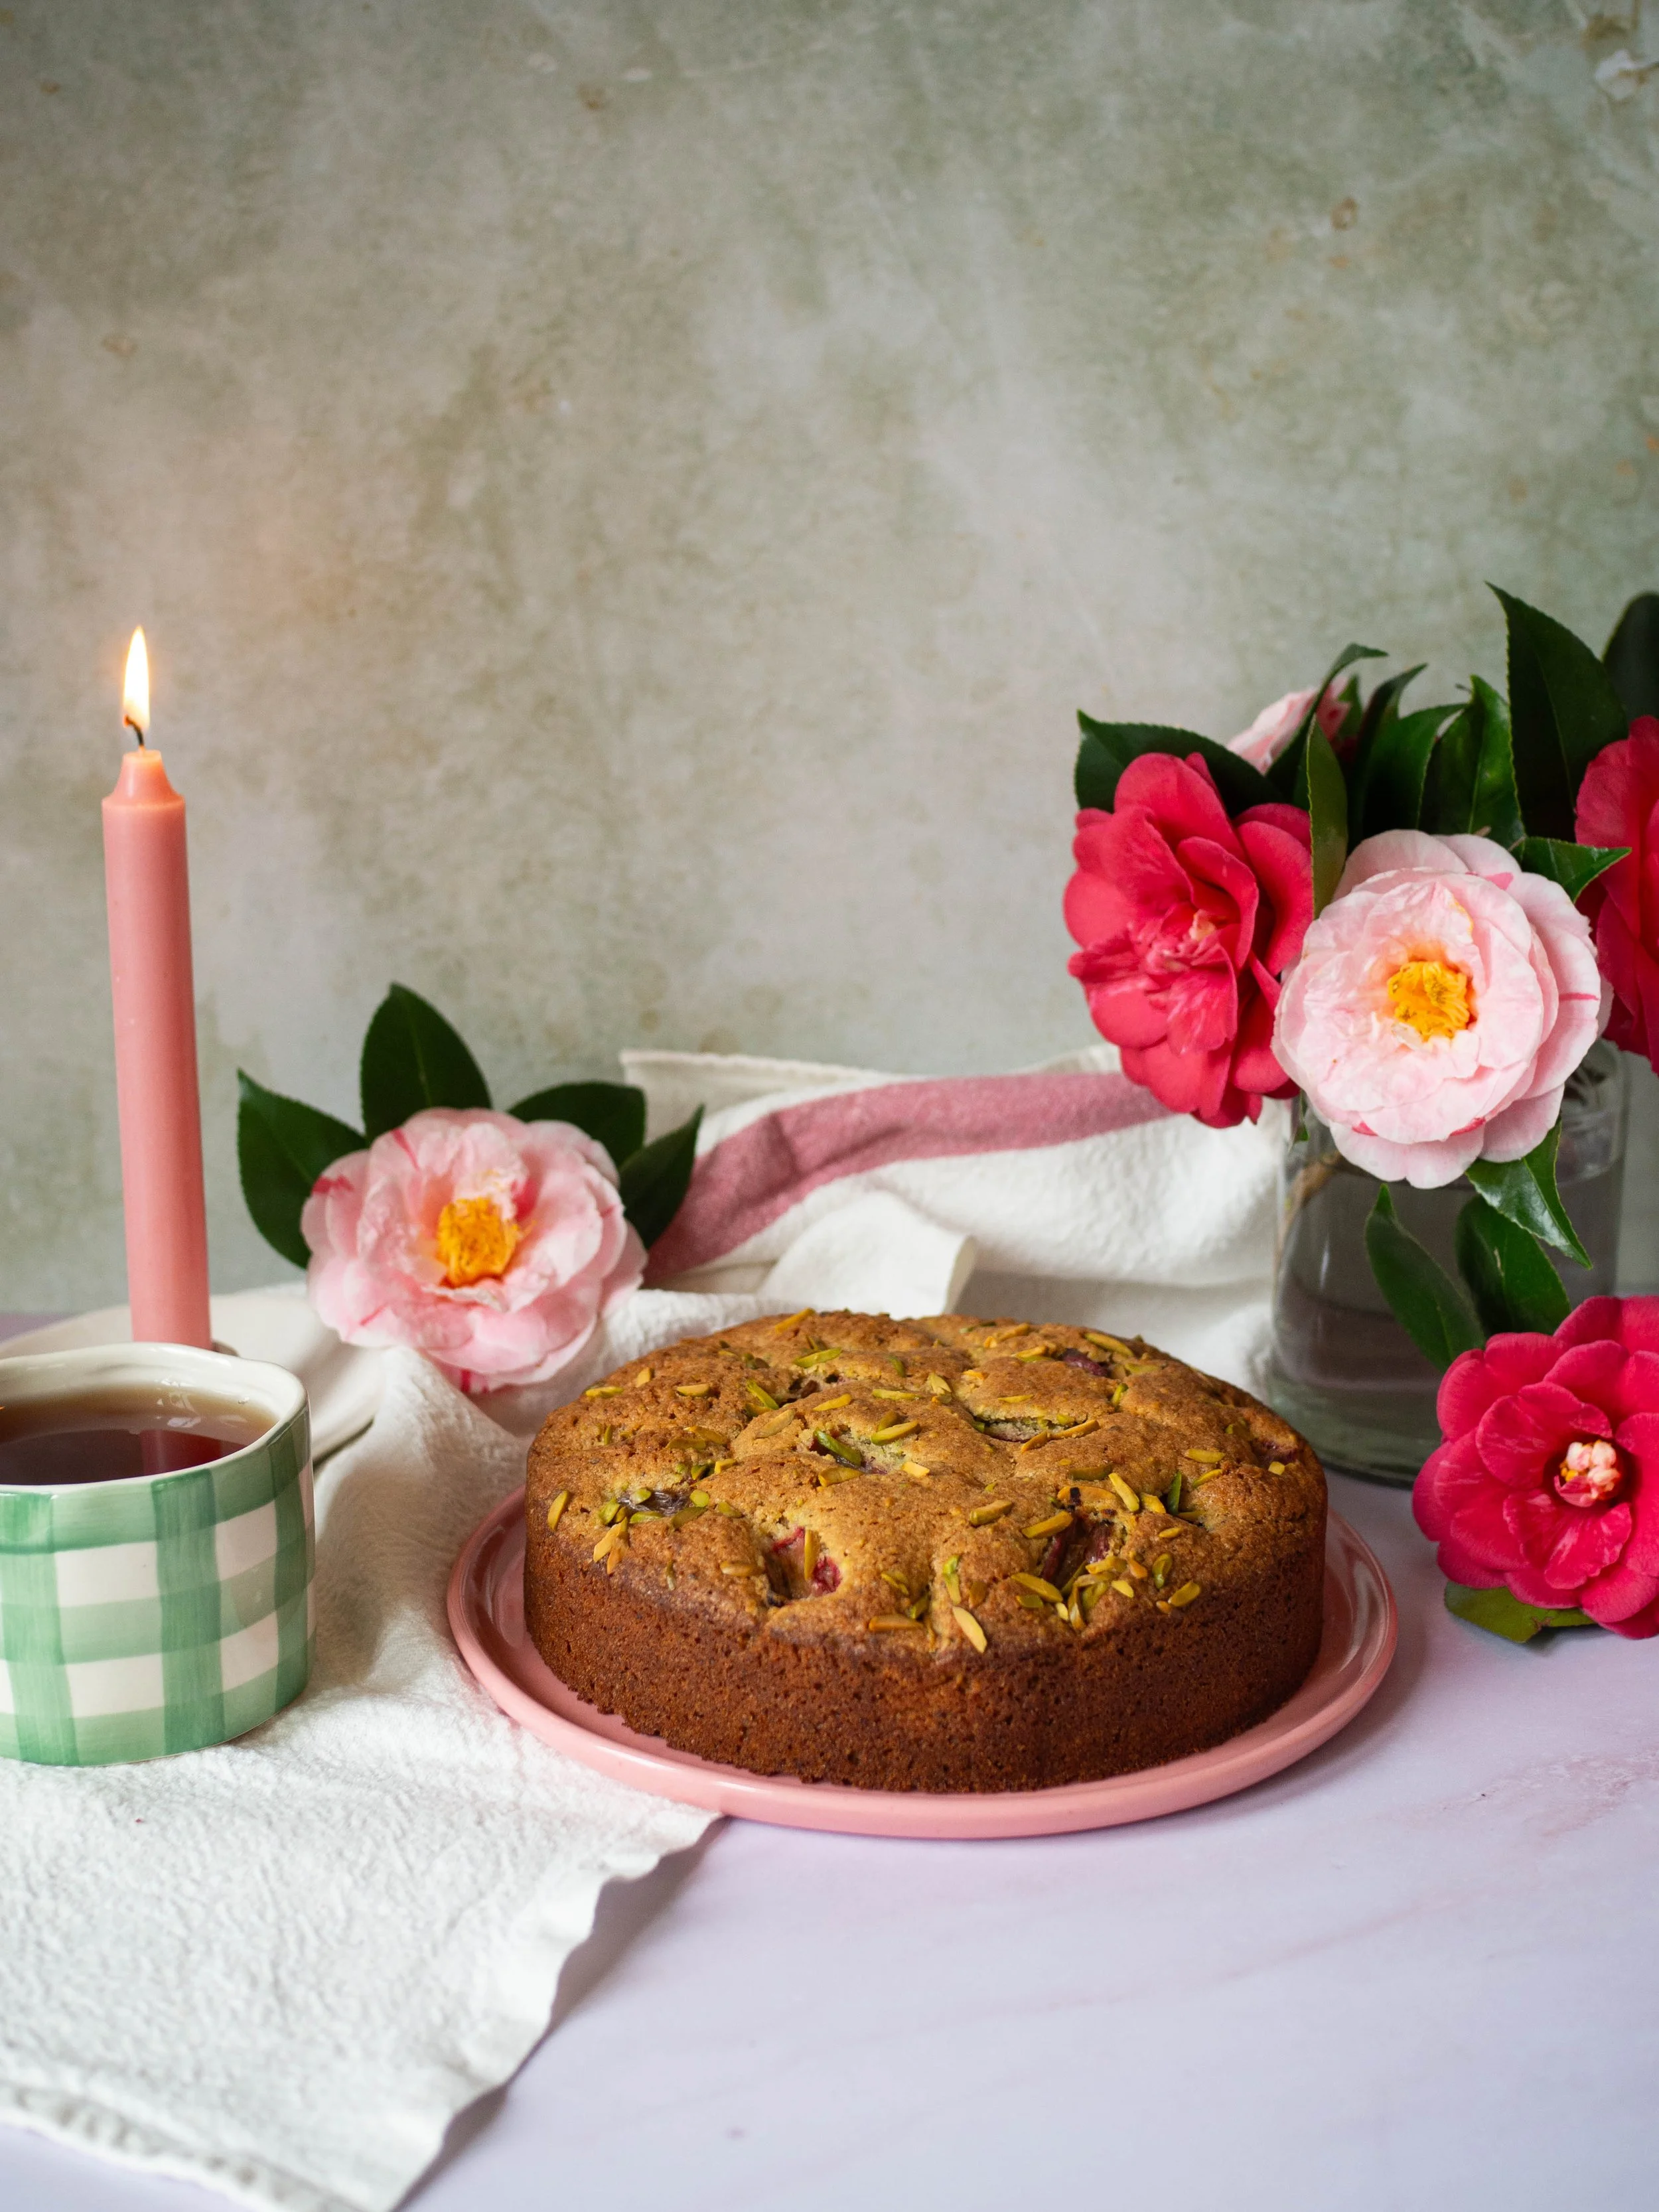
Pistachio and Rhubarb Cake
Ingredients:
175g unsalted butter, softened
175g caster sugar
1 tsp vanilla extract
2 eggs
125g raw pistachios
175g self raising flour
150g rhubarb, cut into 2cm pieces
1 tbsp slivered or roughly chopped pistachios
Method:
Pre-heat oven to 160 degrees Celsius and grease and line a 20cm round springform or loose bottomed cake tin.
Using a food processor, grind the pistachios into a fine crumb/meal (the same consistency as almond meal). Don’t over process or you may end up with pistachio nut butter, rather than pistachio meal.
In the bowl of a stand mixer add the butter, sugar and vanilla. Beat using the paddle attachment until light and fluffy. Add the eggs separately, beating well after each.
In a separate bowl whisk together the flour and blitzed pistachios, then add to the batter and gently mix until just combined.
Transfer the cake batter into the tin and smooth the top. Push the rhubarb into the top of the cake a little, evenly covering the cake in the rhubarb pieces. Scatter the slivered pistachios over the top of the cake.
Bake for about an hour, or until the cake is springy to the touch and a skewer comes out clean when inserted into the cake.
Leave the cake to cool before removing from the tin.
Serves 8, stores well in an airtight container for 3-4 days.