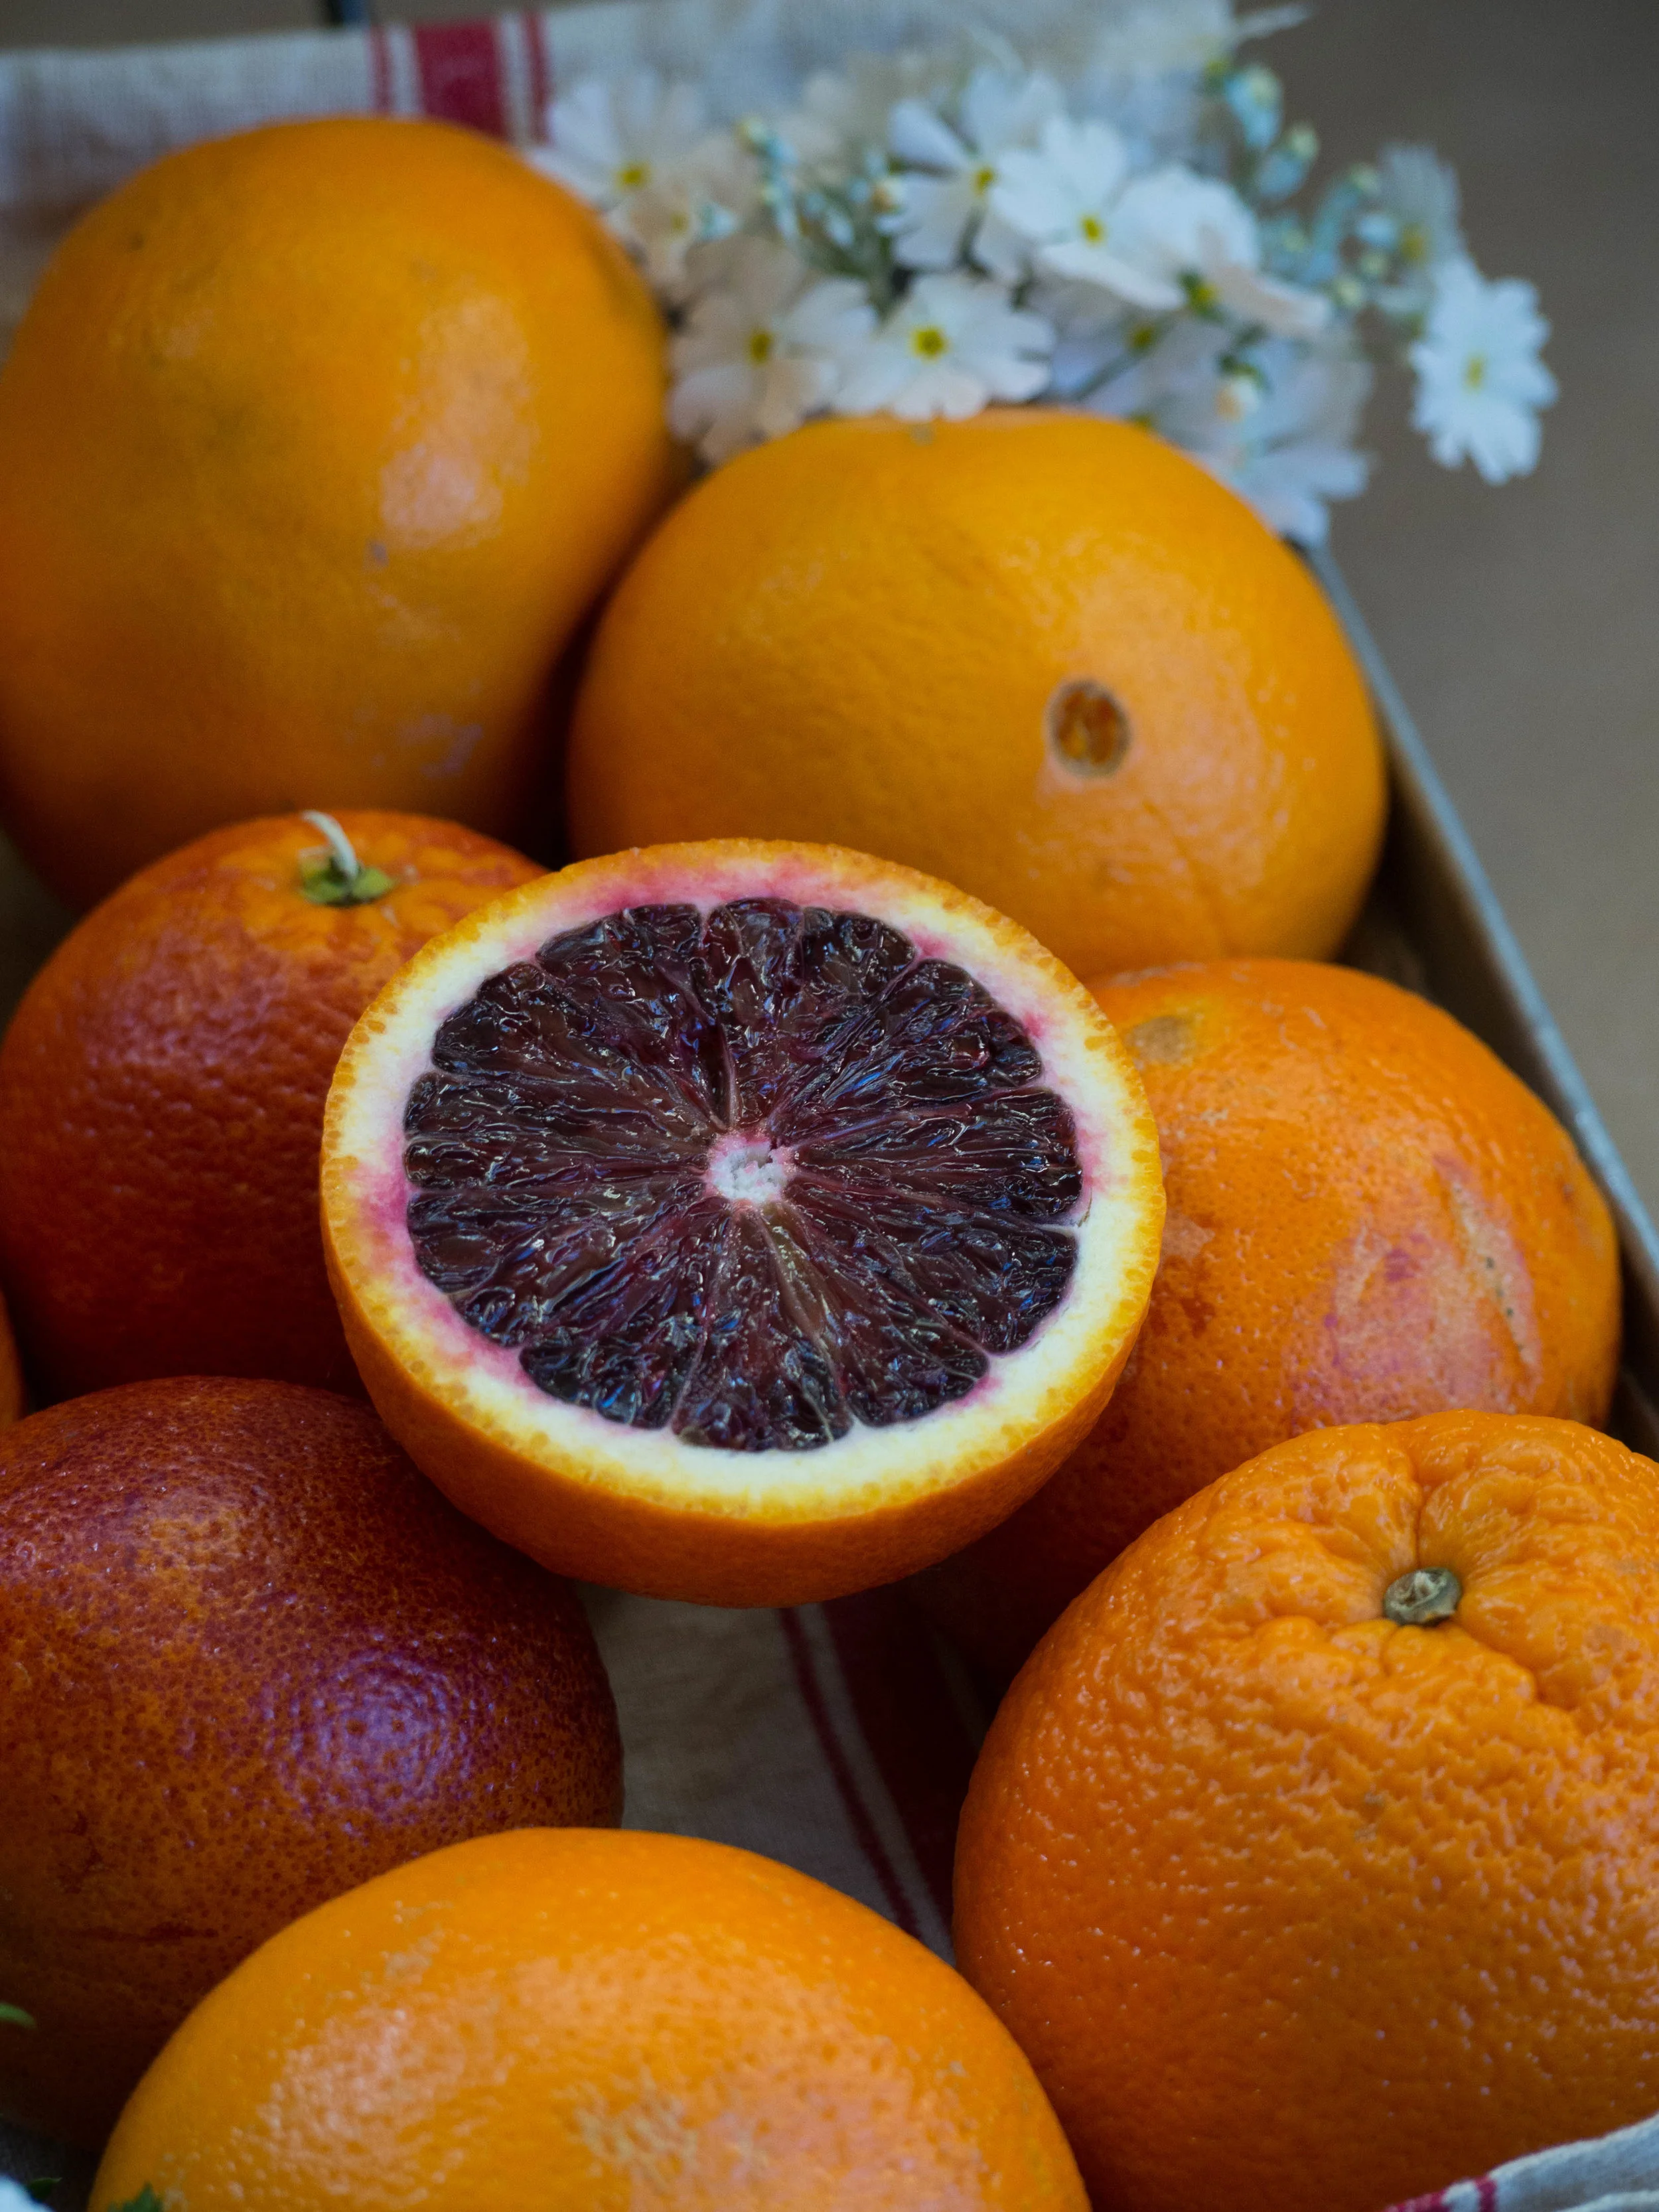
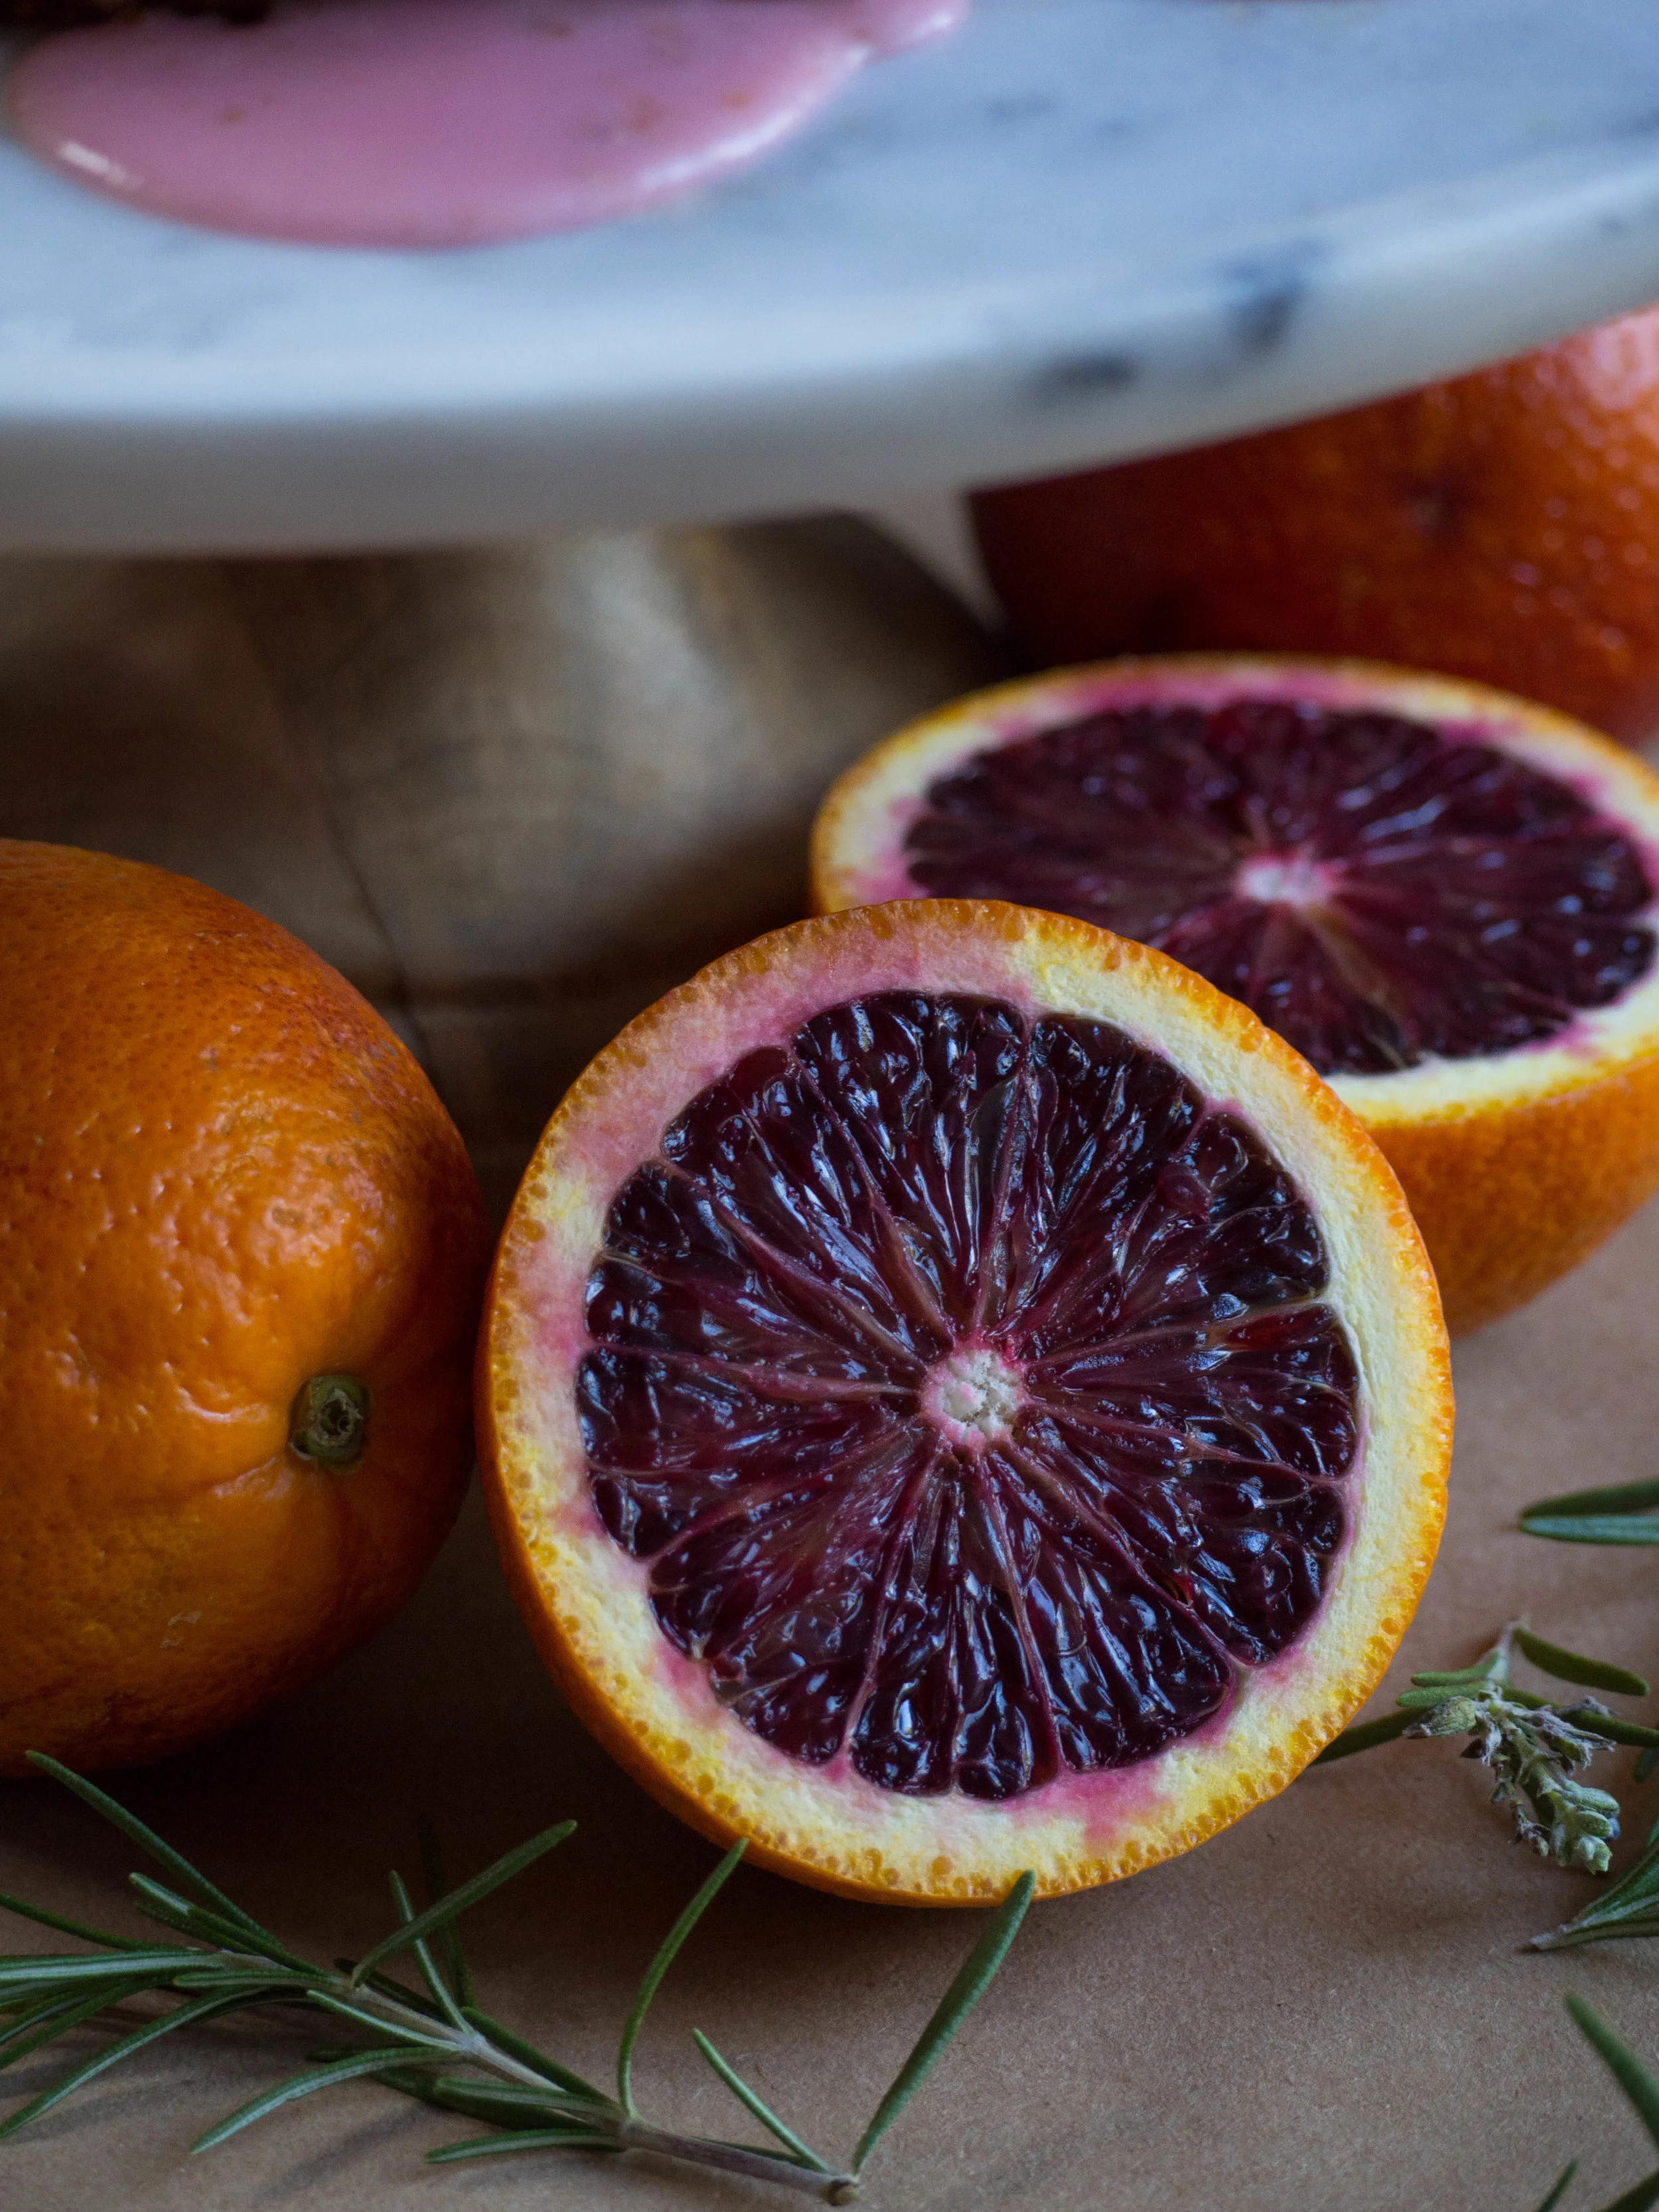
As soon as blood orange season arrived, I had recipe ideas swimming around in my head. I buy them about once a week, from the shops near where I work, only three or so at a time so they are easy to carry home after work. Then, come the weekend, I use some for baking things like this cake, then I juice the rest and freeze the it to use later on. My freezer is now quite full, along with the copious amounts of varying berries, homegrown mandarins and so much bread, the zip lock bags and small containers of blood orange juice are artfully placed in small gaps and spaces ready to be used once the weather gets warmer and ice blocks become necessary.
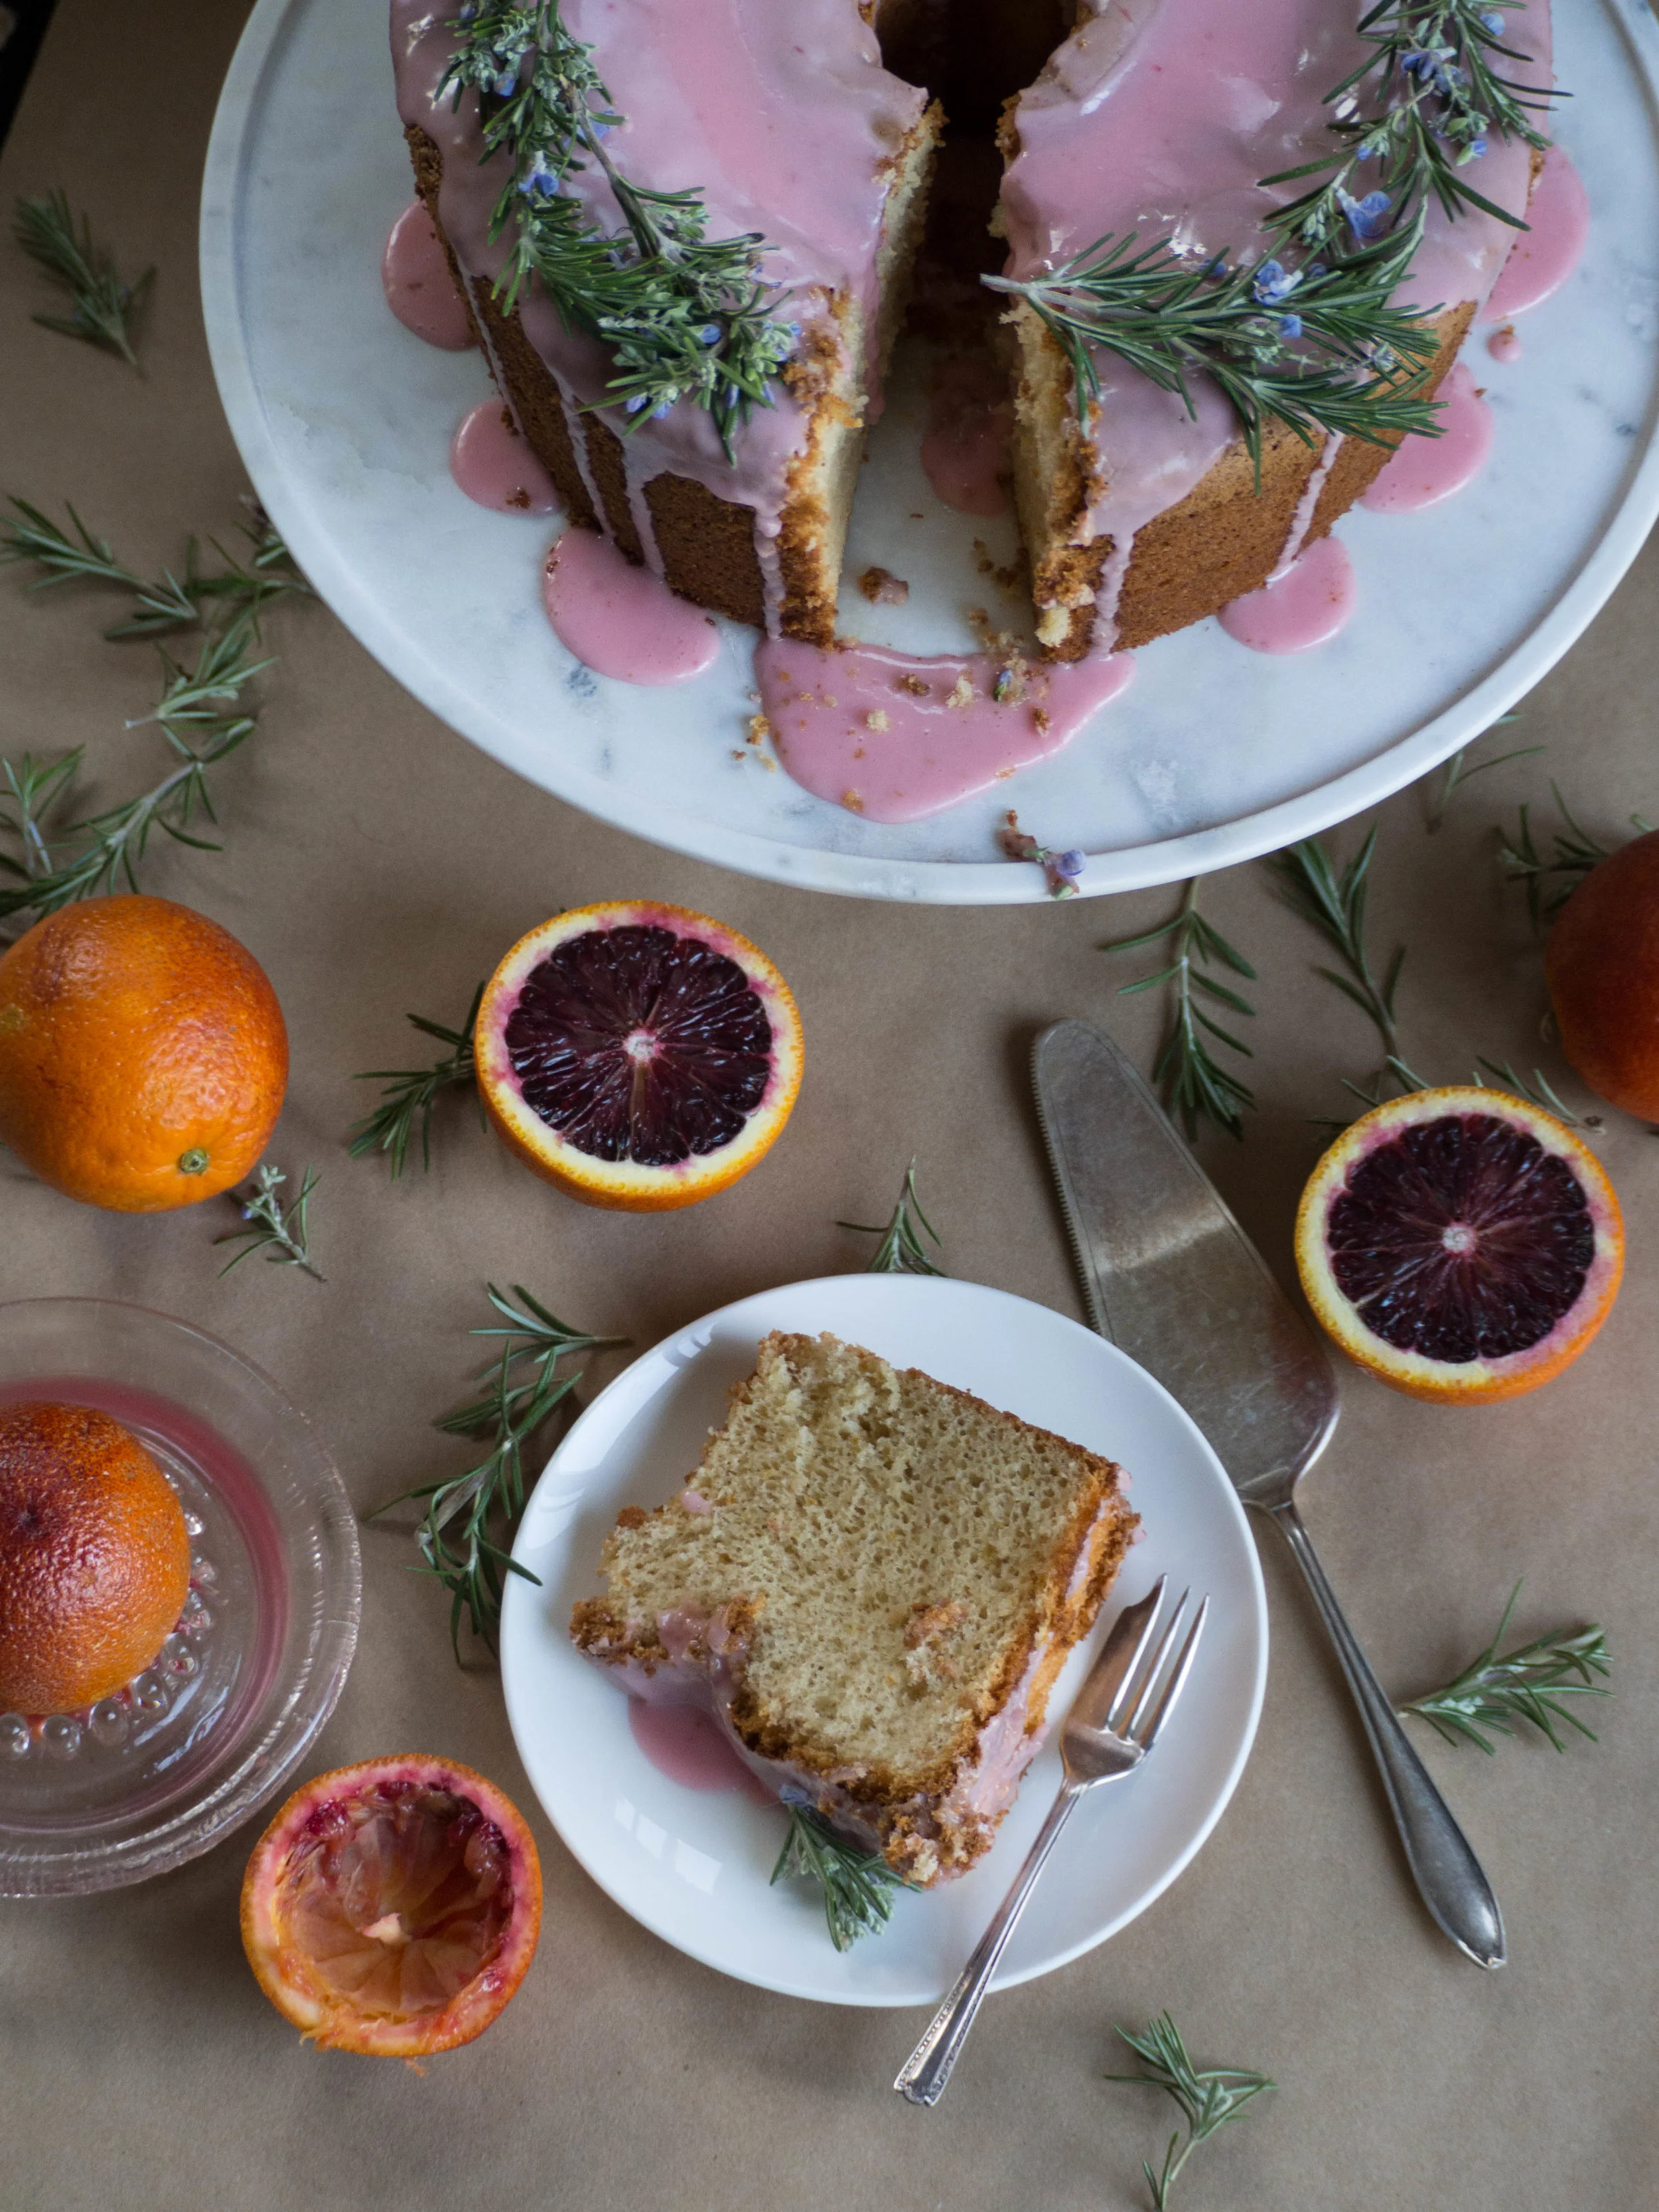
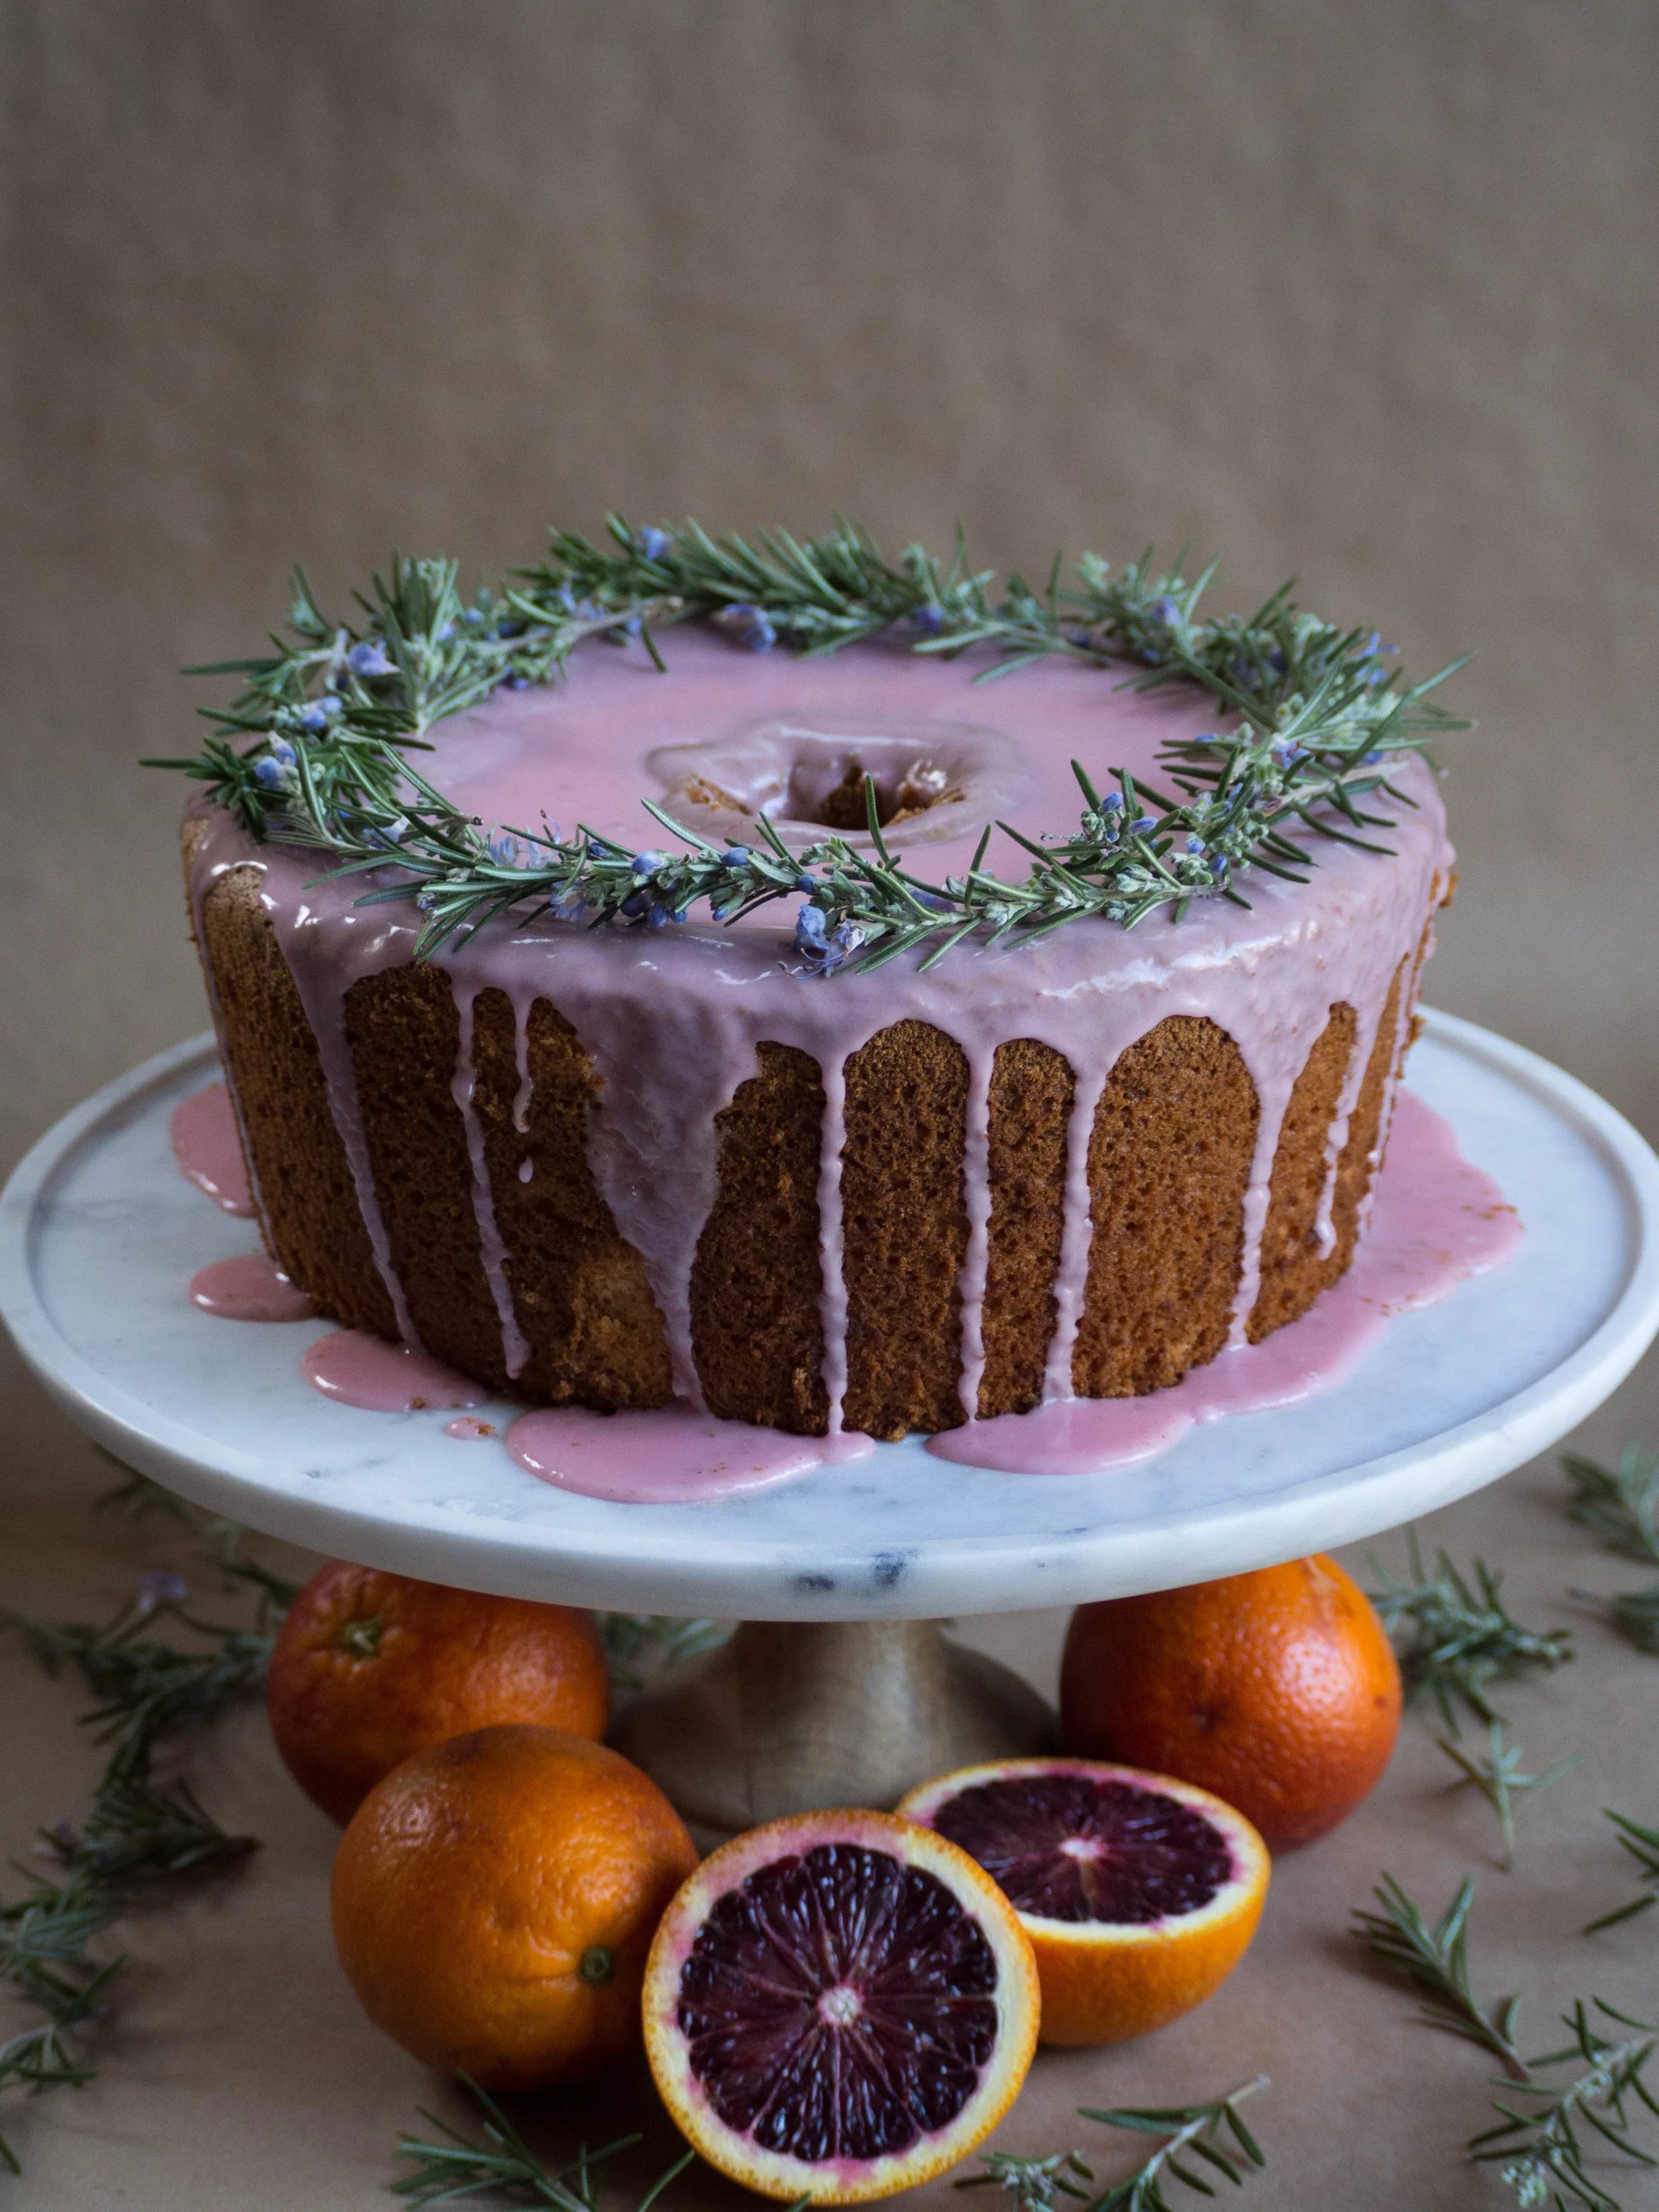
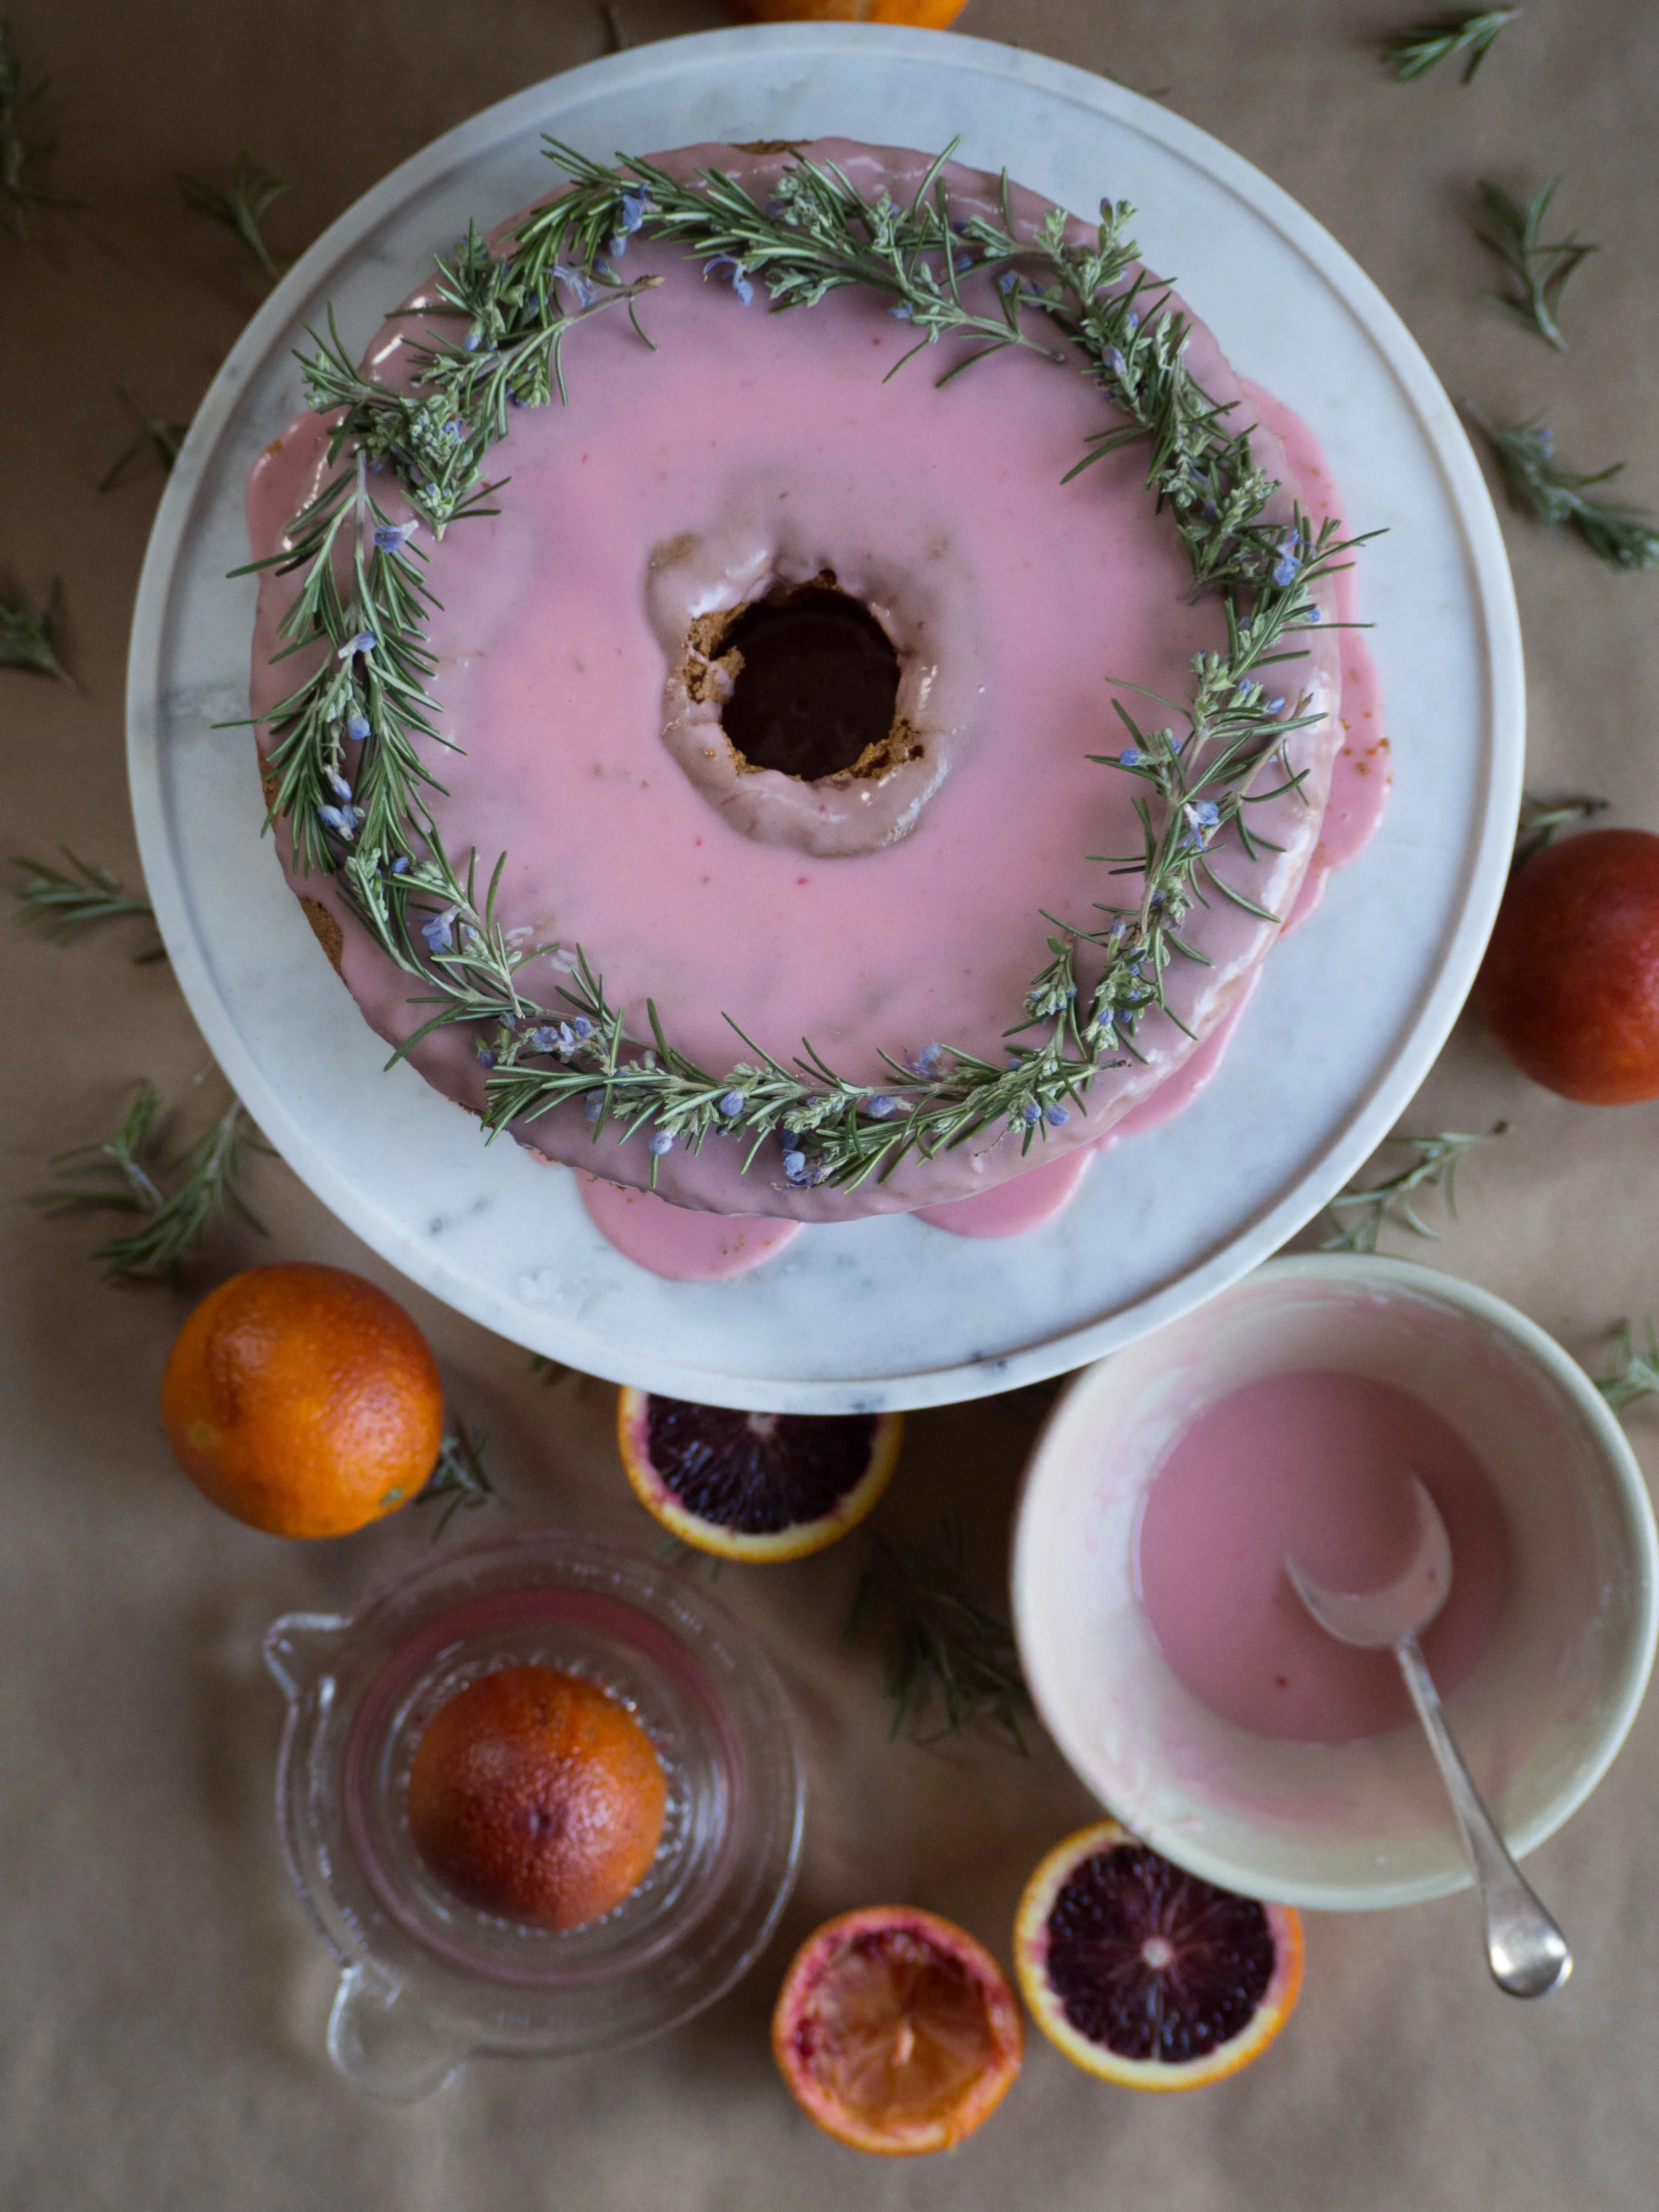
The base recipe of this chiffon cake has been adapted from my favourite chiffon cake (of all time), the Custard Chiffon Cake which can be found in the Monday Morning Cooking Club’s first book. This chiffon cake was the first I ever tasted or made. Now it still remains my favourite, however adaptations such as this Blood Orange Chiffon are amazing and a great way to mix things up a bit and show off some lovely fresh produce. Not to mention I always love a cake with pink icing! Any excuse for pink icing!!
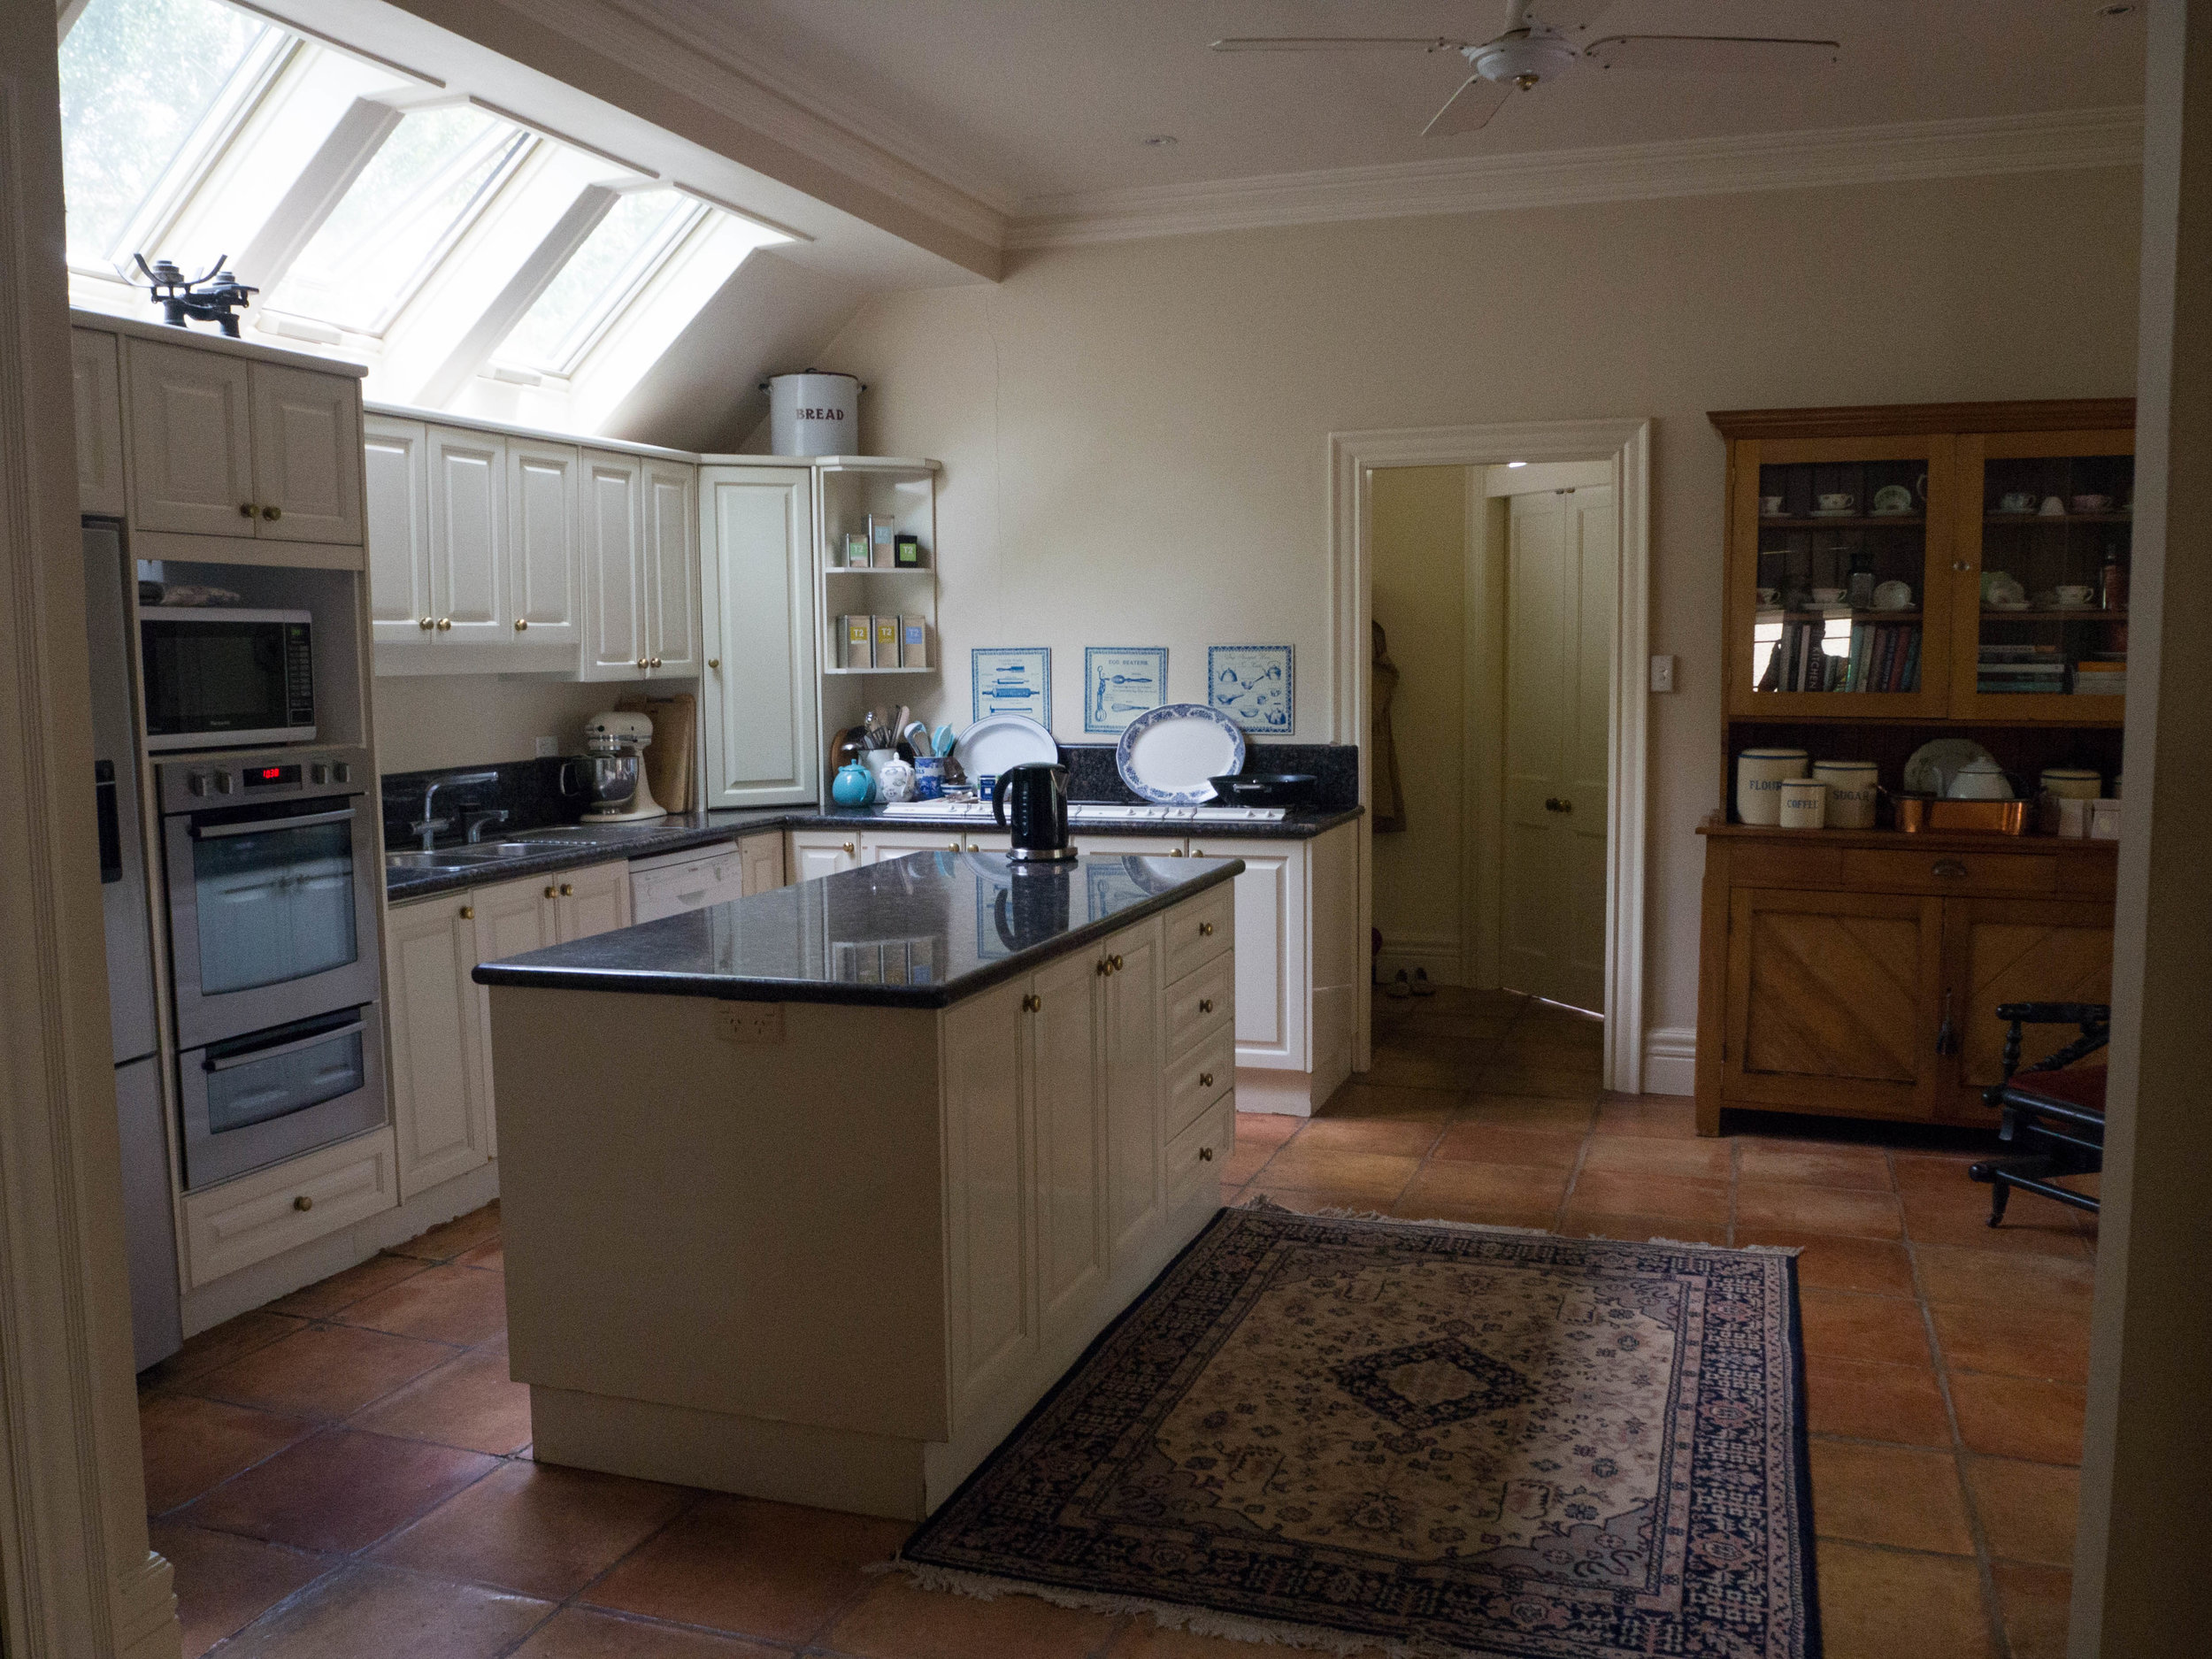
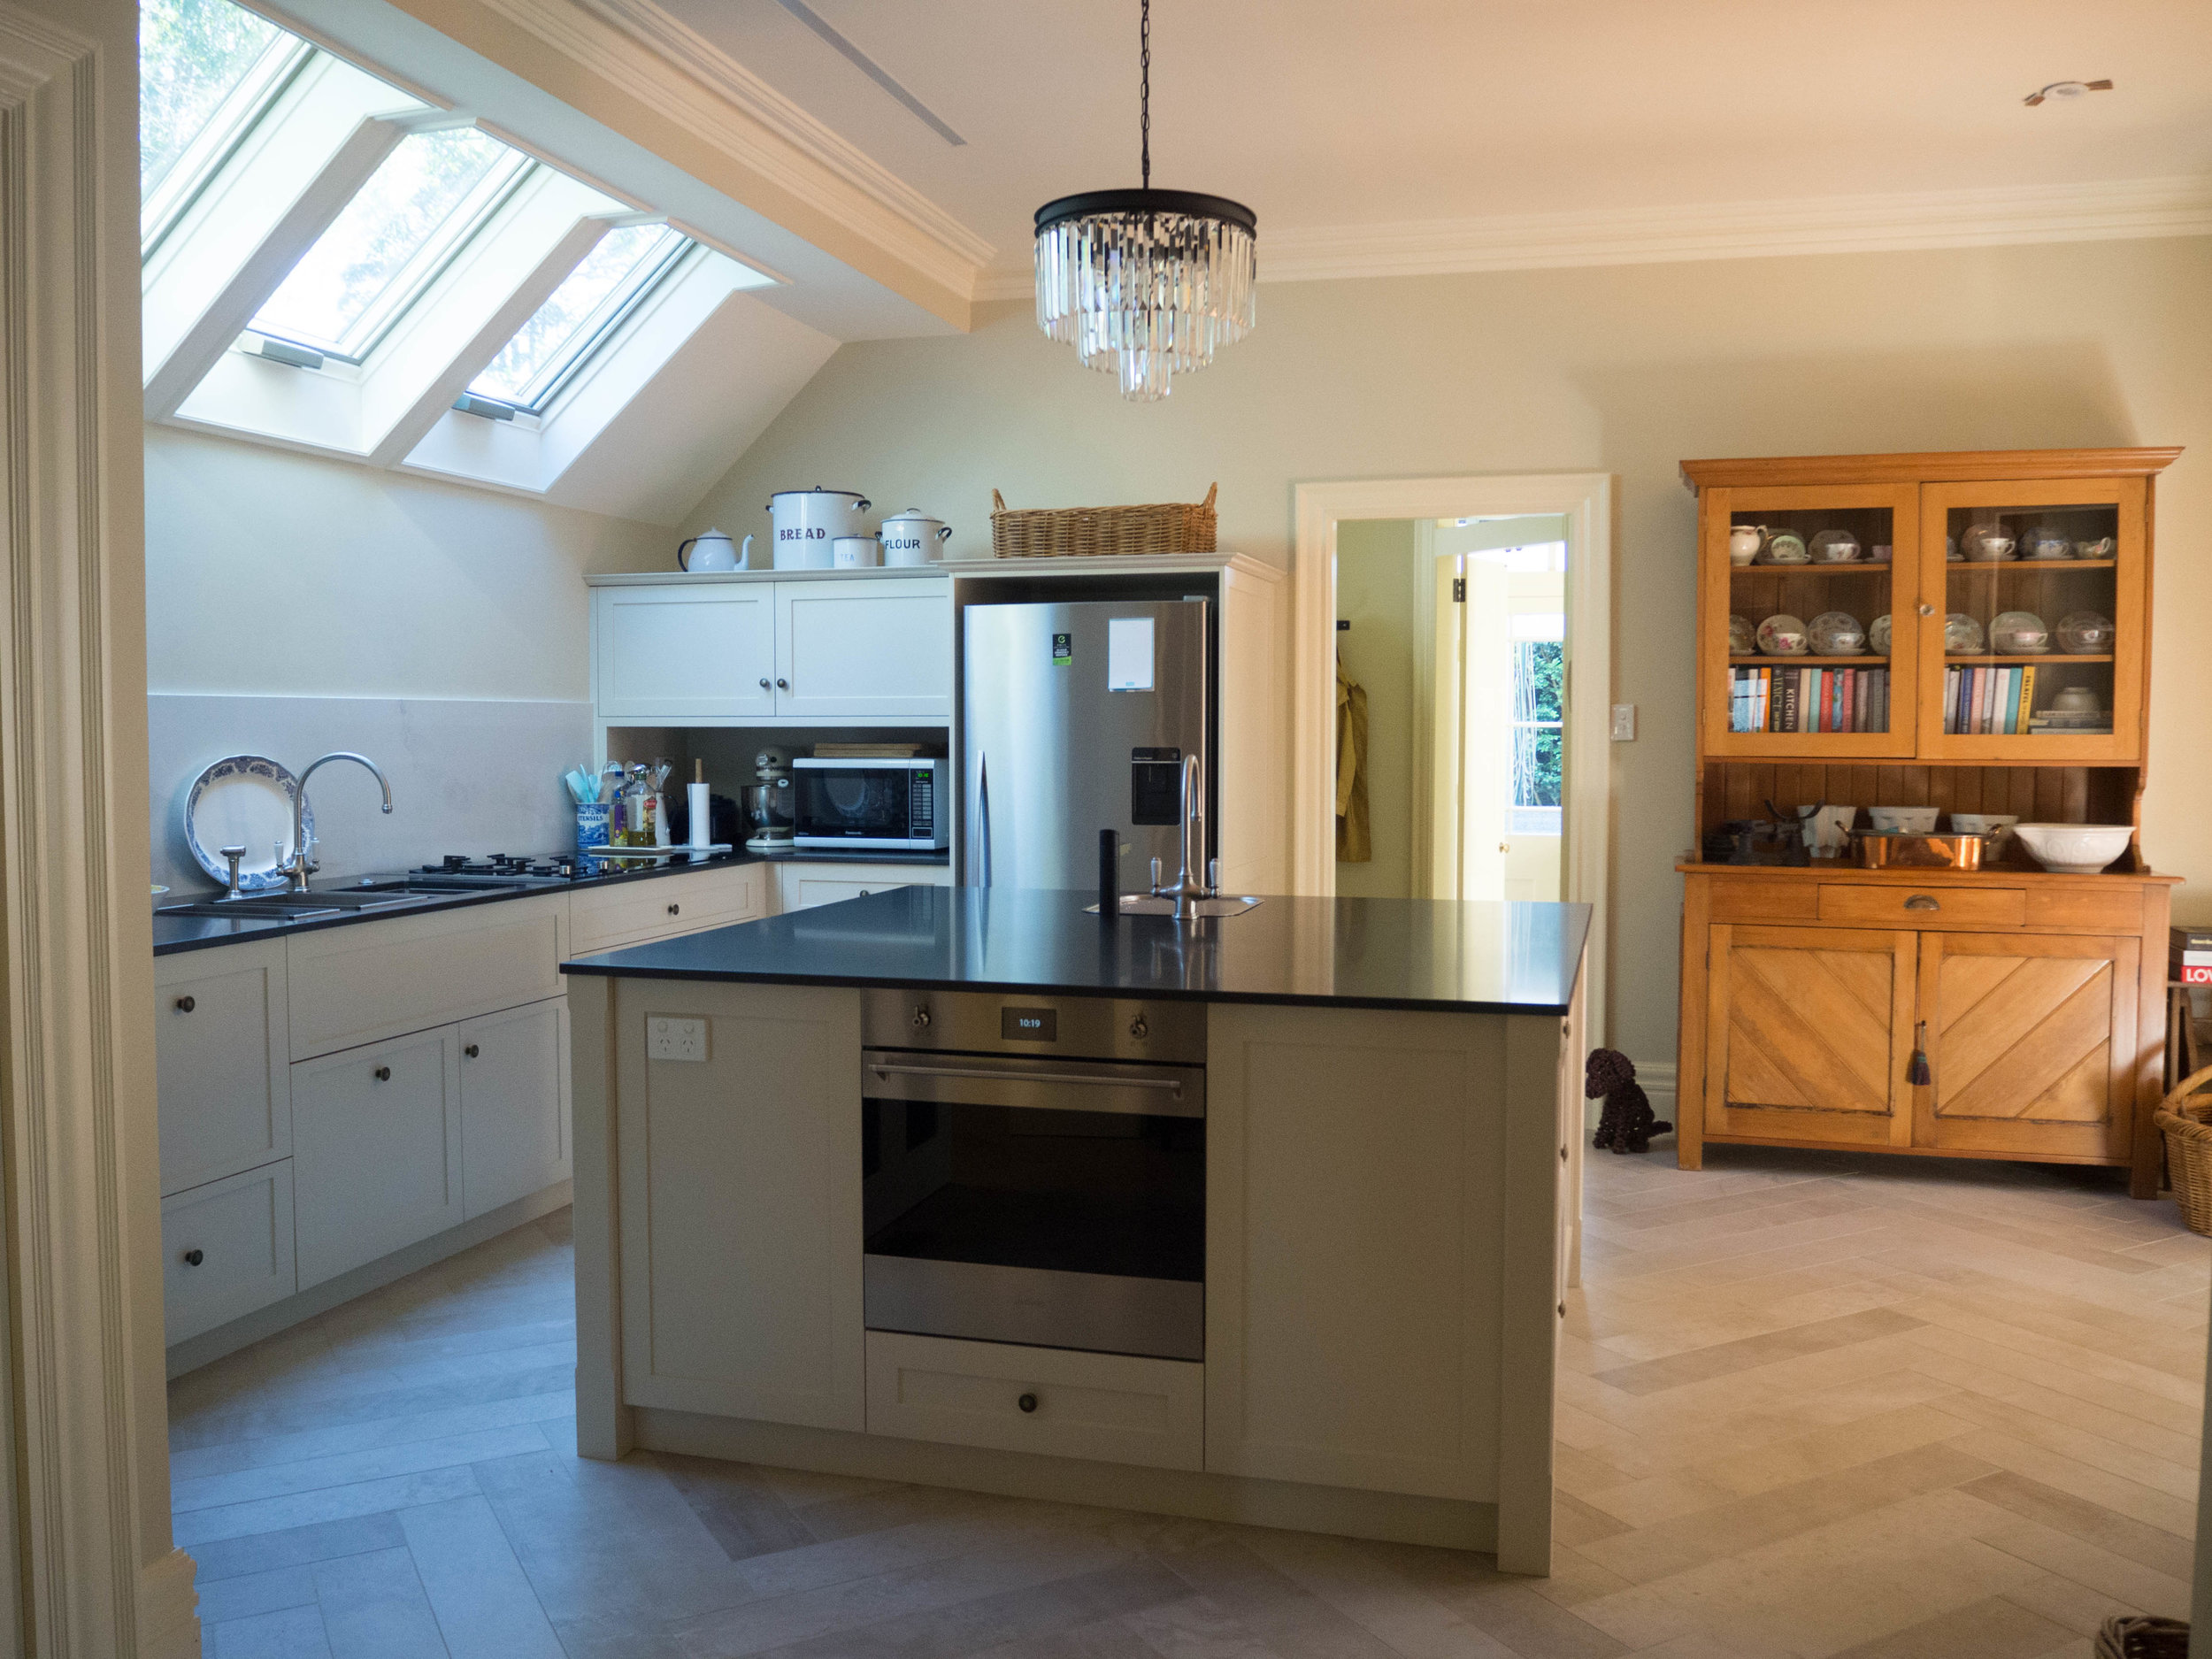
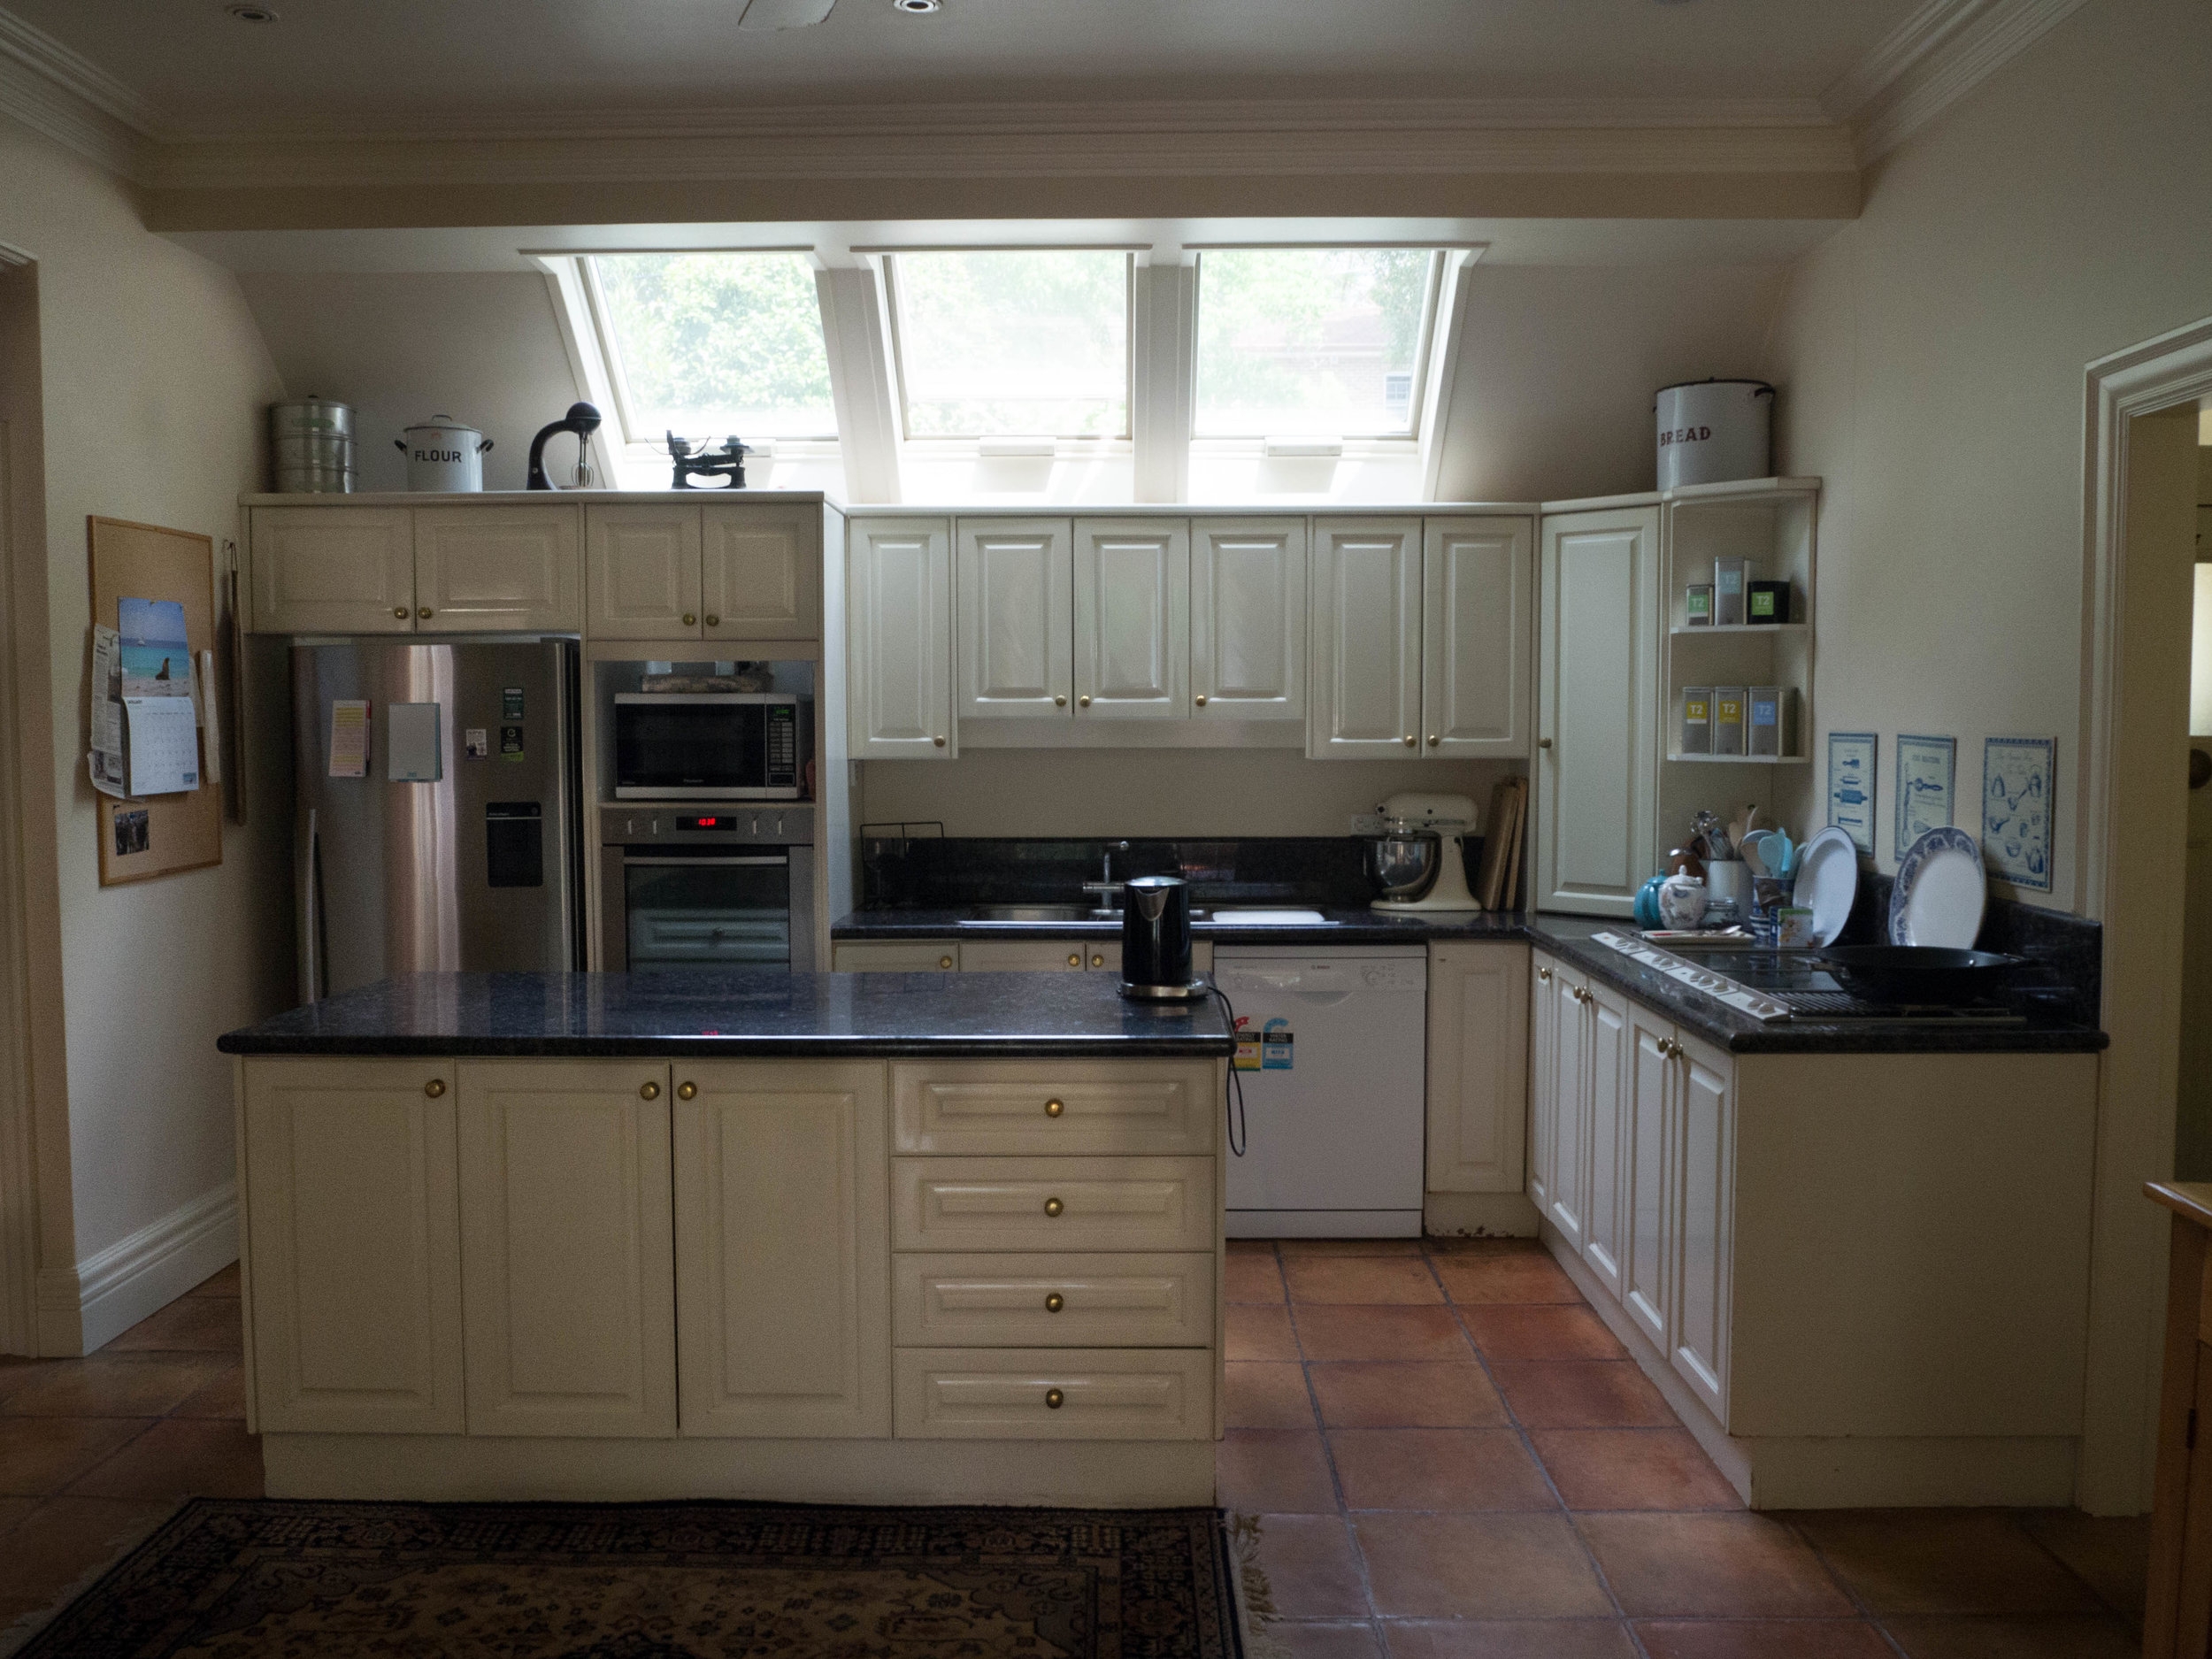
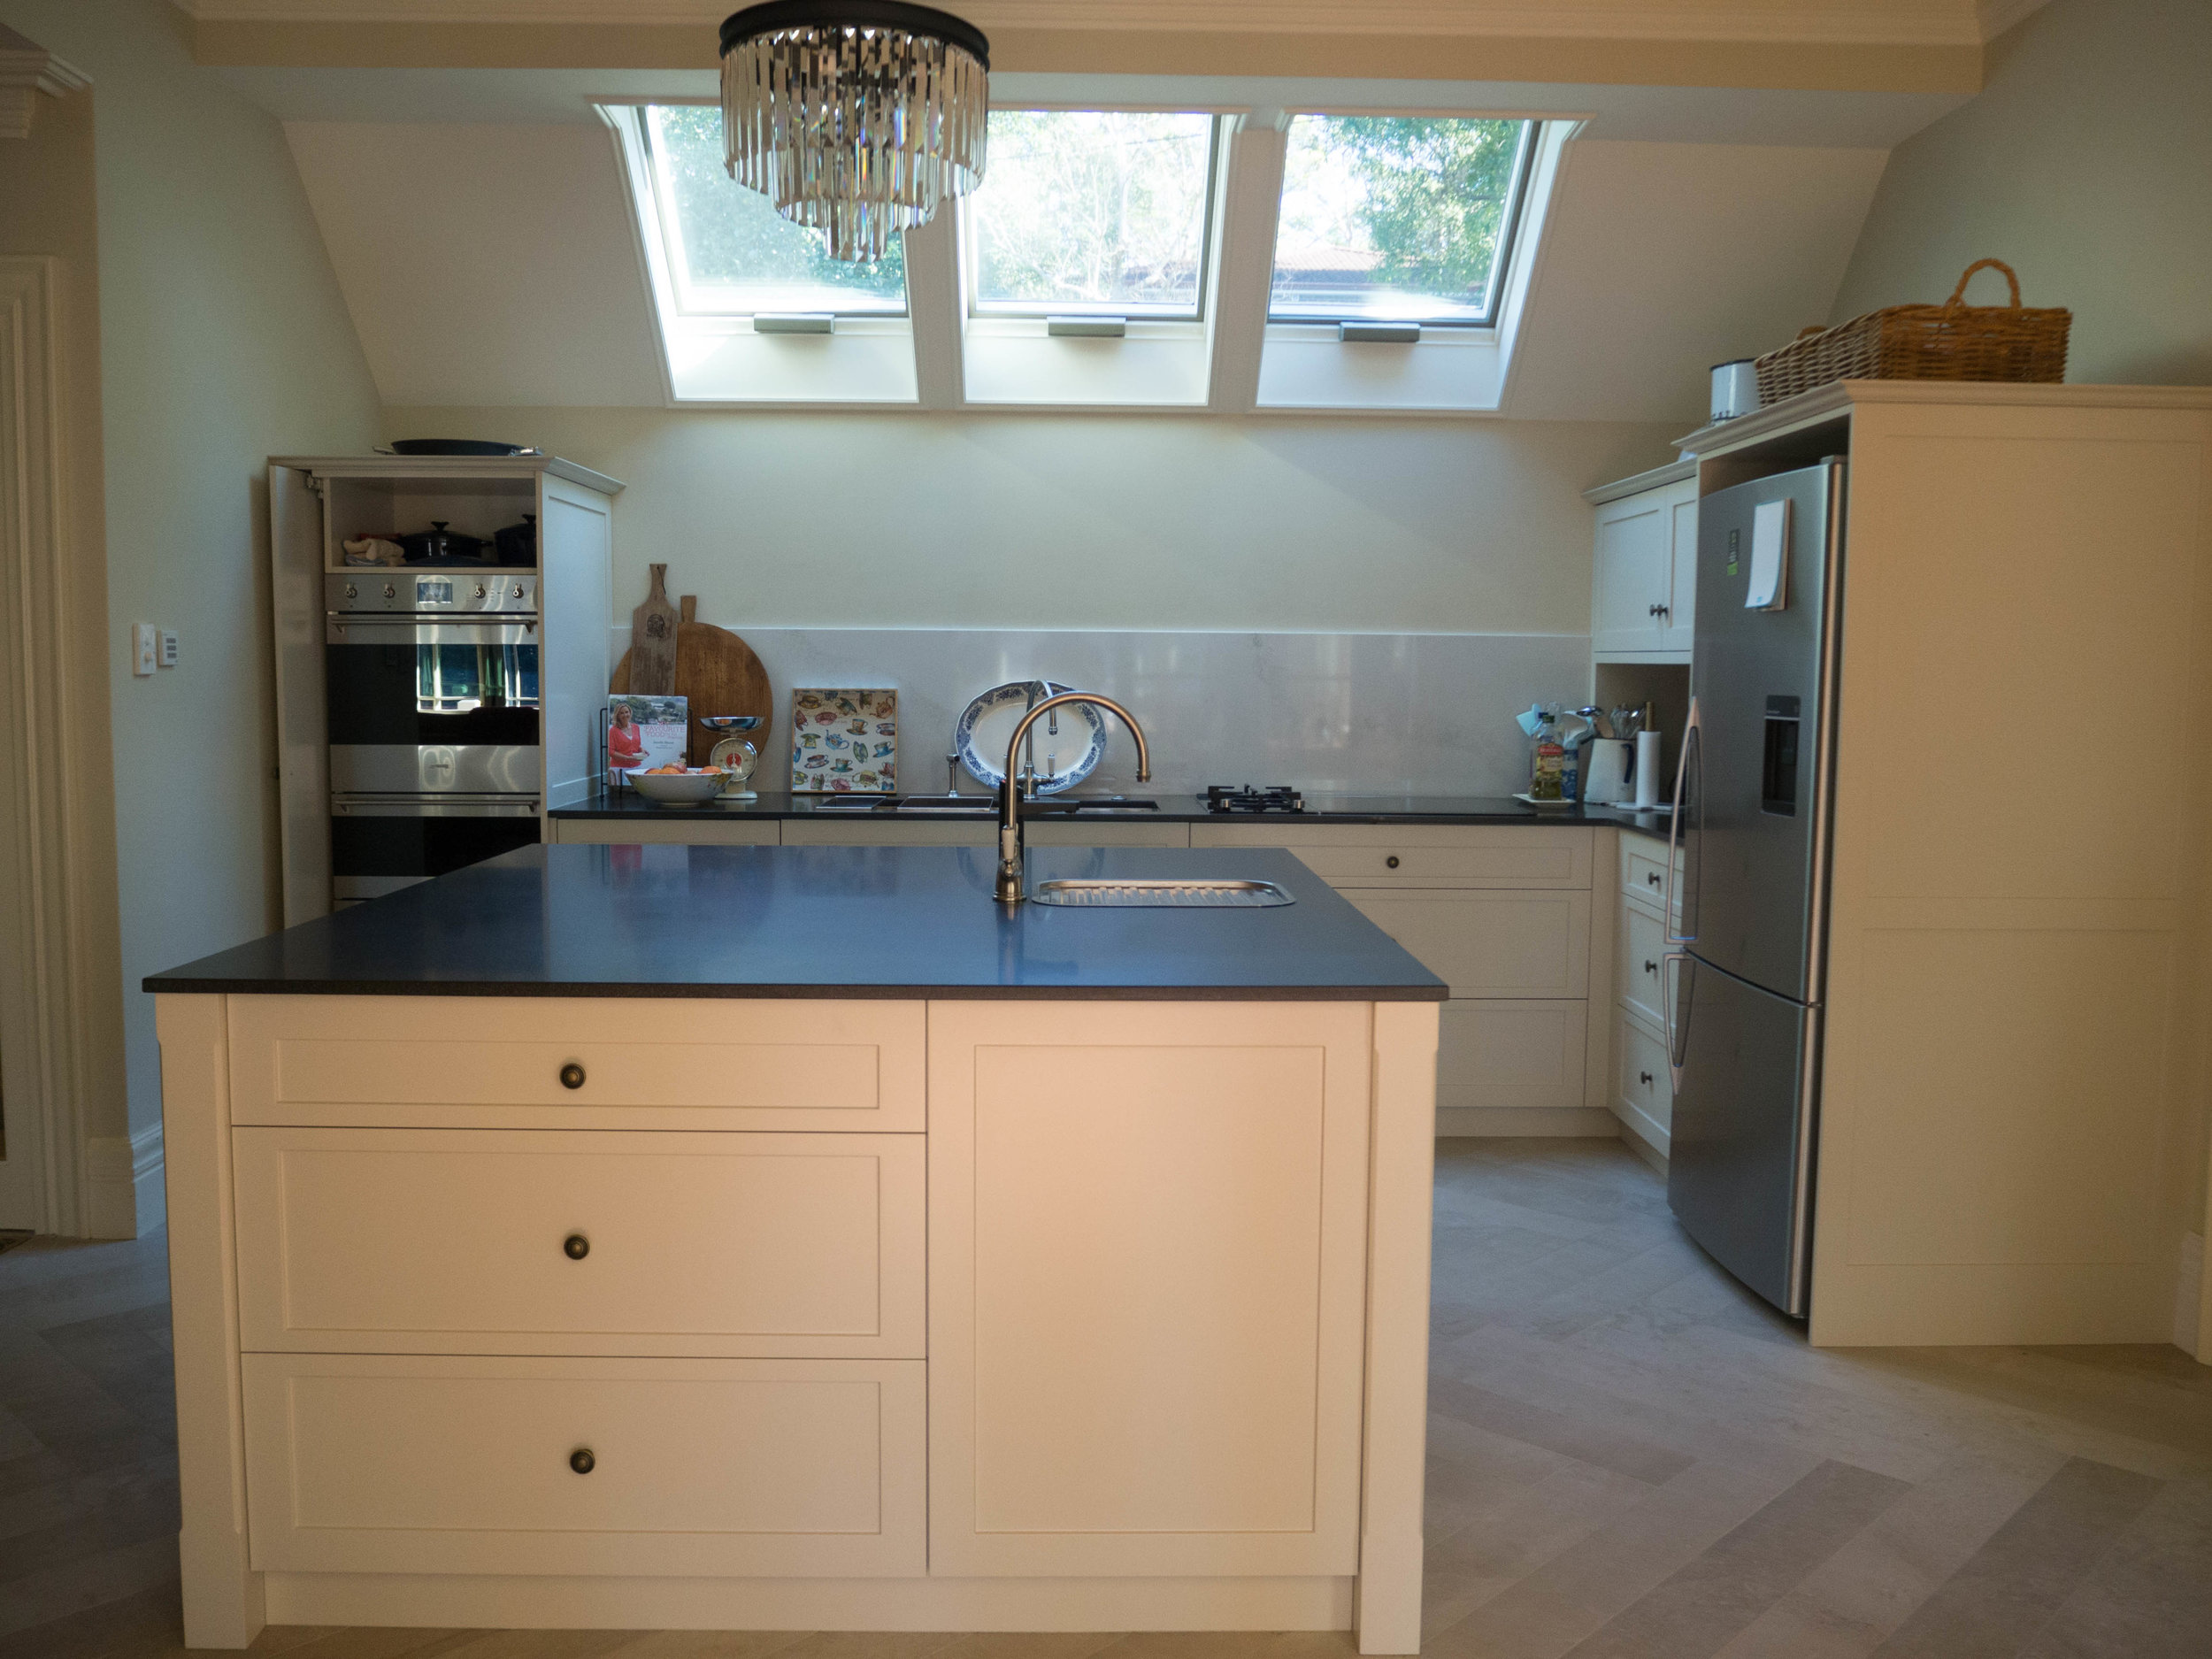
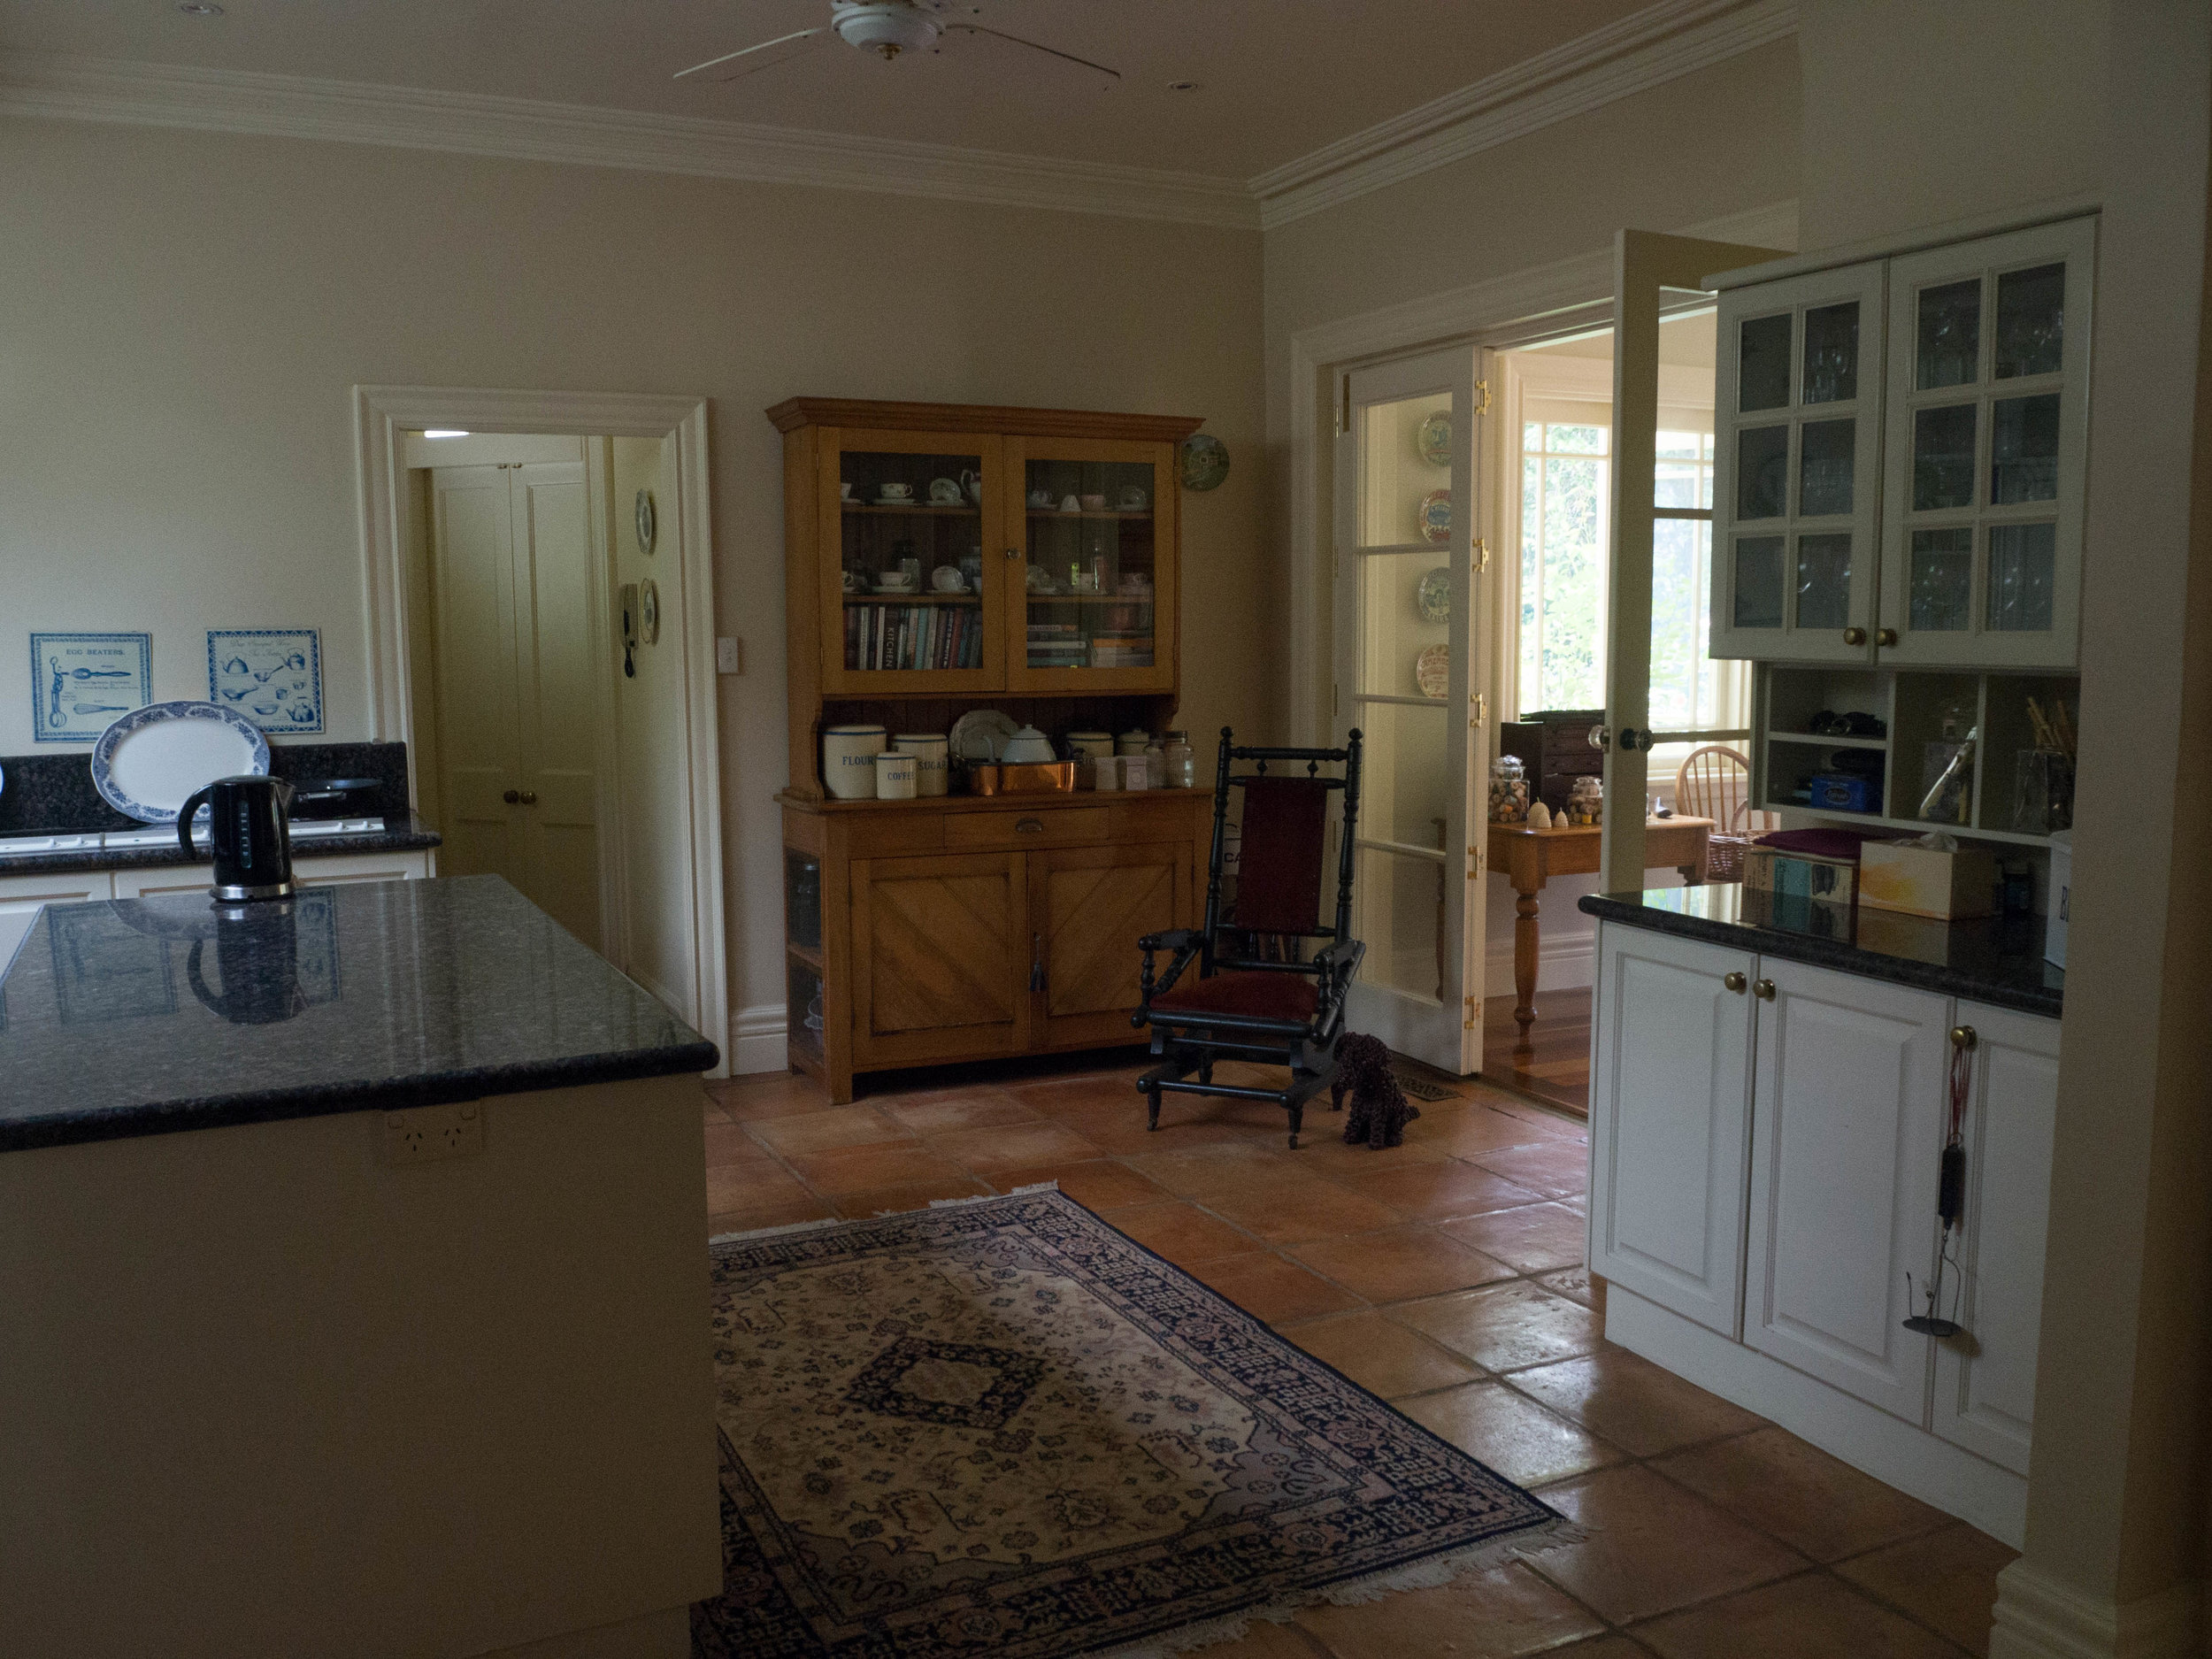
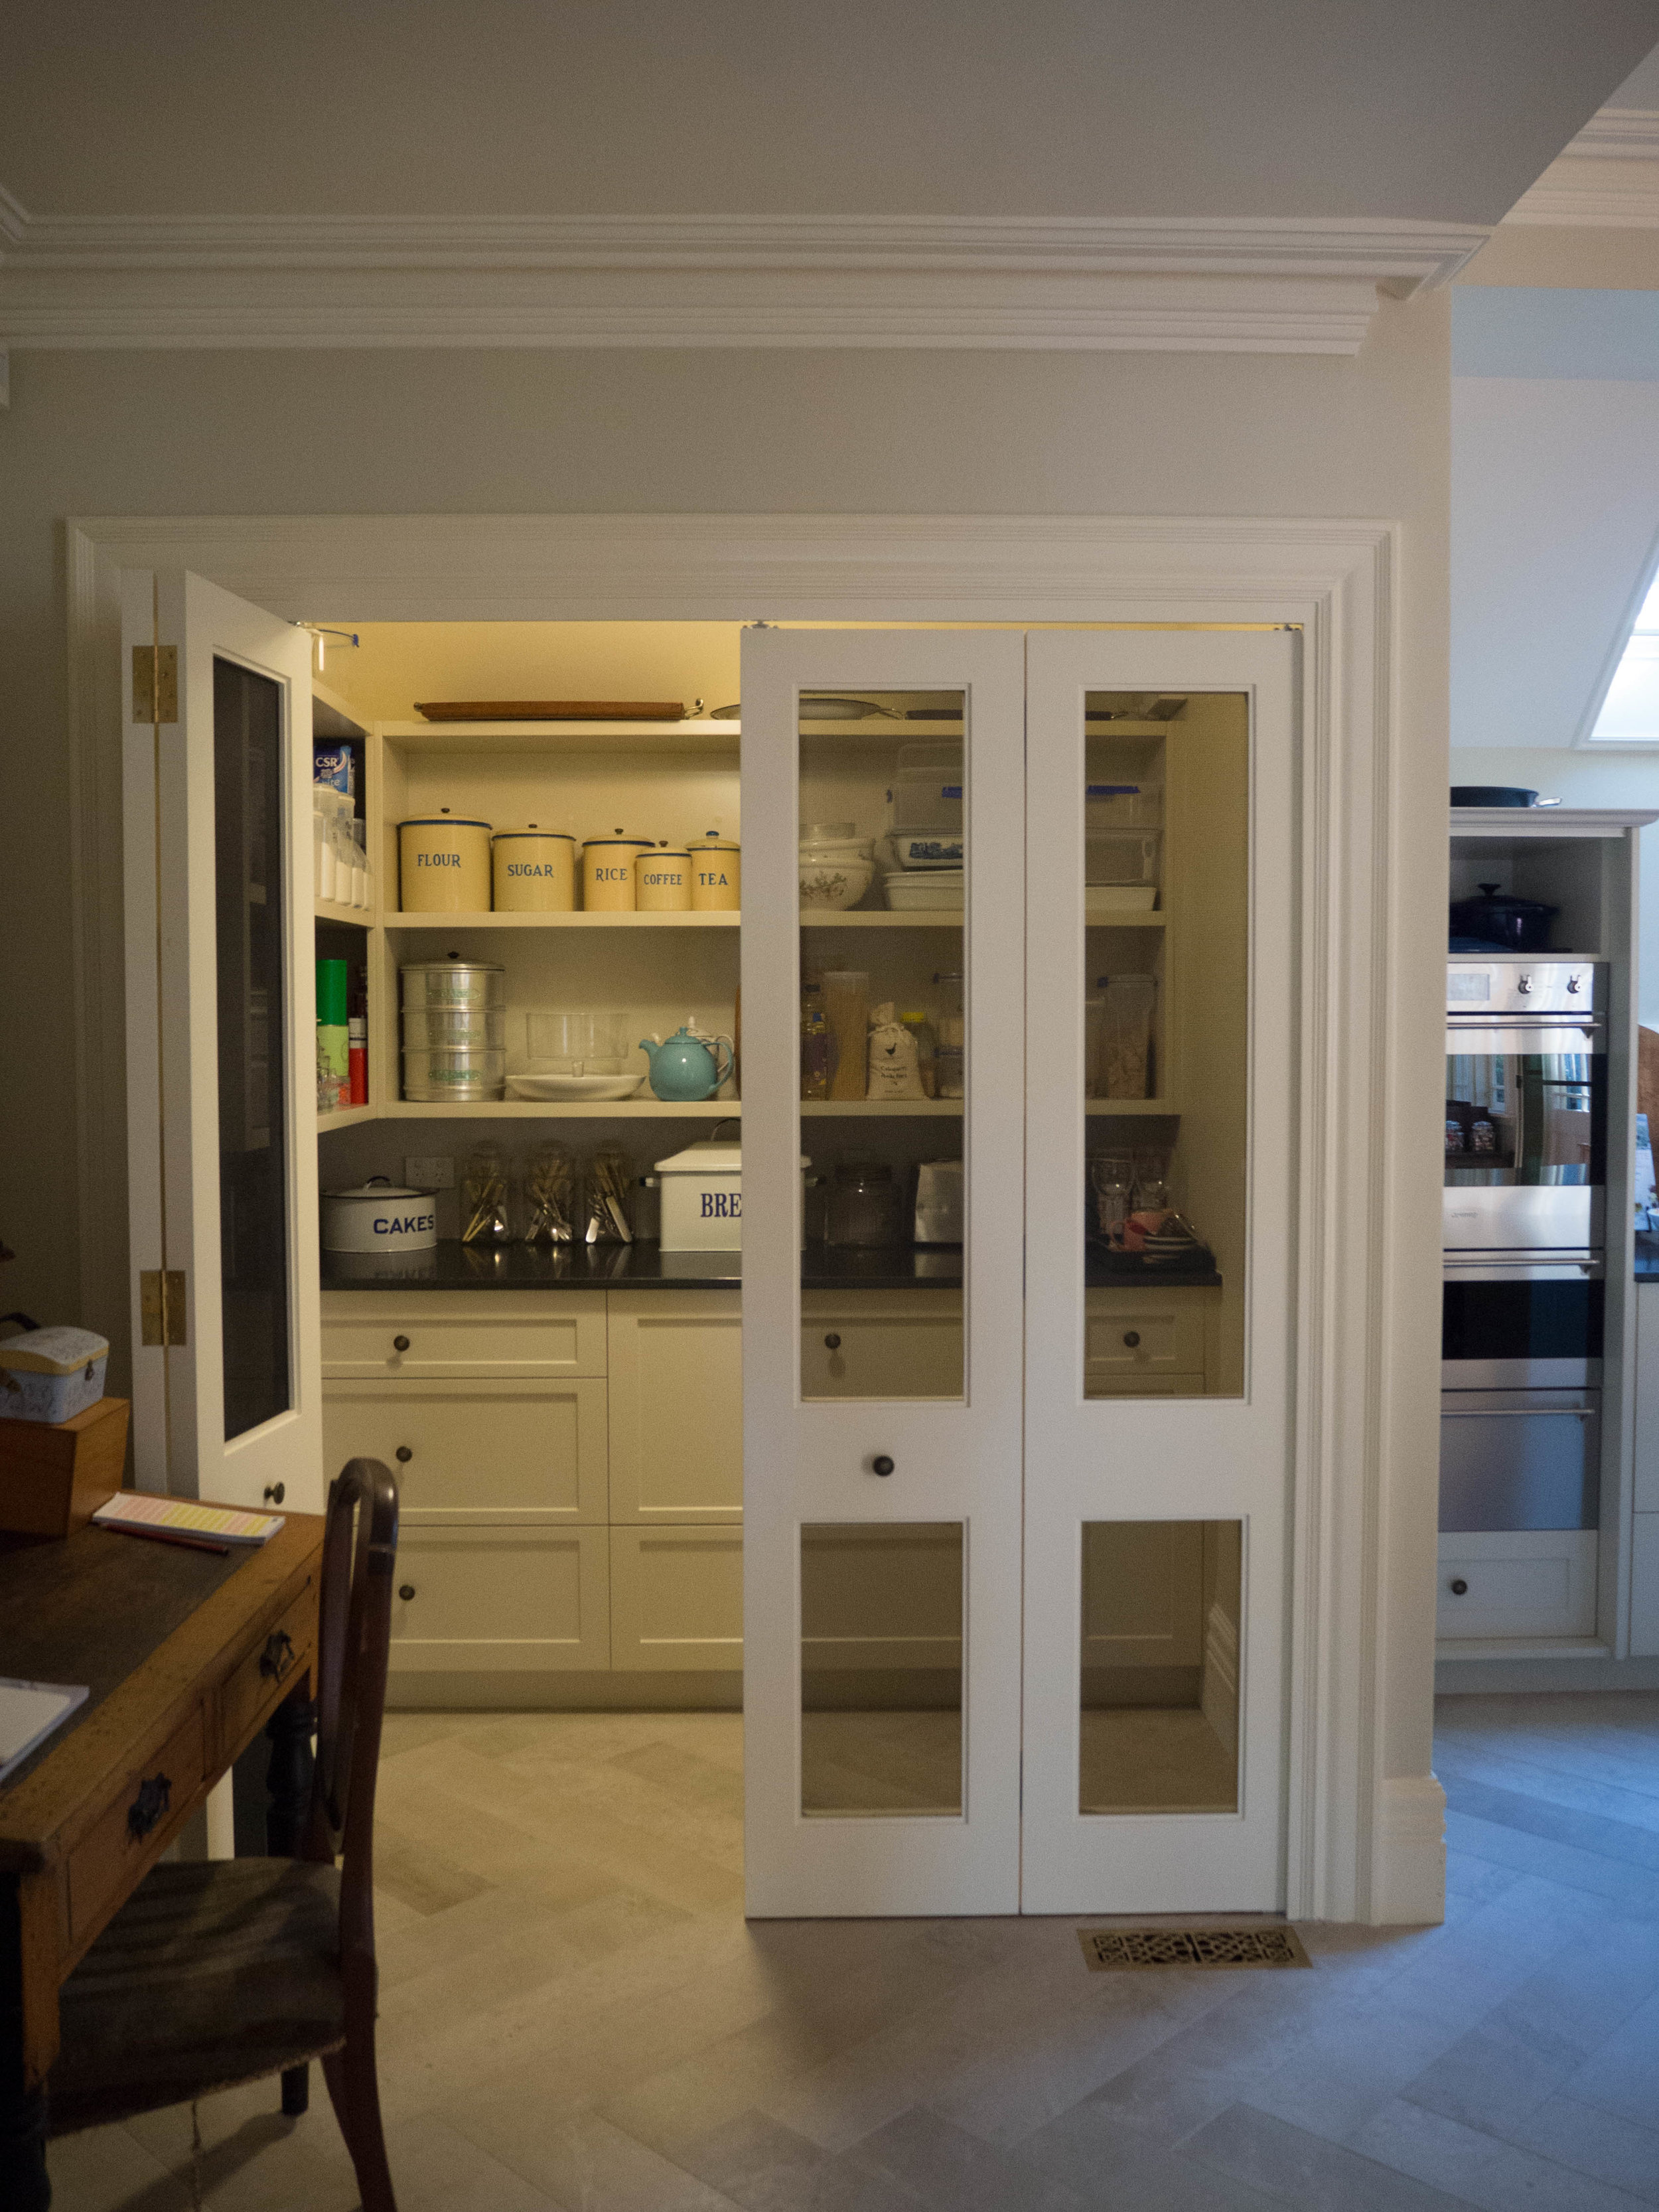
I have also added a few before and after photos of the kitchen to this post - just in case anyone was interested to see what I kept going on about for 4 months! As I mentioned in my last post, I am spending as much time as possible in the kitchen now, and am really enjoying being able to bake again. Making something like this Blood Orange Chiffon wasn’t at all possible for a while there, and I am so so happy it is all over and done with now!
Click on the gallery below to check out the old kitchen vs the new kitchen!


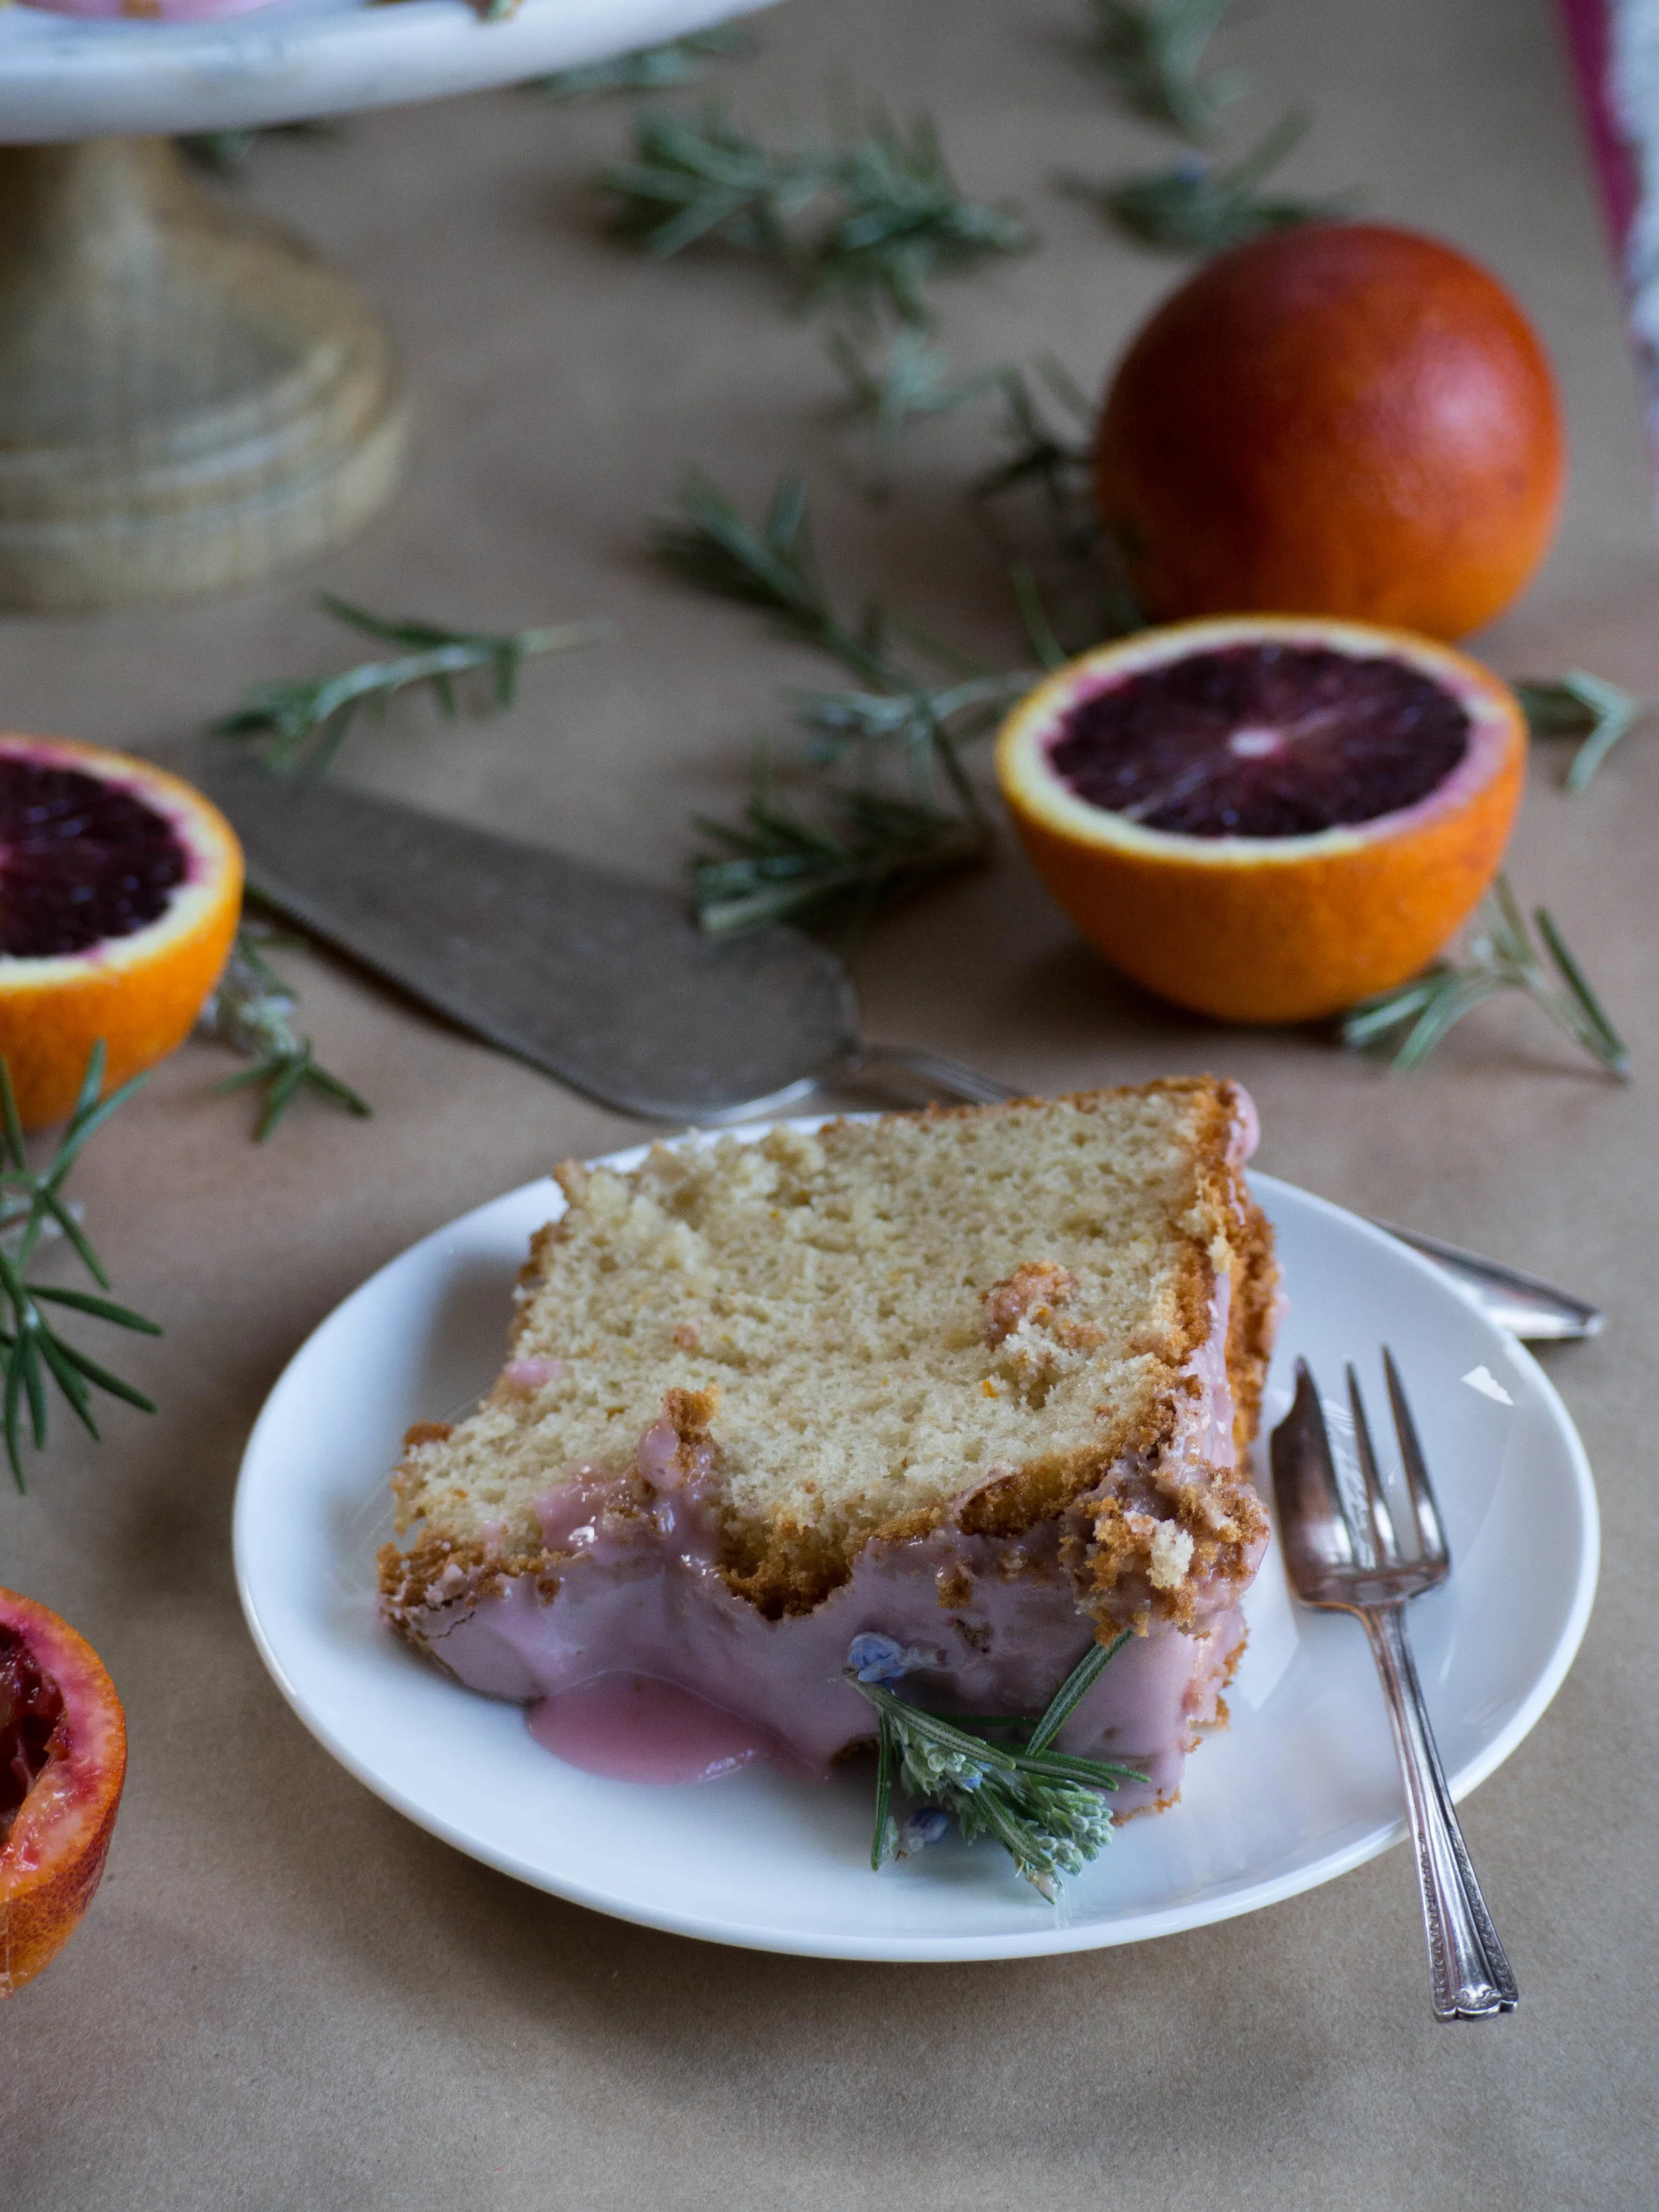
Blood Orange Chiffon Cake
Ingredients:
175 g self-raising flour
35 g plain flour
1 tsp cream of tartar
6 eggs (large), separated
345 g caster sugar
1/2 tsp vanilla extract
finely grated zest of one small/medium blood orange
170 ml blood orange juice, strained of pulp
80 ml vegetable oil
3-4 springs of rosemary
Ingredients for Icing:
2 cups icing sugar, plus extra
juice of 1-2 blood oranges
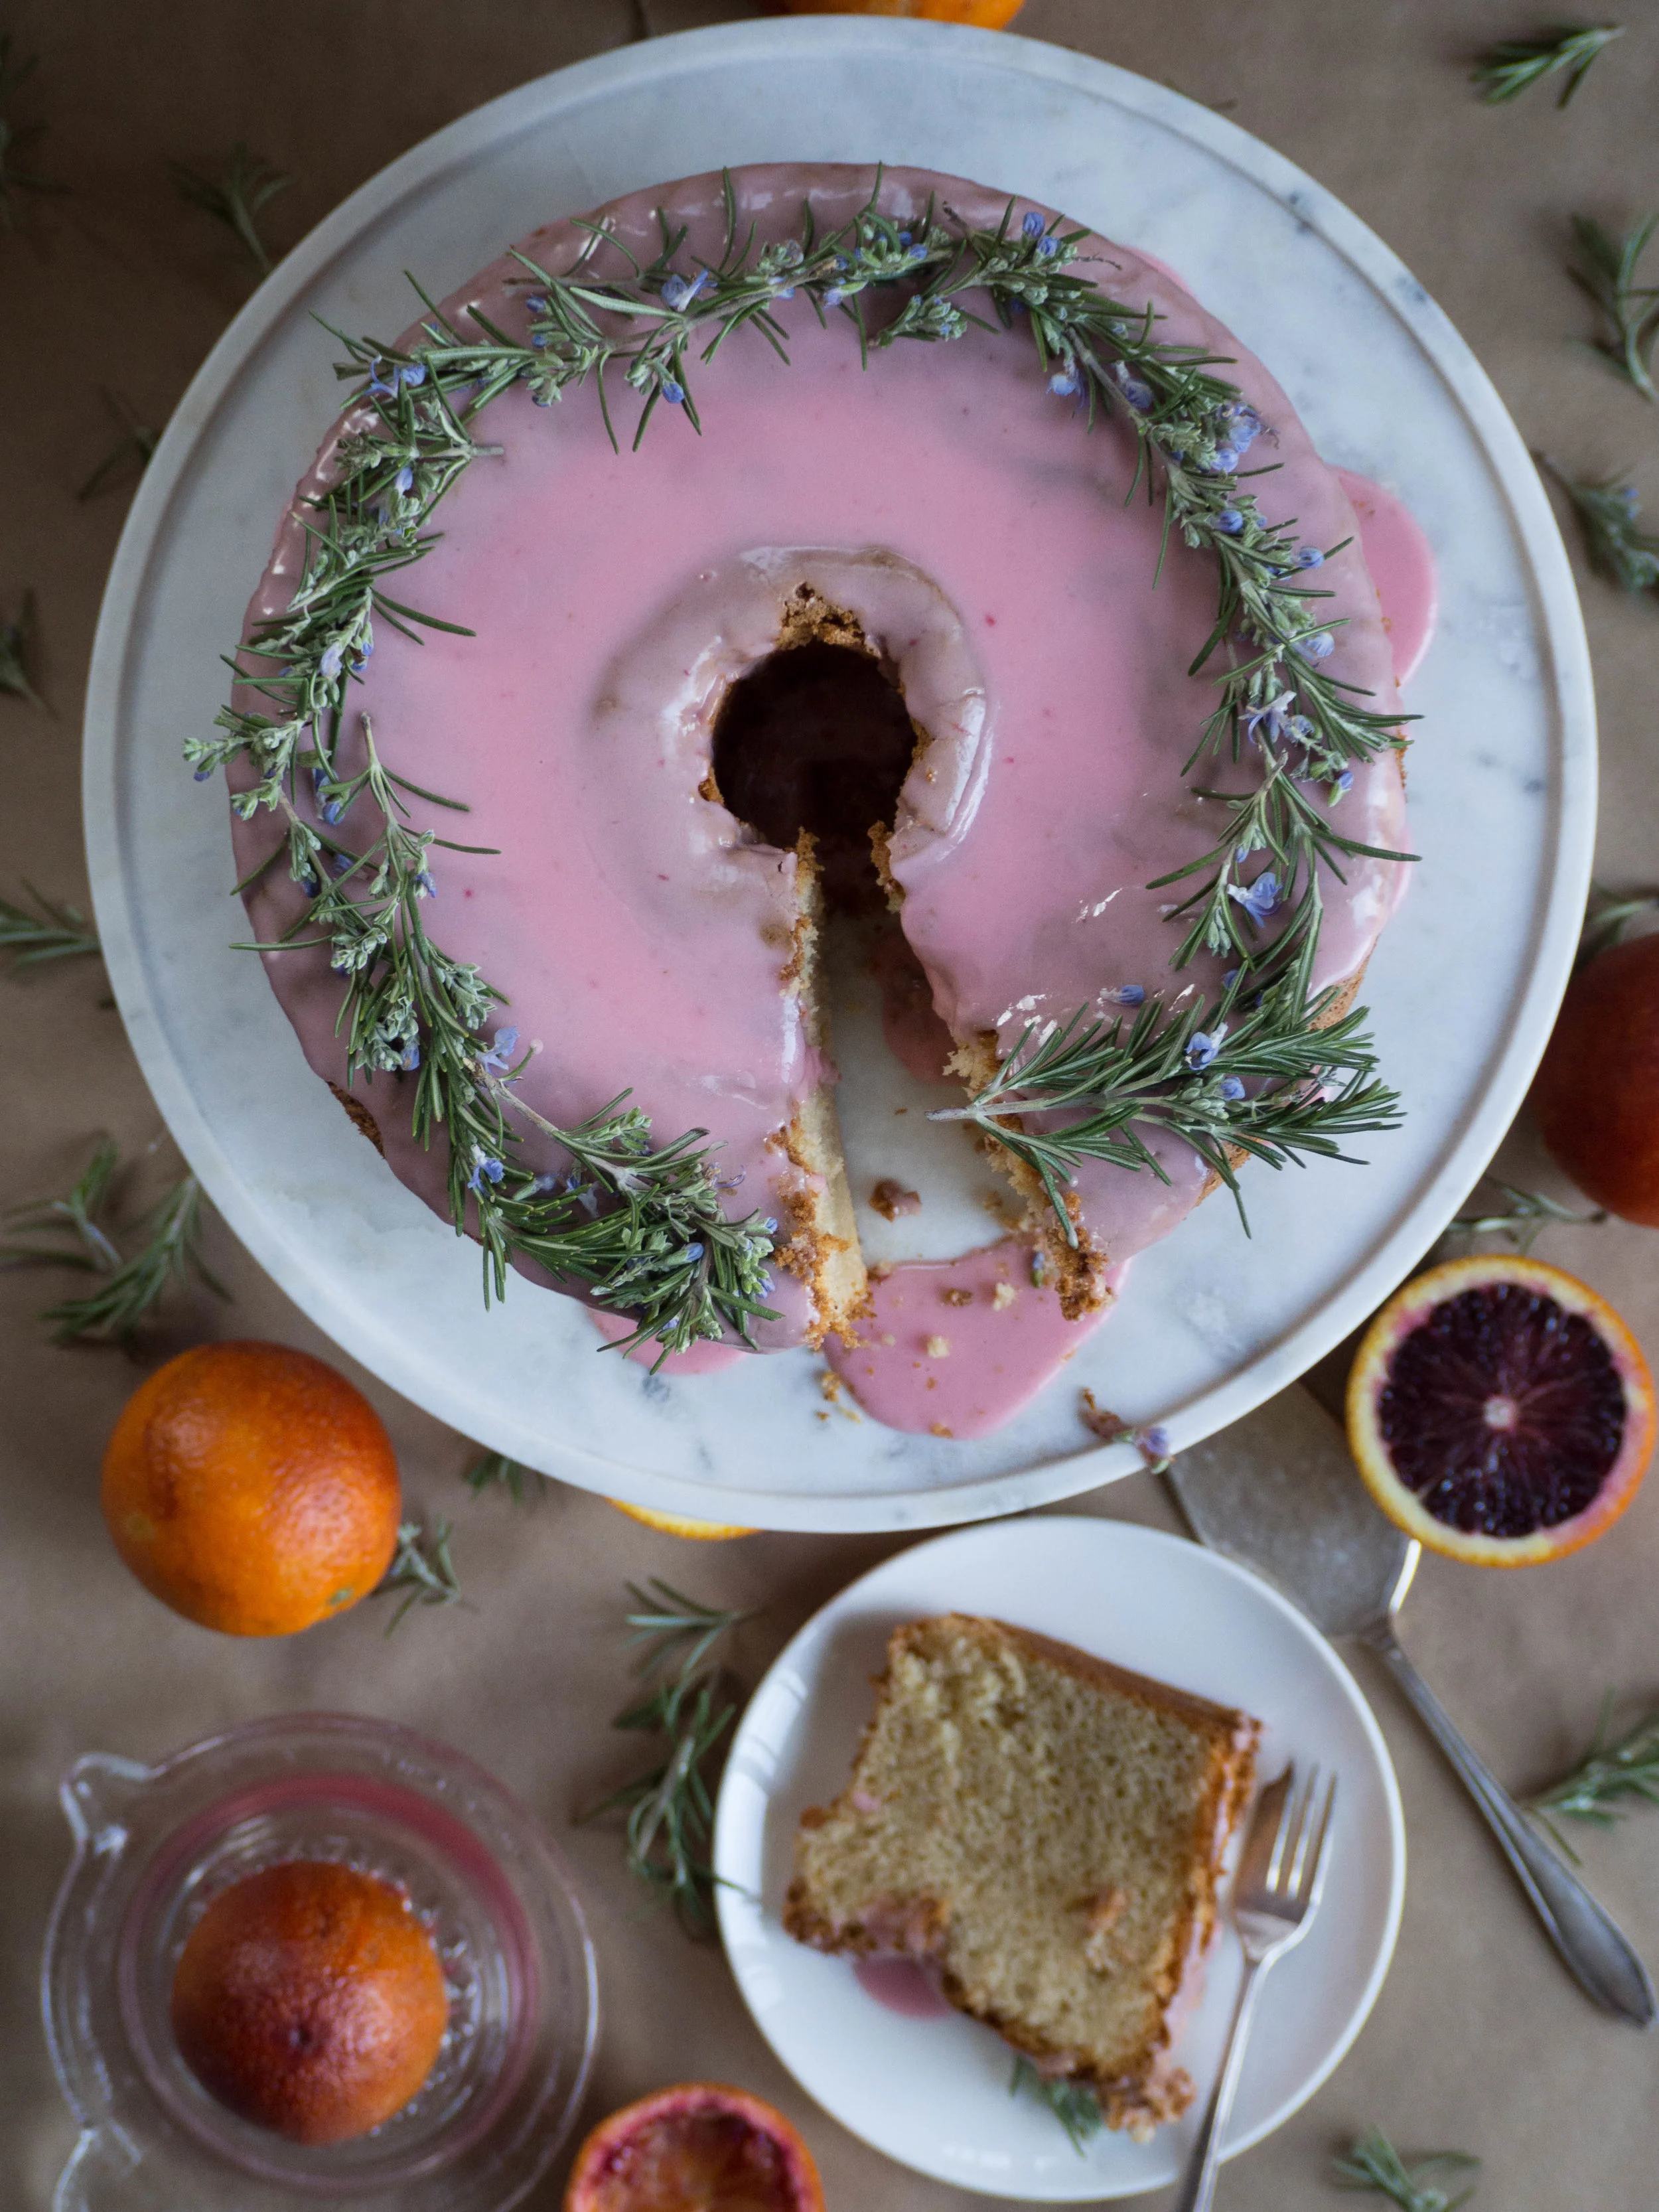
sprigs of rosemary (with flowers if possible), for decoration
Method:
Pre-heat oven to 180 degrees Celsius. Have an angel cake tin ready and nearby but do not grease it. The tin should not be a non-stick tin as the cake needs to cling to the sides of the tin as it cooks.
Place rosemary into the oil, and leave to infuse. If you have time, leave it for as long as you can. Mix it about and squash into the oil to release some more flavour.
In a small-medium bowl, sift the flours and cream of tartar three times.
Using an electric mixer, beat the egg yolks with 1 cup of the sugar, until pale and creamy. If you have a free standing mixer with a paddle attachment, use this attachment for the egg yolks and save the whisk for later. Once pale and creamy, add the vanilla and blood orange zest. Remove the rosemary from the oil, and discard. Place the oil and blood orange juice in a jug and along with the sifted flour mixture, add to the yolk mixture while the mixer is beating on a low speed. Beat only until just combined.
Using a separate bowl, whisk the egg whites using an electric mixer until soft peaks have formed. Add the remaining sugar, and whisk until the peaks are stiff (but not dry).
Gently fold the egg yolk mixture into the egg whites with a metal spoon, a third at a time. Continue to gently fold until the mixtures are just combined. Do not over mix.
Transfer the mixture to the cake tin and bake for 1 hour, or until a skewer inserted comes out clean.
Immediately upon removing the cake from the oven you must invert the cake (stand it upside down). Using the hollow centre of the cake tin, place the cake upside down on the neck of a bottle and leave to cool. This process will stop the cake collapsing. This is also the reason for not greasing the tin, as you don’t want the cake to slide out at this stage.
Once the cake is completely cool, use a small serrated knife to cut the cake out of the tin. Start with the outer sides then lift the cake out using the bottom of the pan. Then carefully cut the cake off the base of the tin.
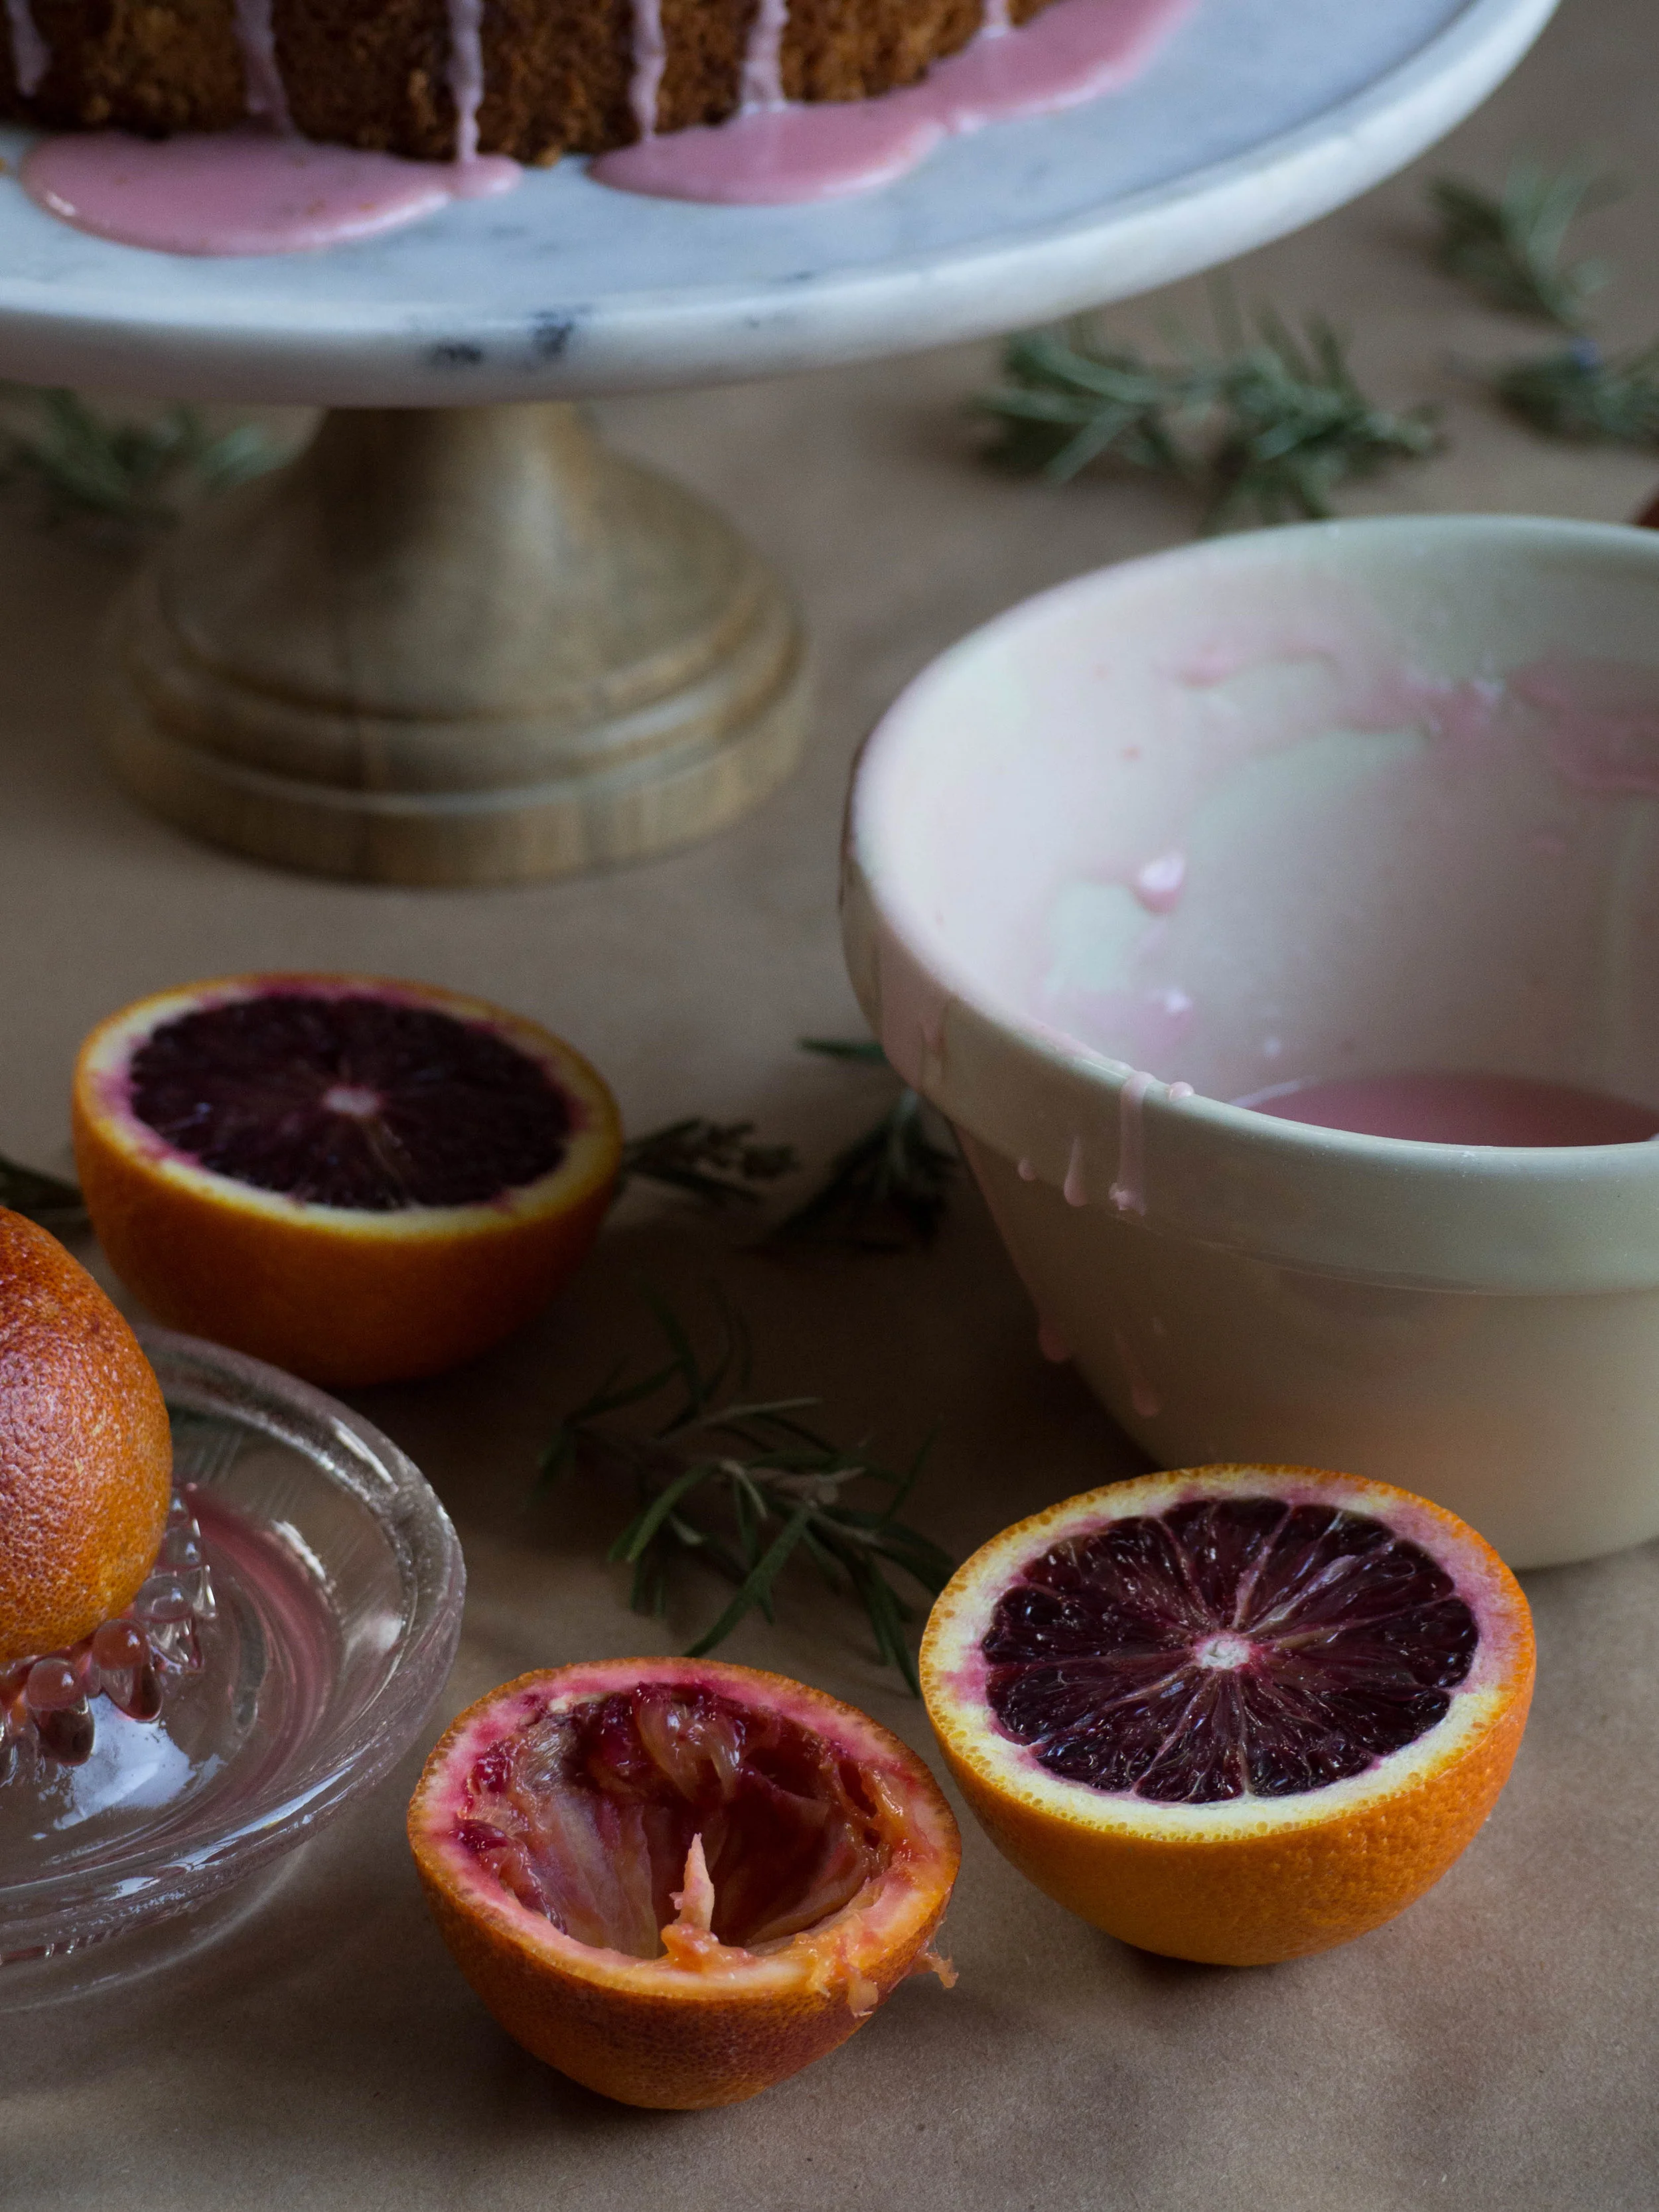
Carefully place cake on serving plate or cake stand. In a medium bowl, sift in the icing sugar. Gradually add the juice of 1 blood orange. Stir until well mixed and add more icing sugar if the mixture is too wet, or more blood orange juice if it is too dry. The consistency shouldn’t be too thick, as it should be able to run down the sides of the cake, and not weight the top of the cake down. Gently drizzle/spread the icing over the cake and arrange the rosemary sprigs around the top of the cake.
When serving, cut the cake with a serrated knife.
Reference: ‘The Monday Morning Cooking Club’ by Merelyn Frank Chalmers, Natanya Eskin, Lauren Fink, Lisa Goldberg, Paula Horwitz and Jacqui Israel (2011), p 35.