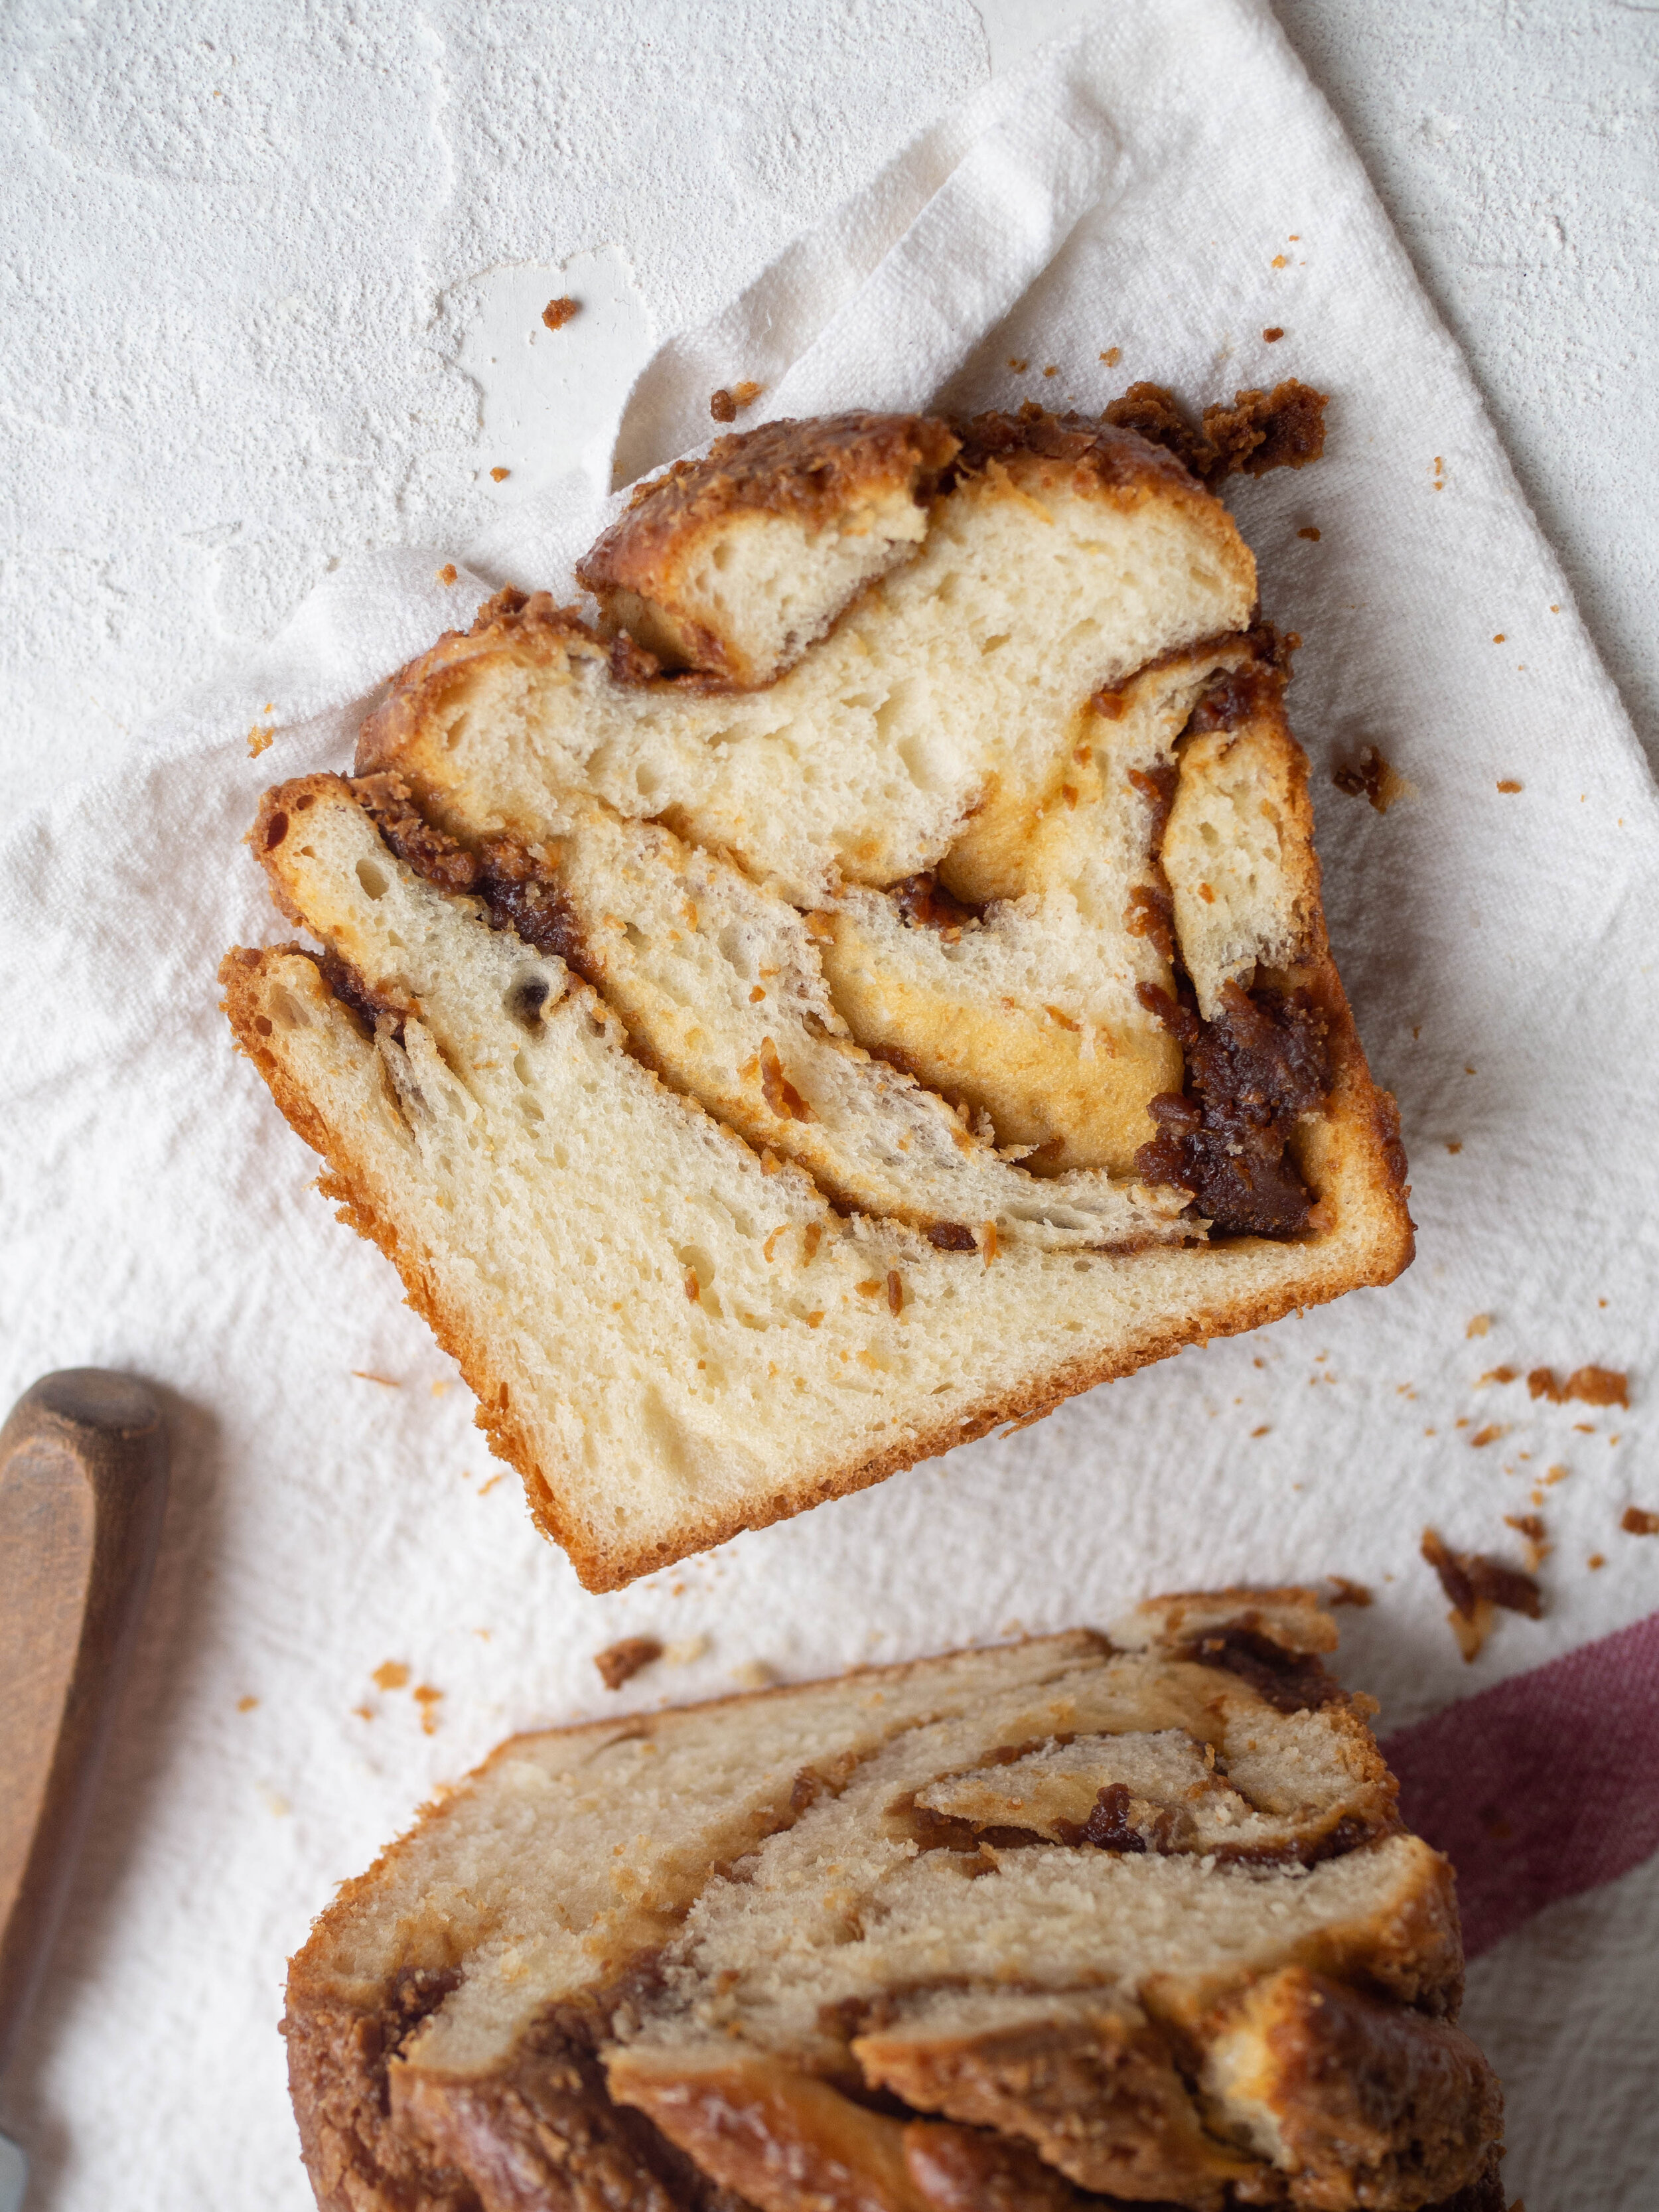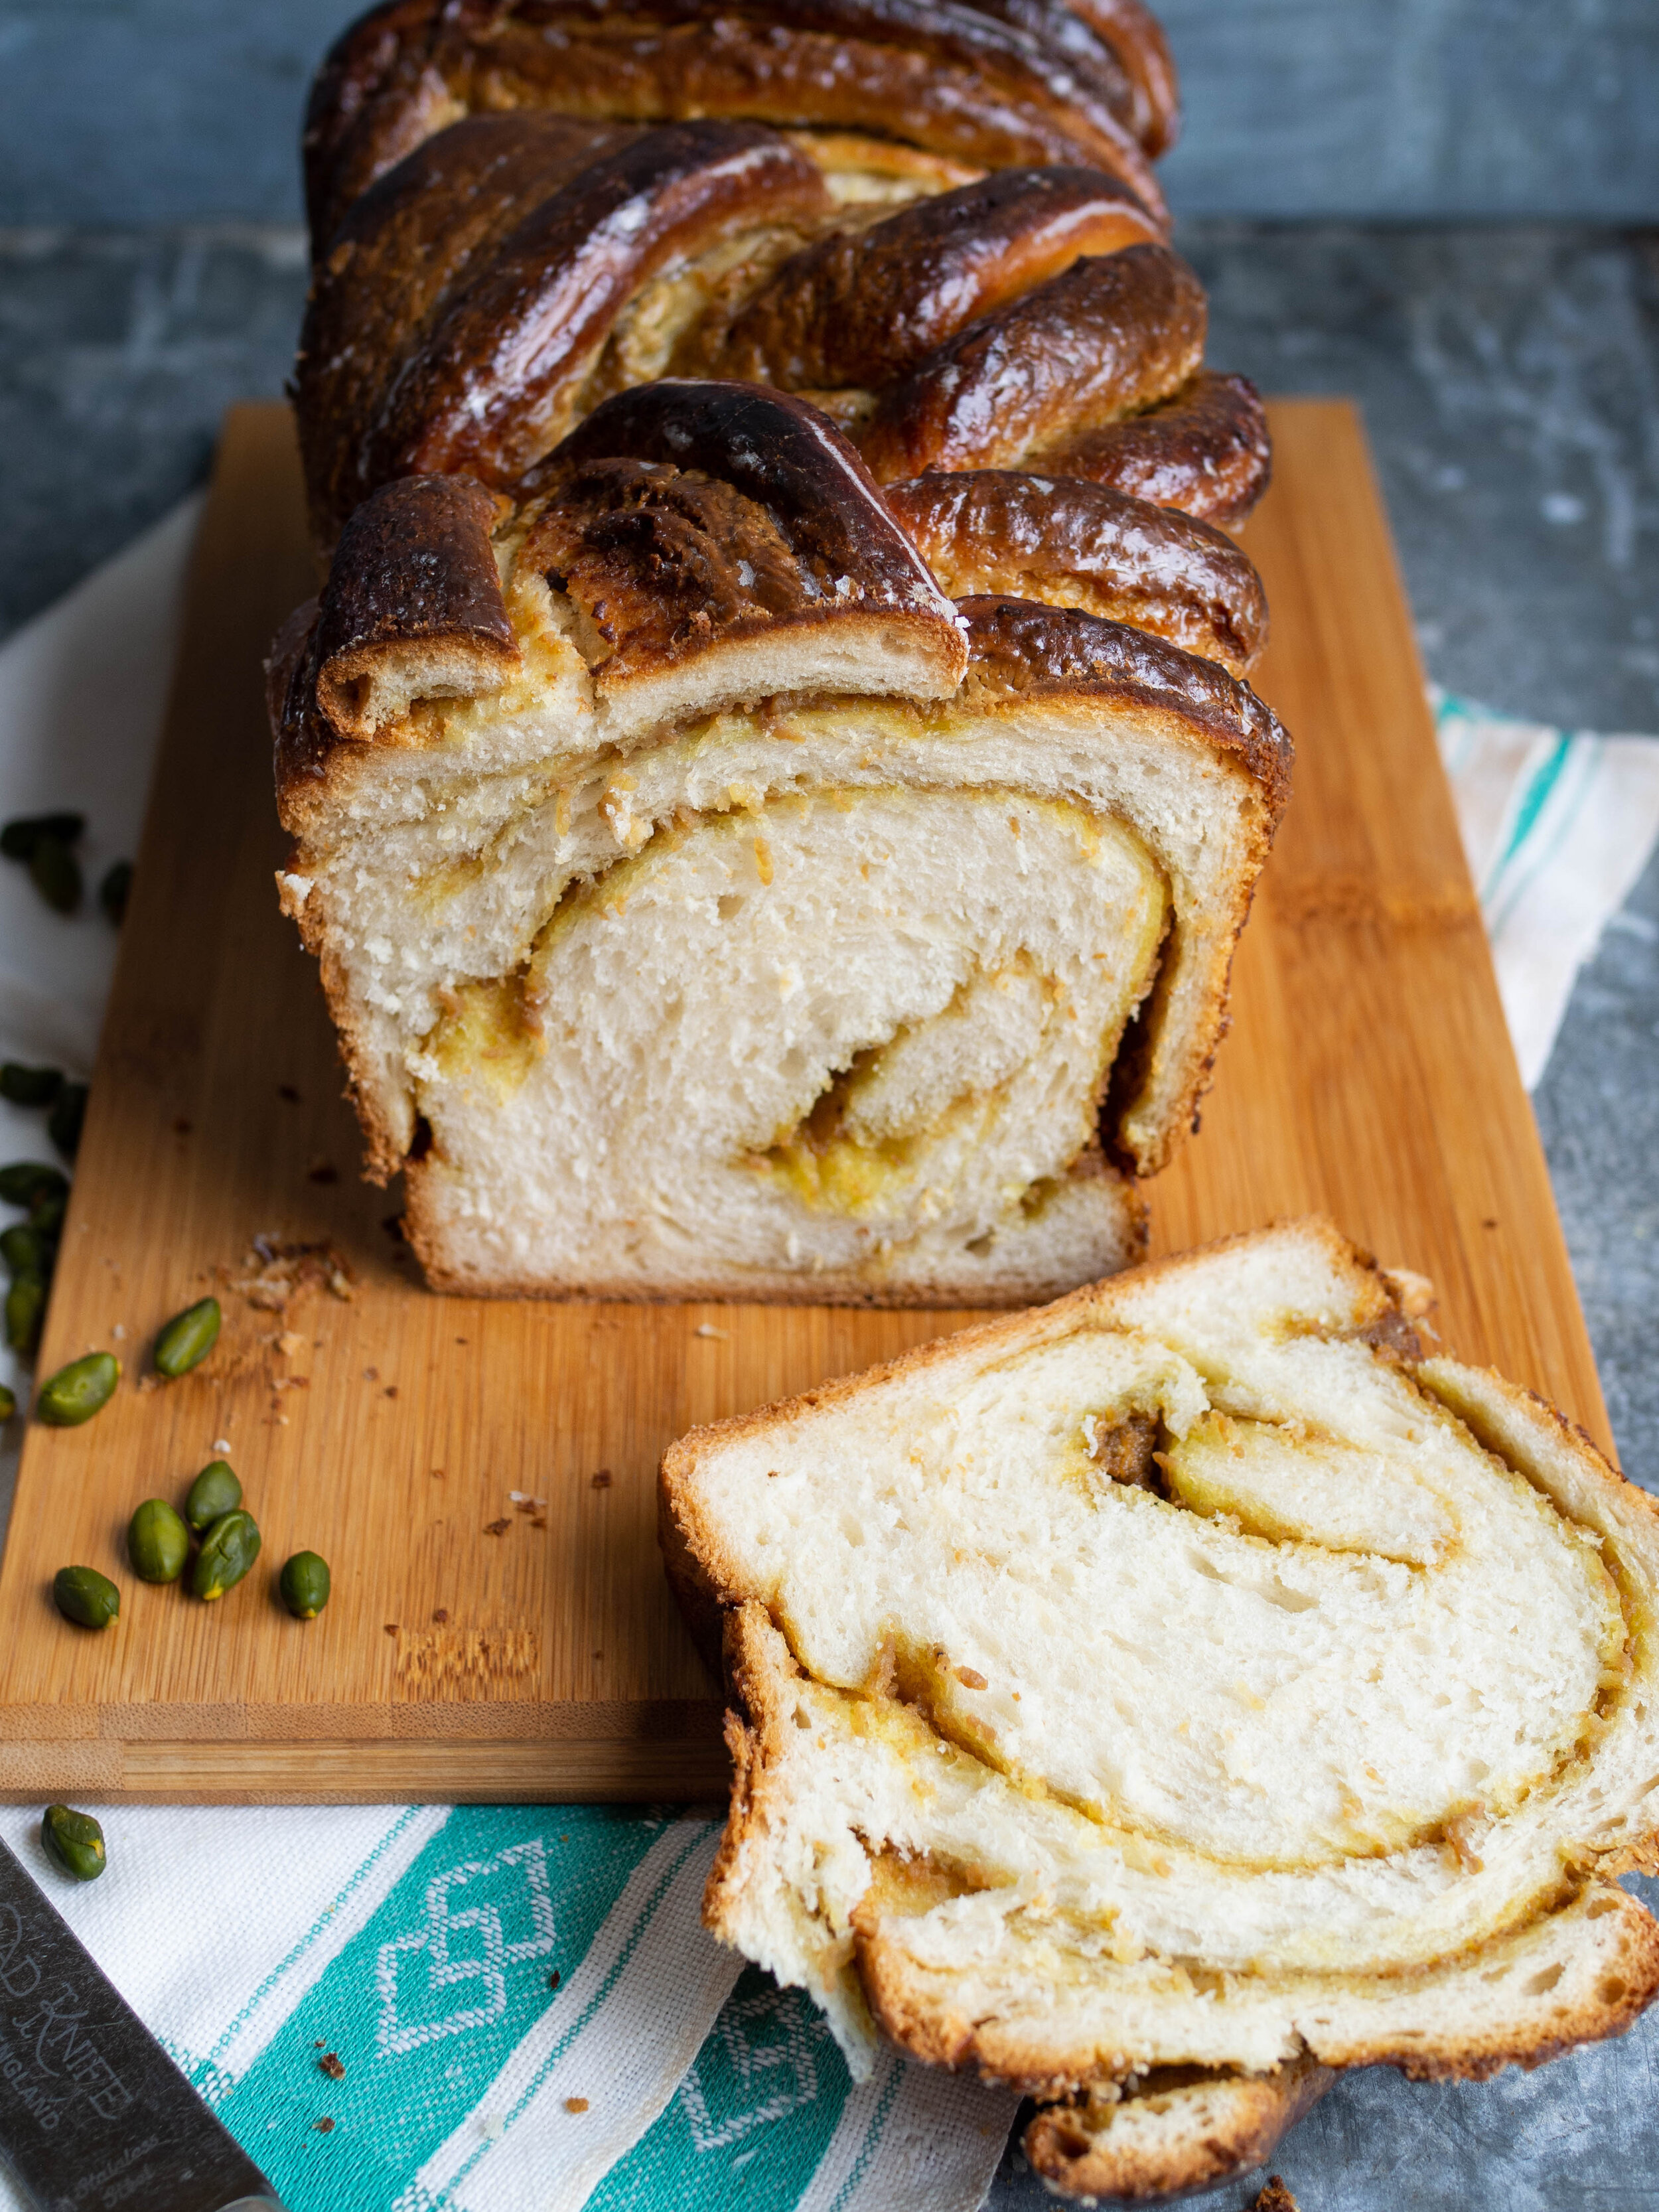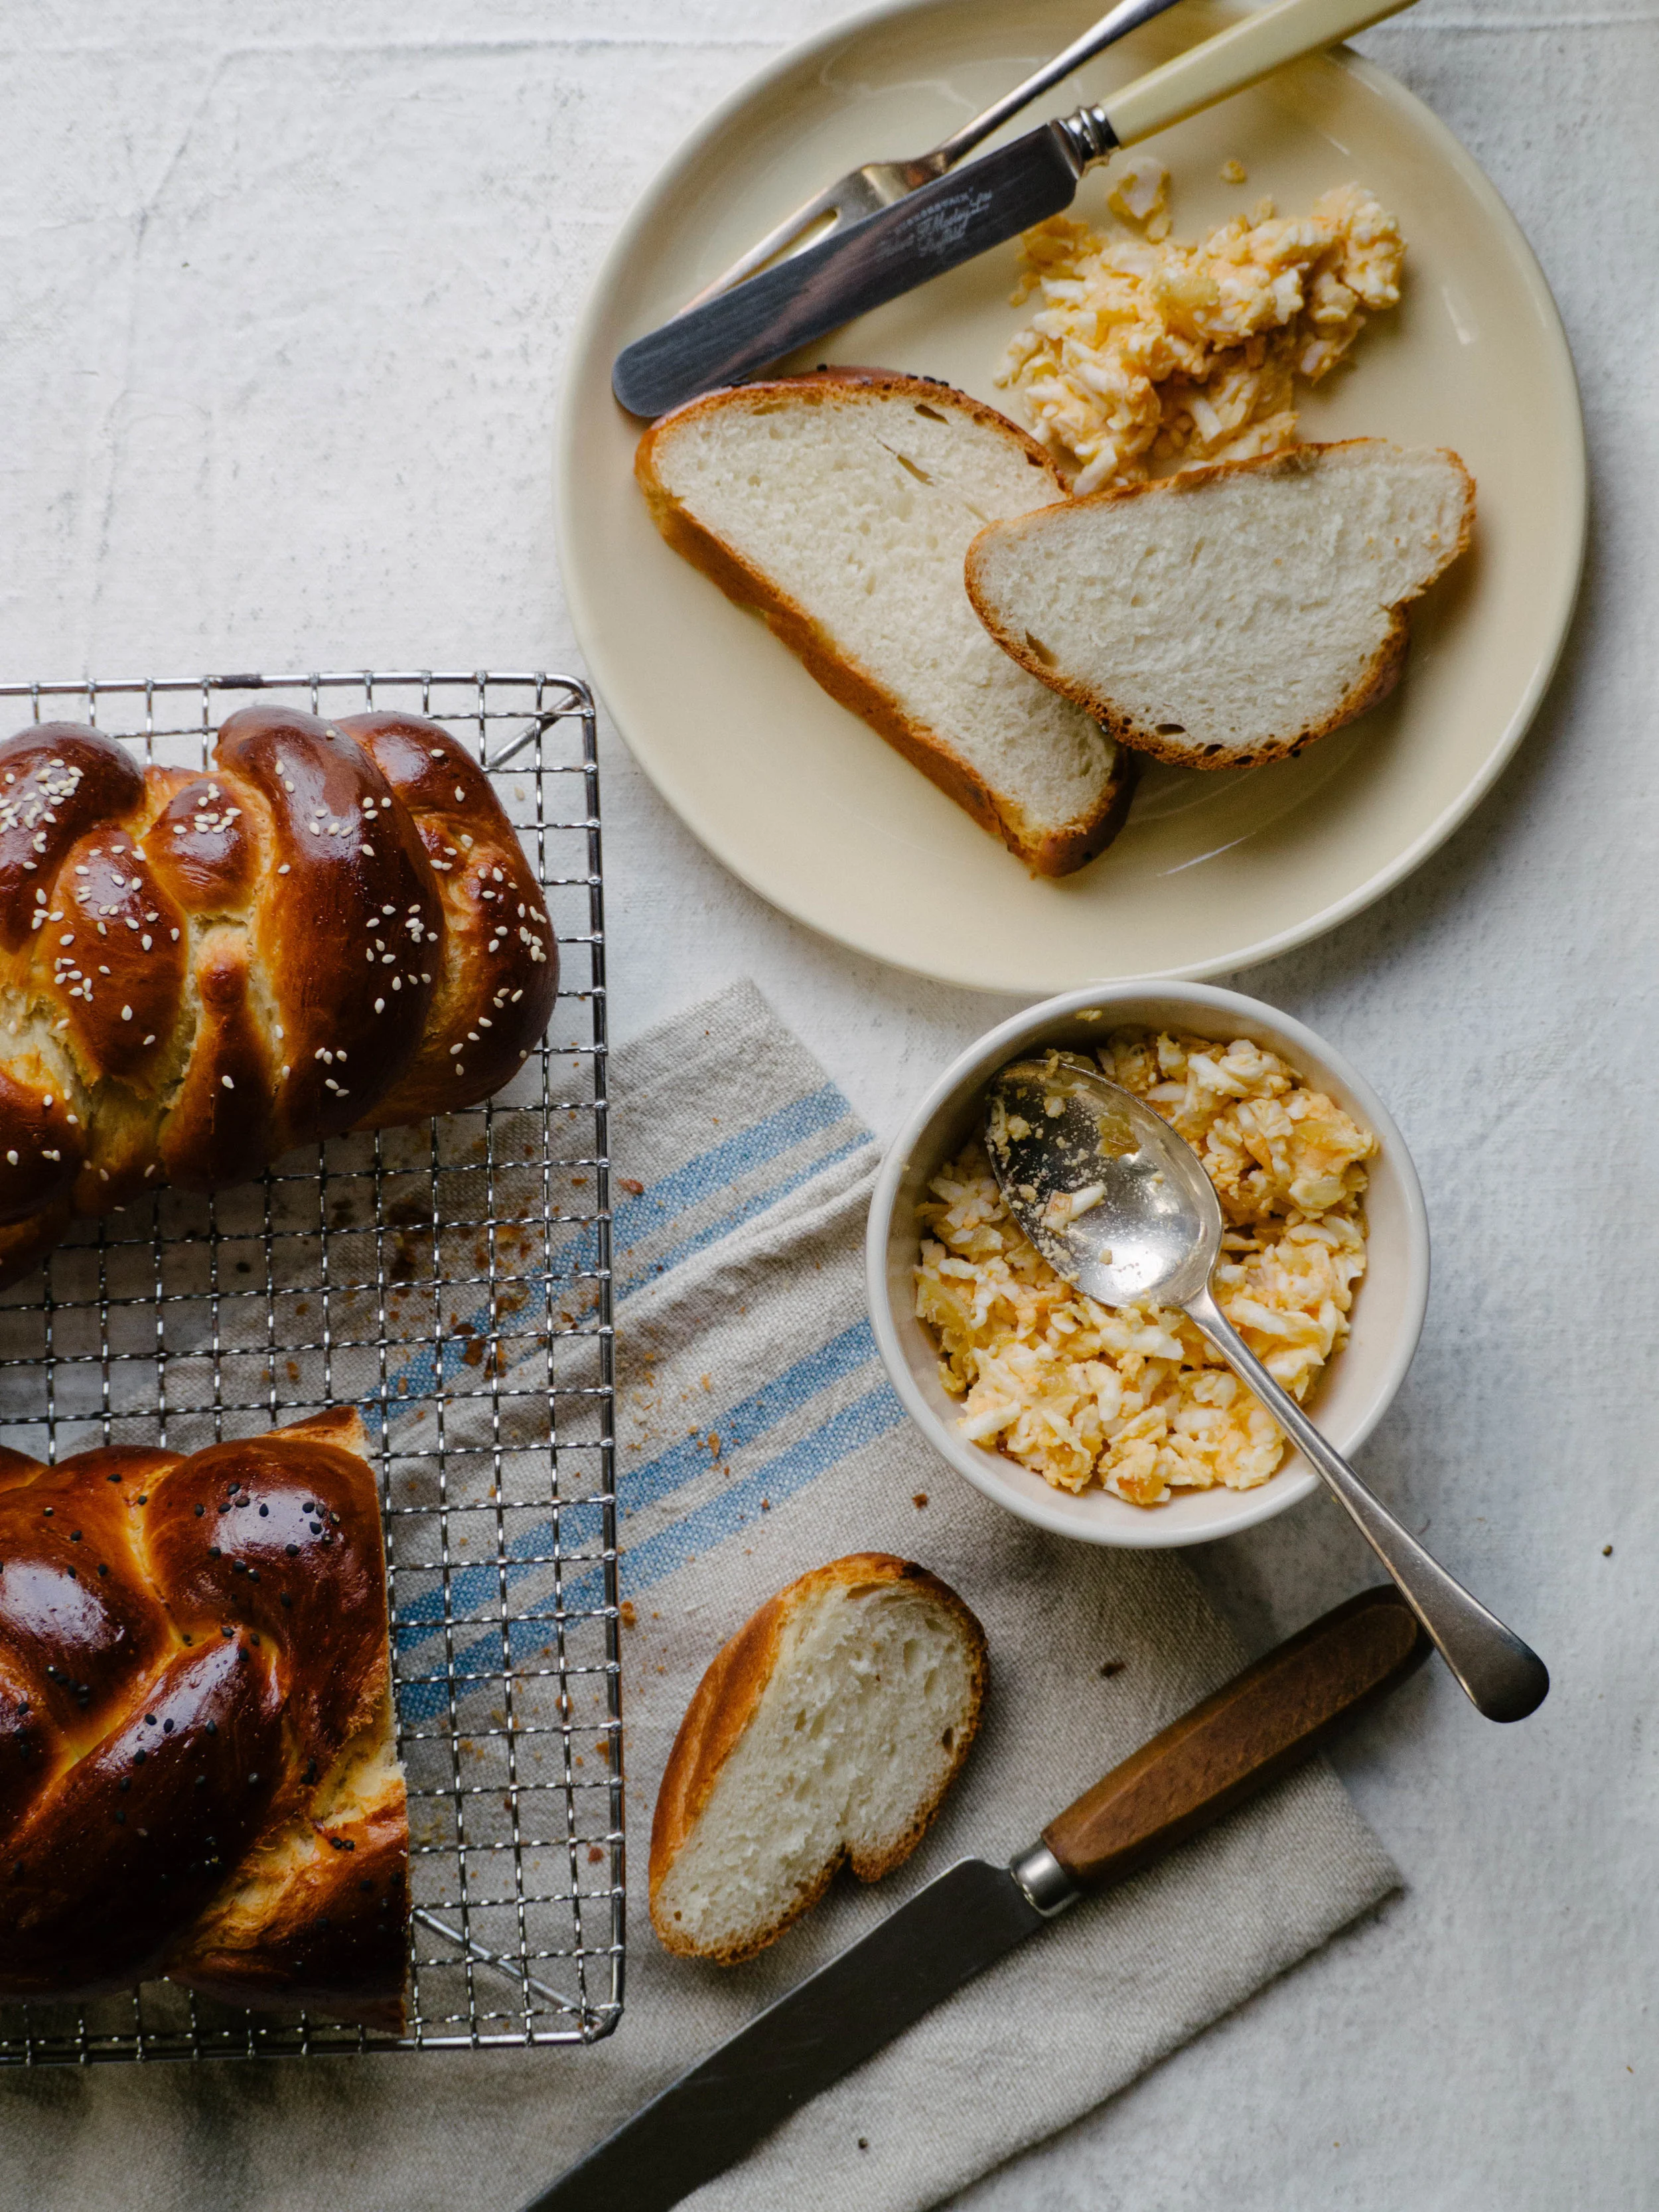
It’s been a while since I ventured into making babka. I love my pistachio version, but the filling I used was unavailable here in Australia for the majority of last year, only coming back on the shelves in November or December.
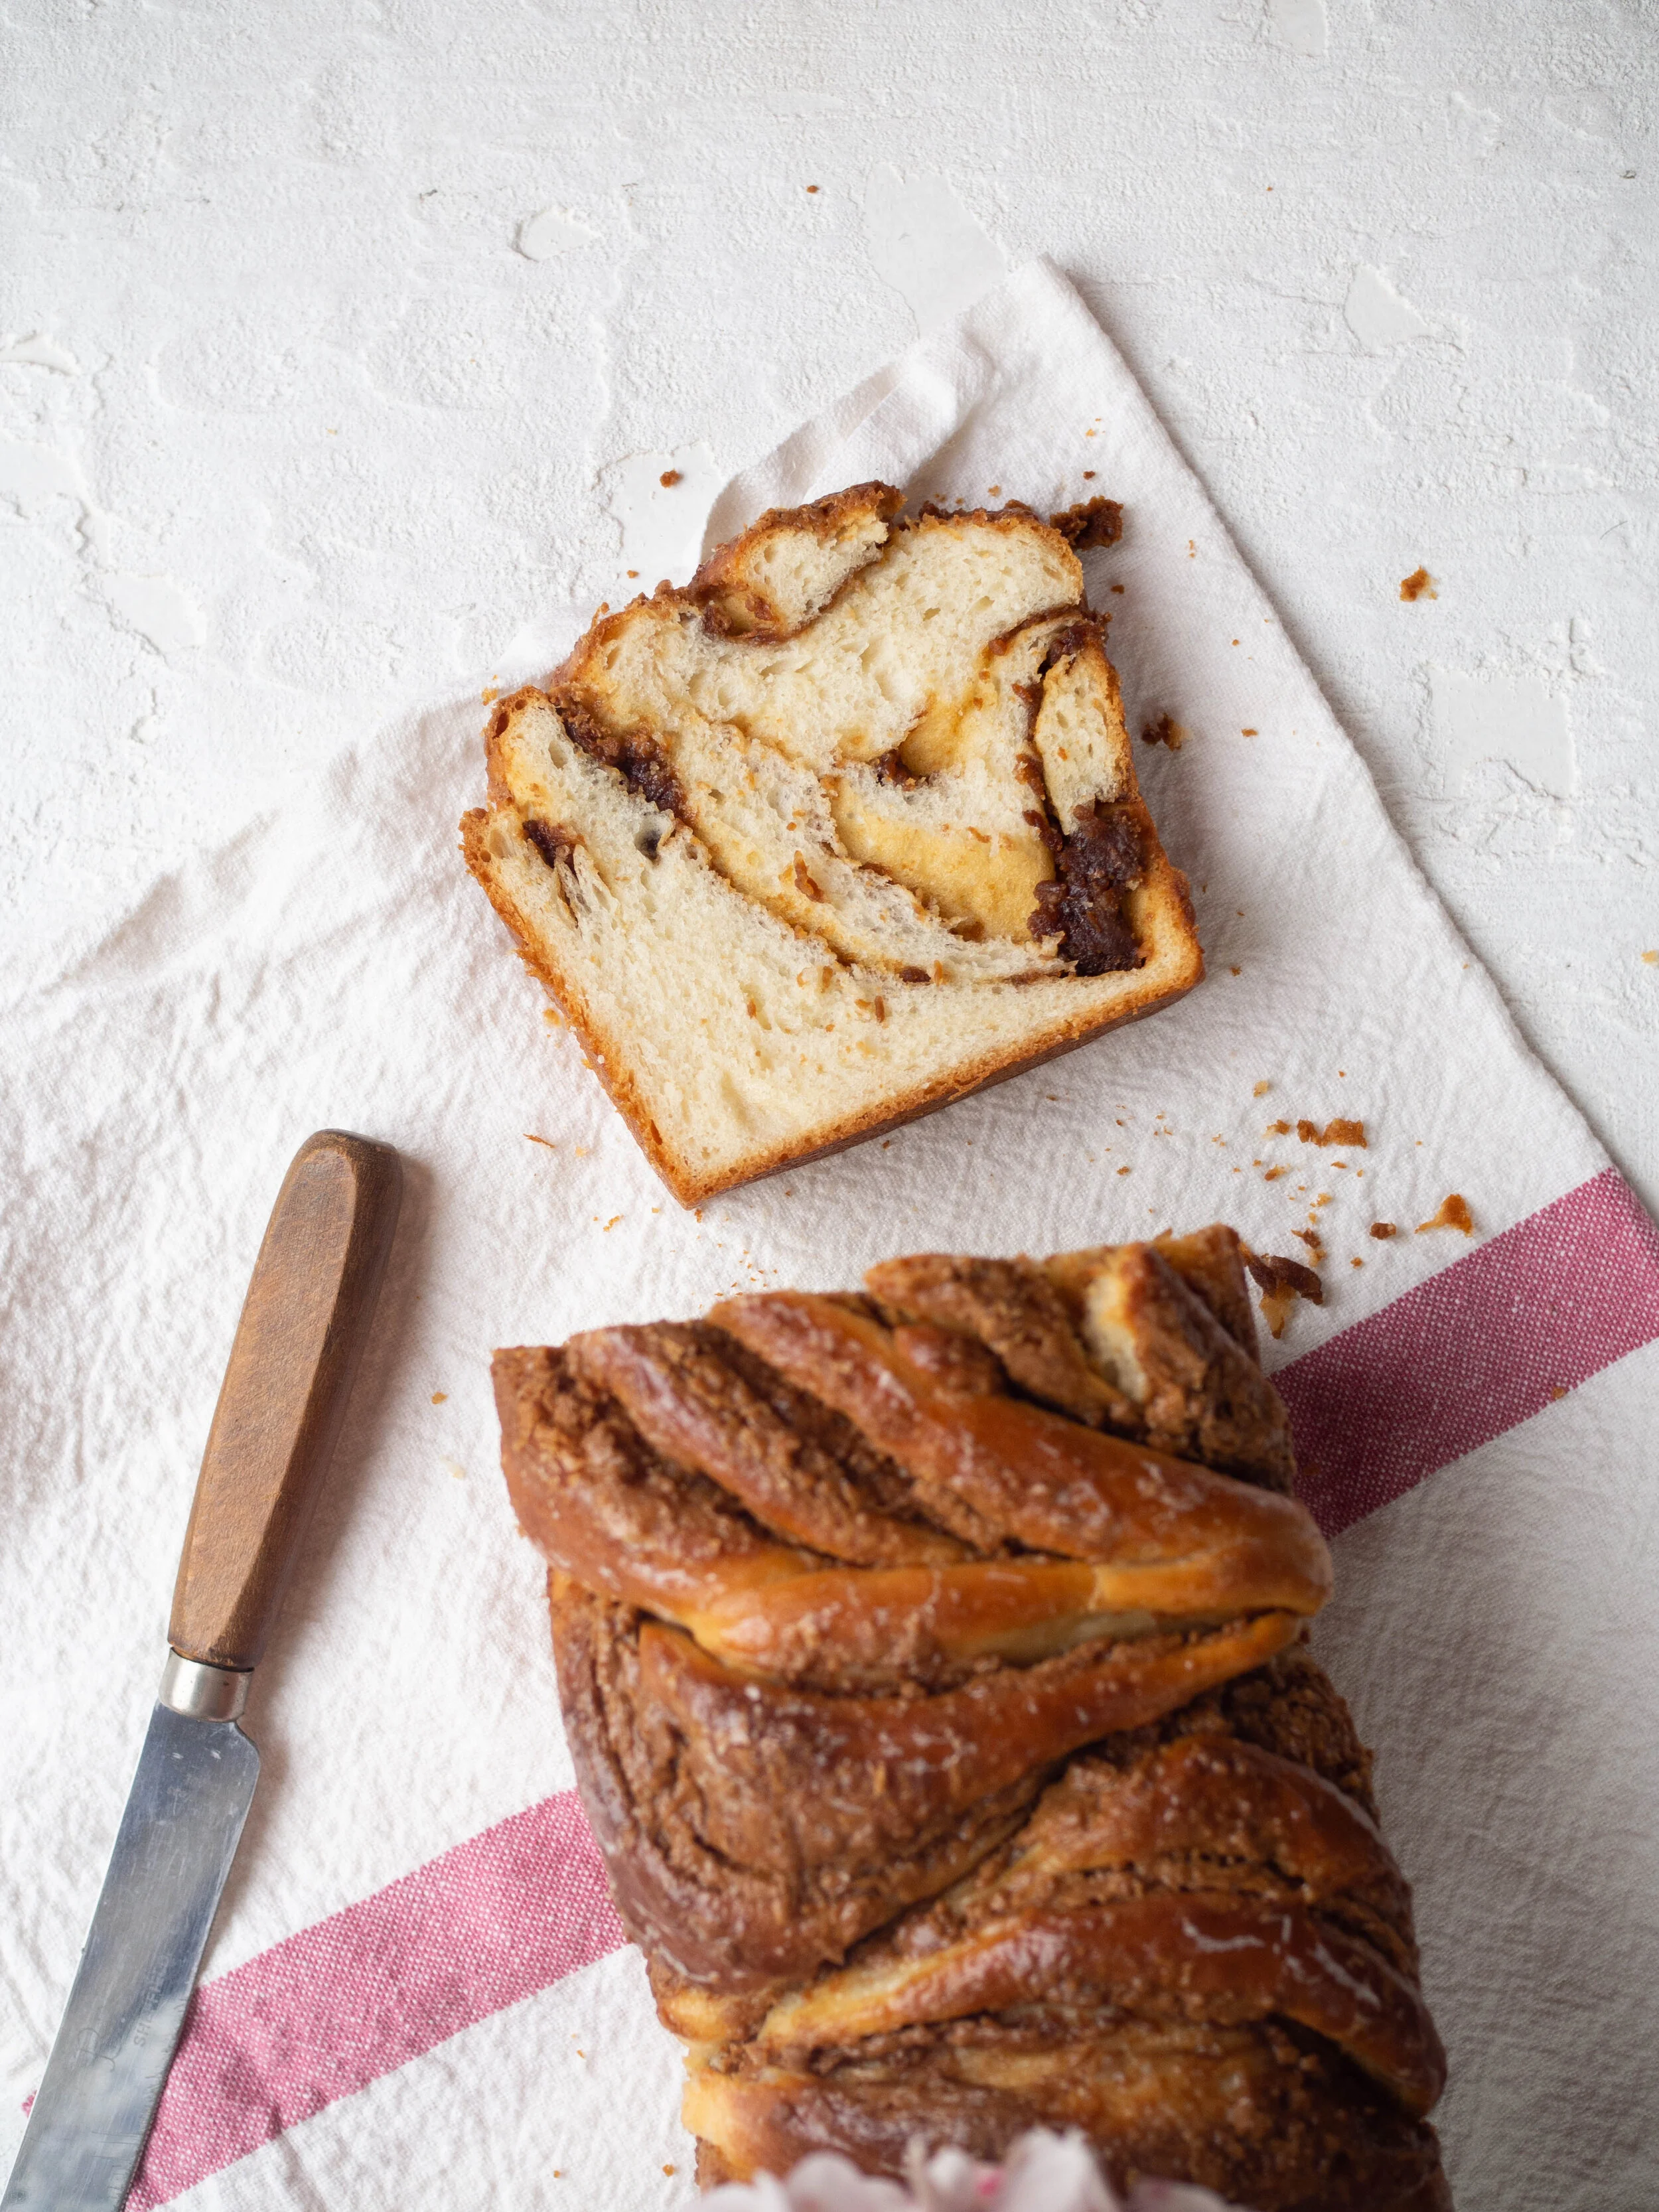
It was definitely time to try a new flavour, so when I bought a jar of Crunchy Biscoff Spread, it occurred to me that it could be a really good filling for a babka, amongst other things. I tried it, and can confirm it is delicious. It’s also something that is easily bought at many supermarkets (I bought mine at Woolworths), and is dairy free. And since I still believe that challah is the best type of bread, I again used that as my babka base, and that combined with the Biscoff spread makes this whole recipe dairy free.
You could of course use many other things as your babka filling, Nutella is another spread that is easy to come by. If using, you’d only need about 200g or so of it, since it has a smoother, thinner and even more spreadable consistency than Biscoff spread.
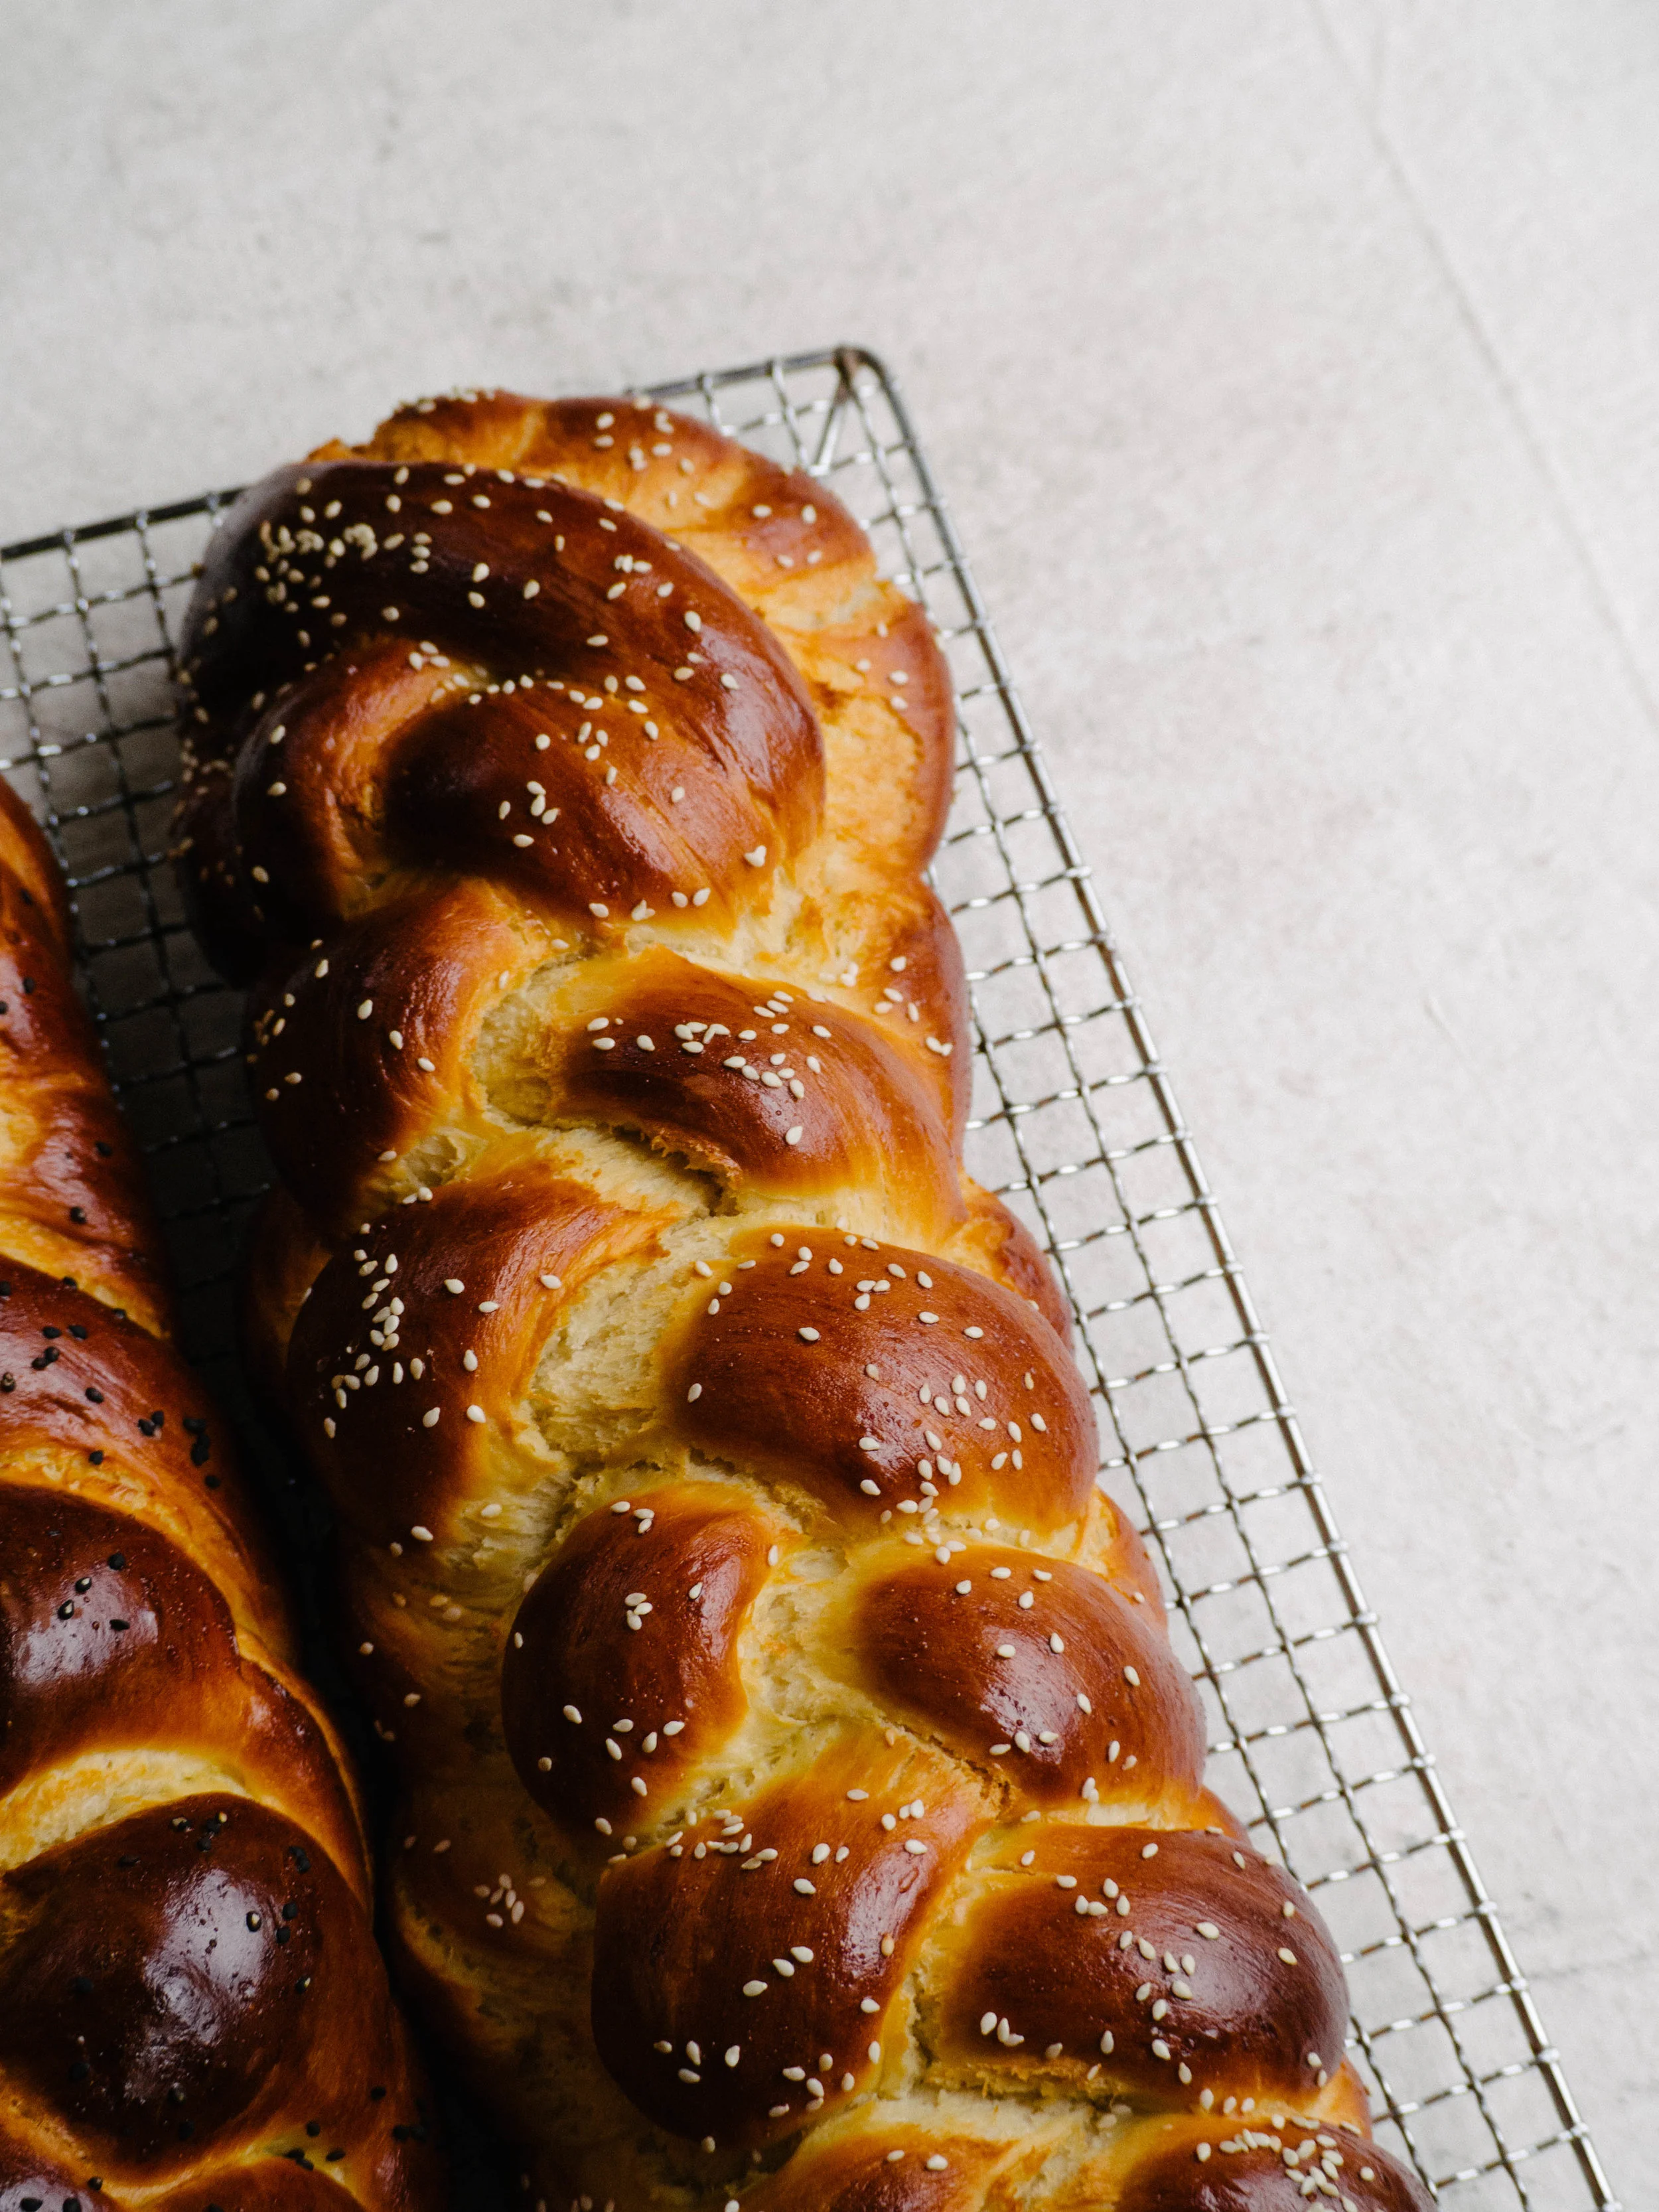
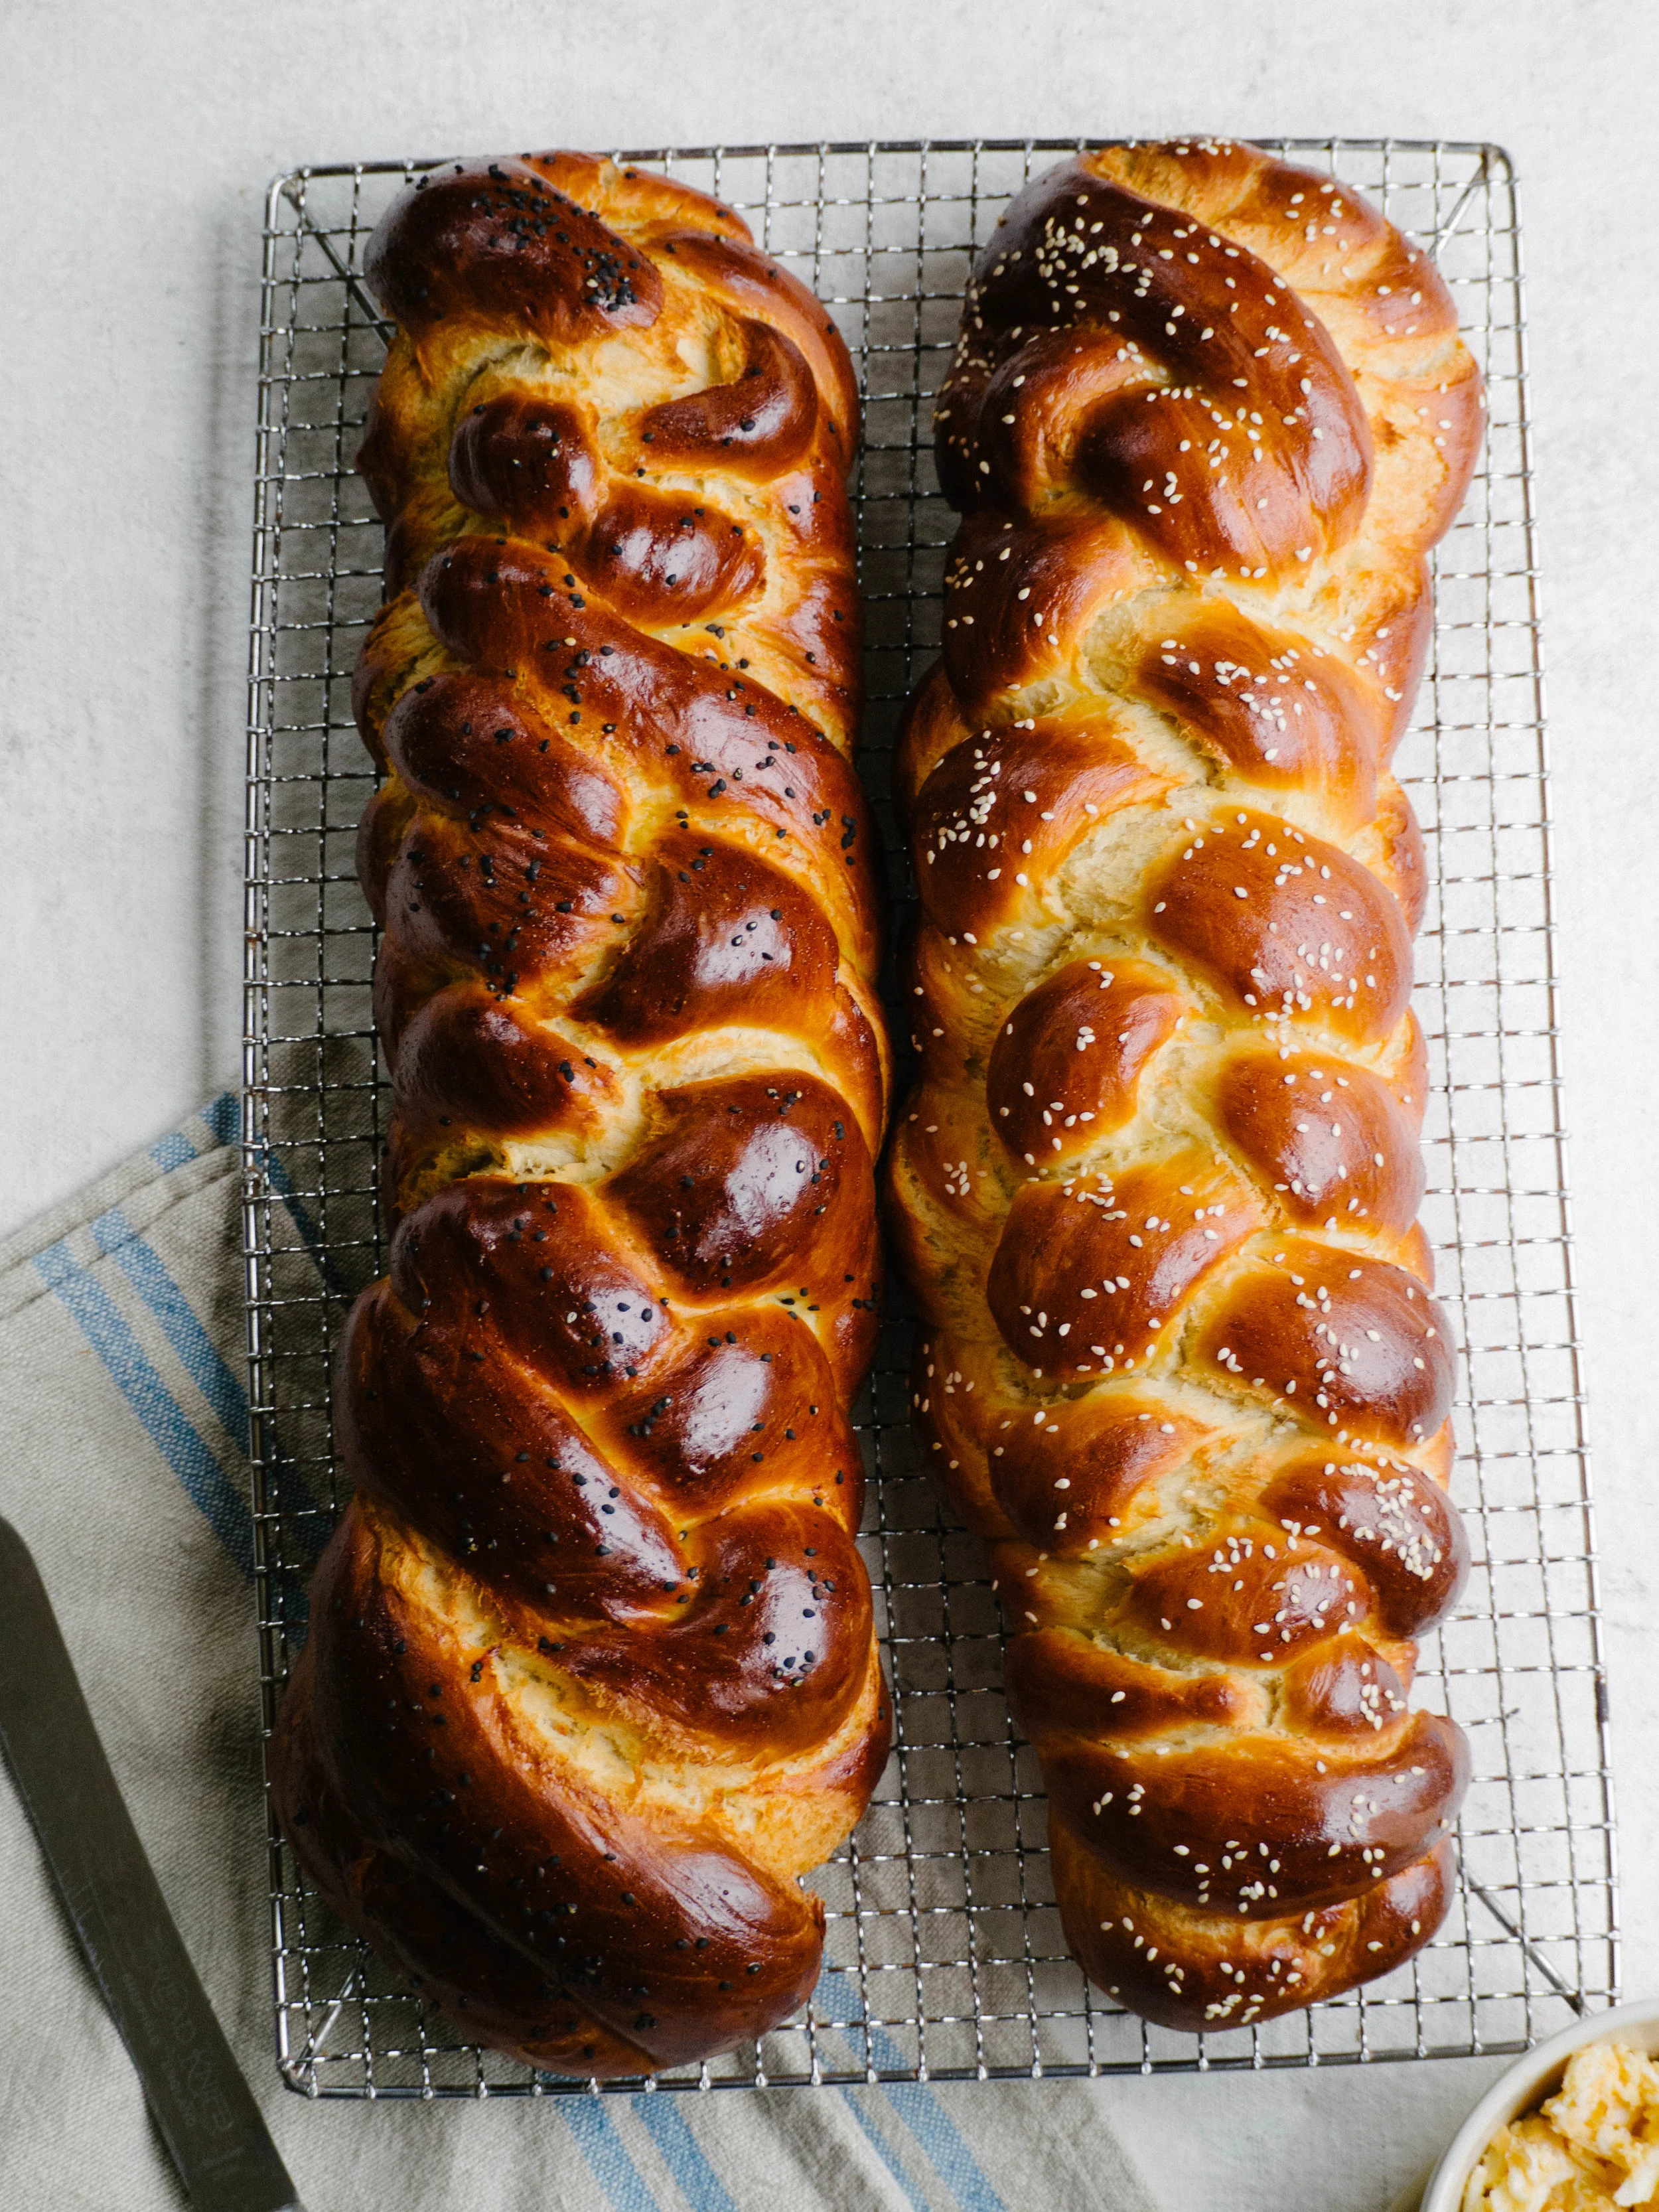
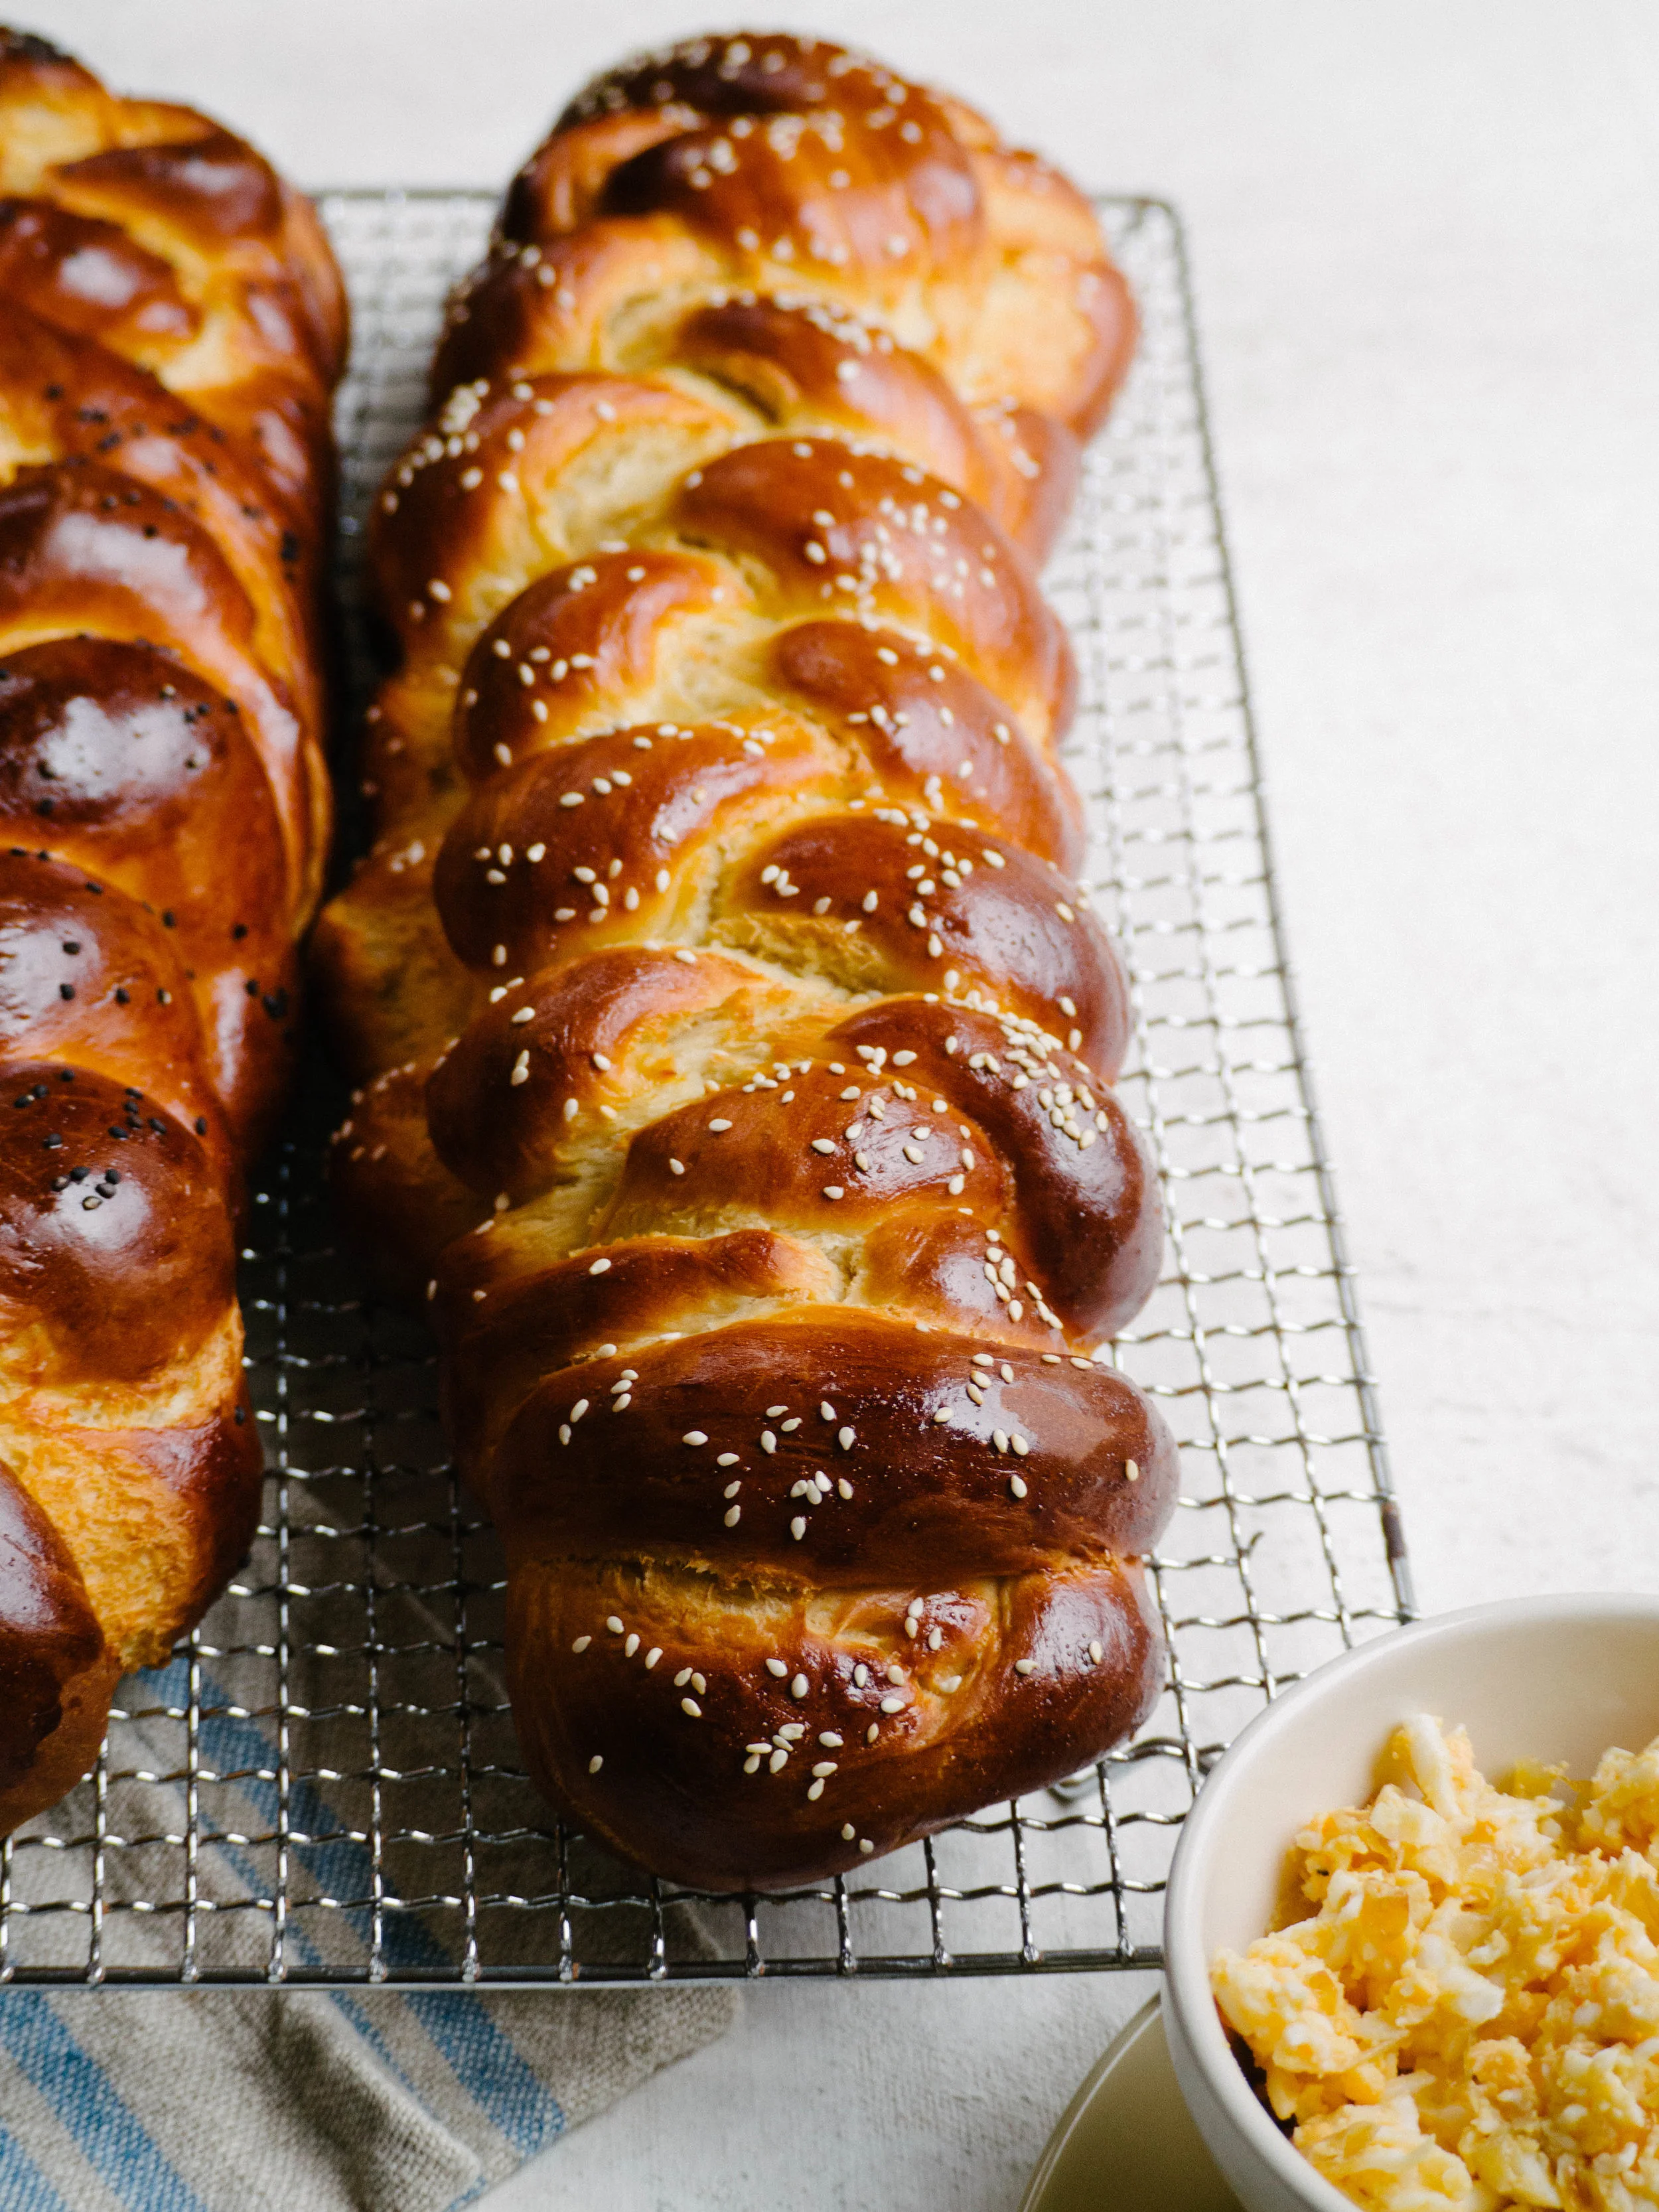
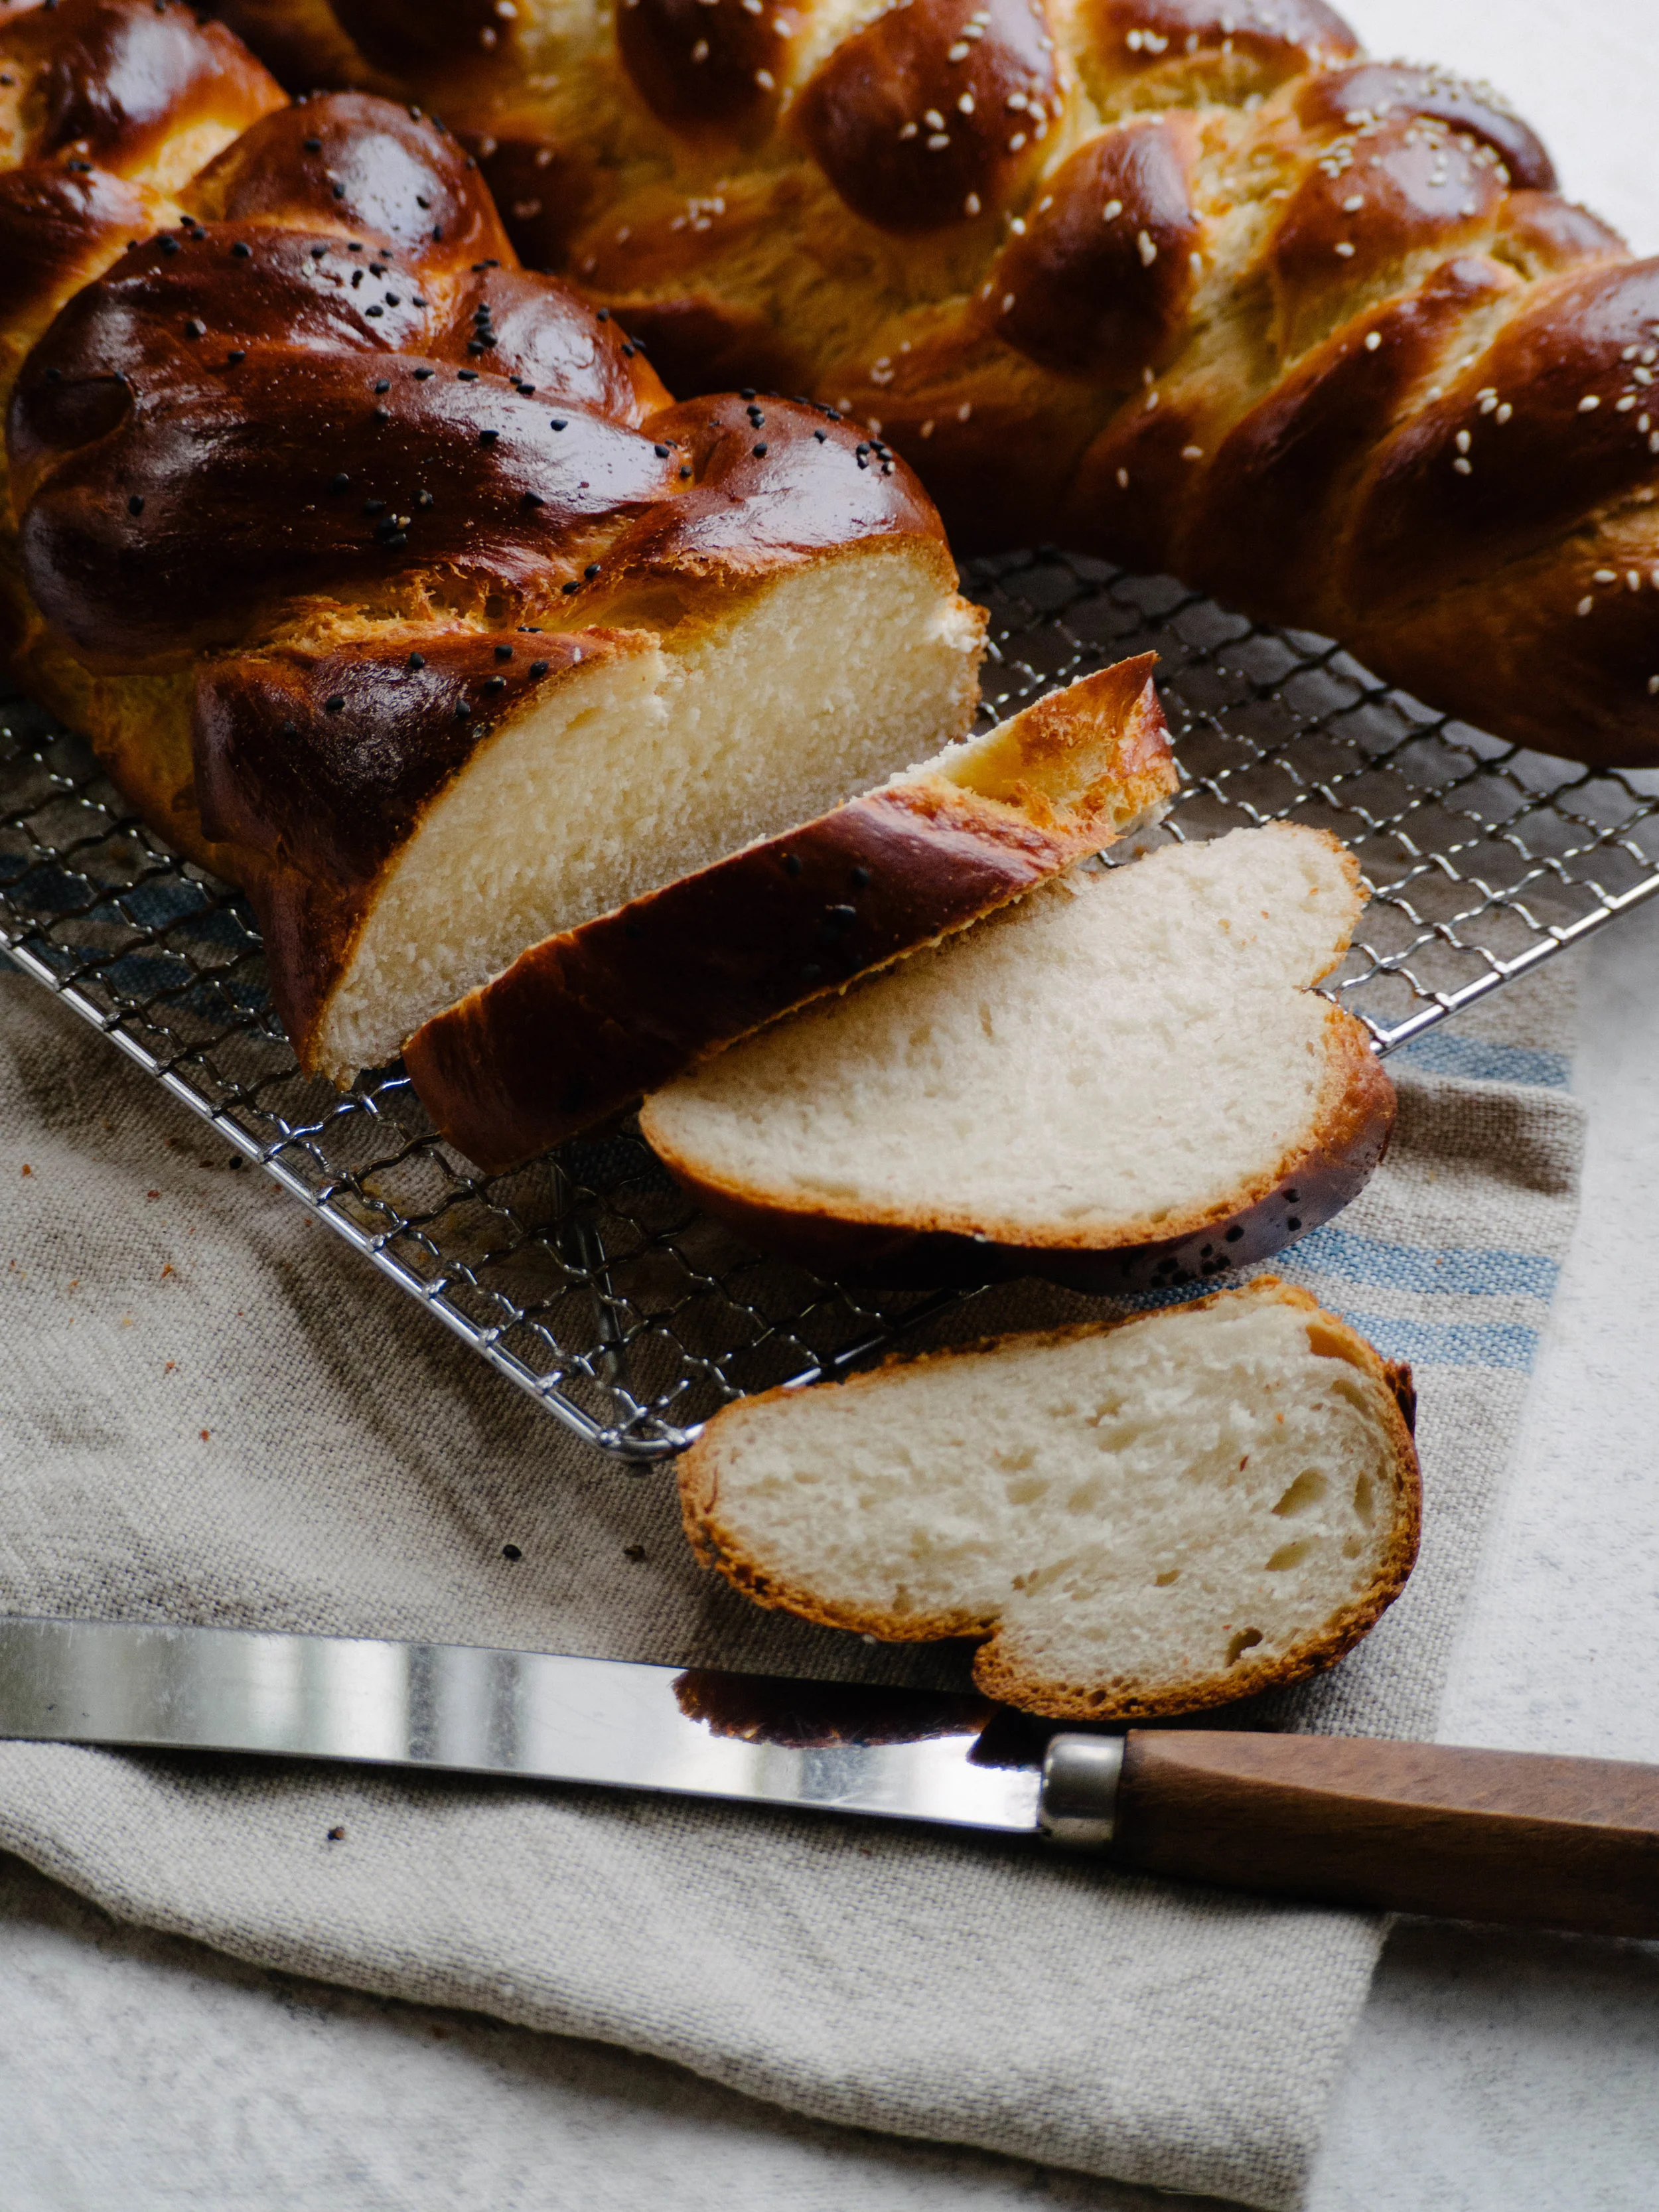
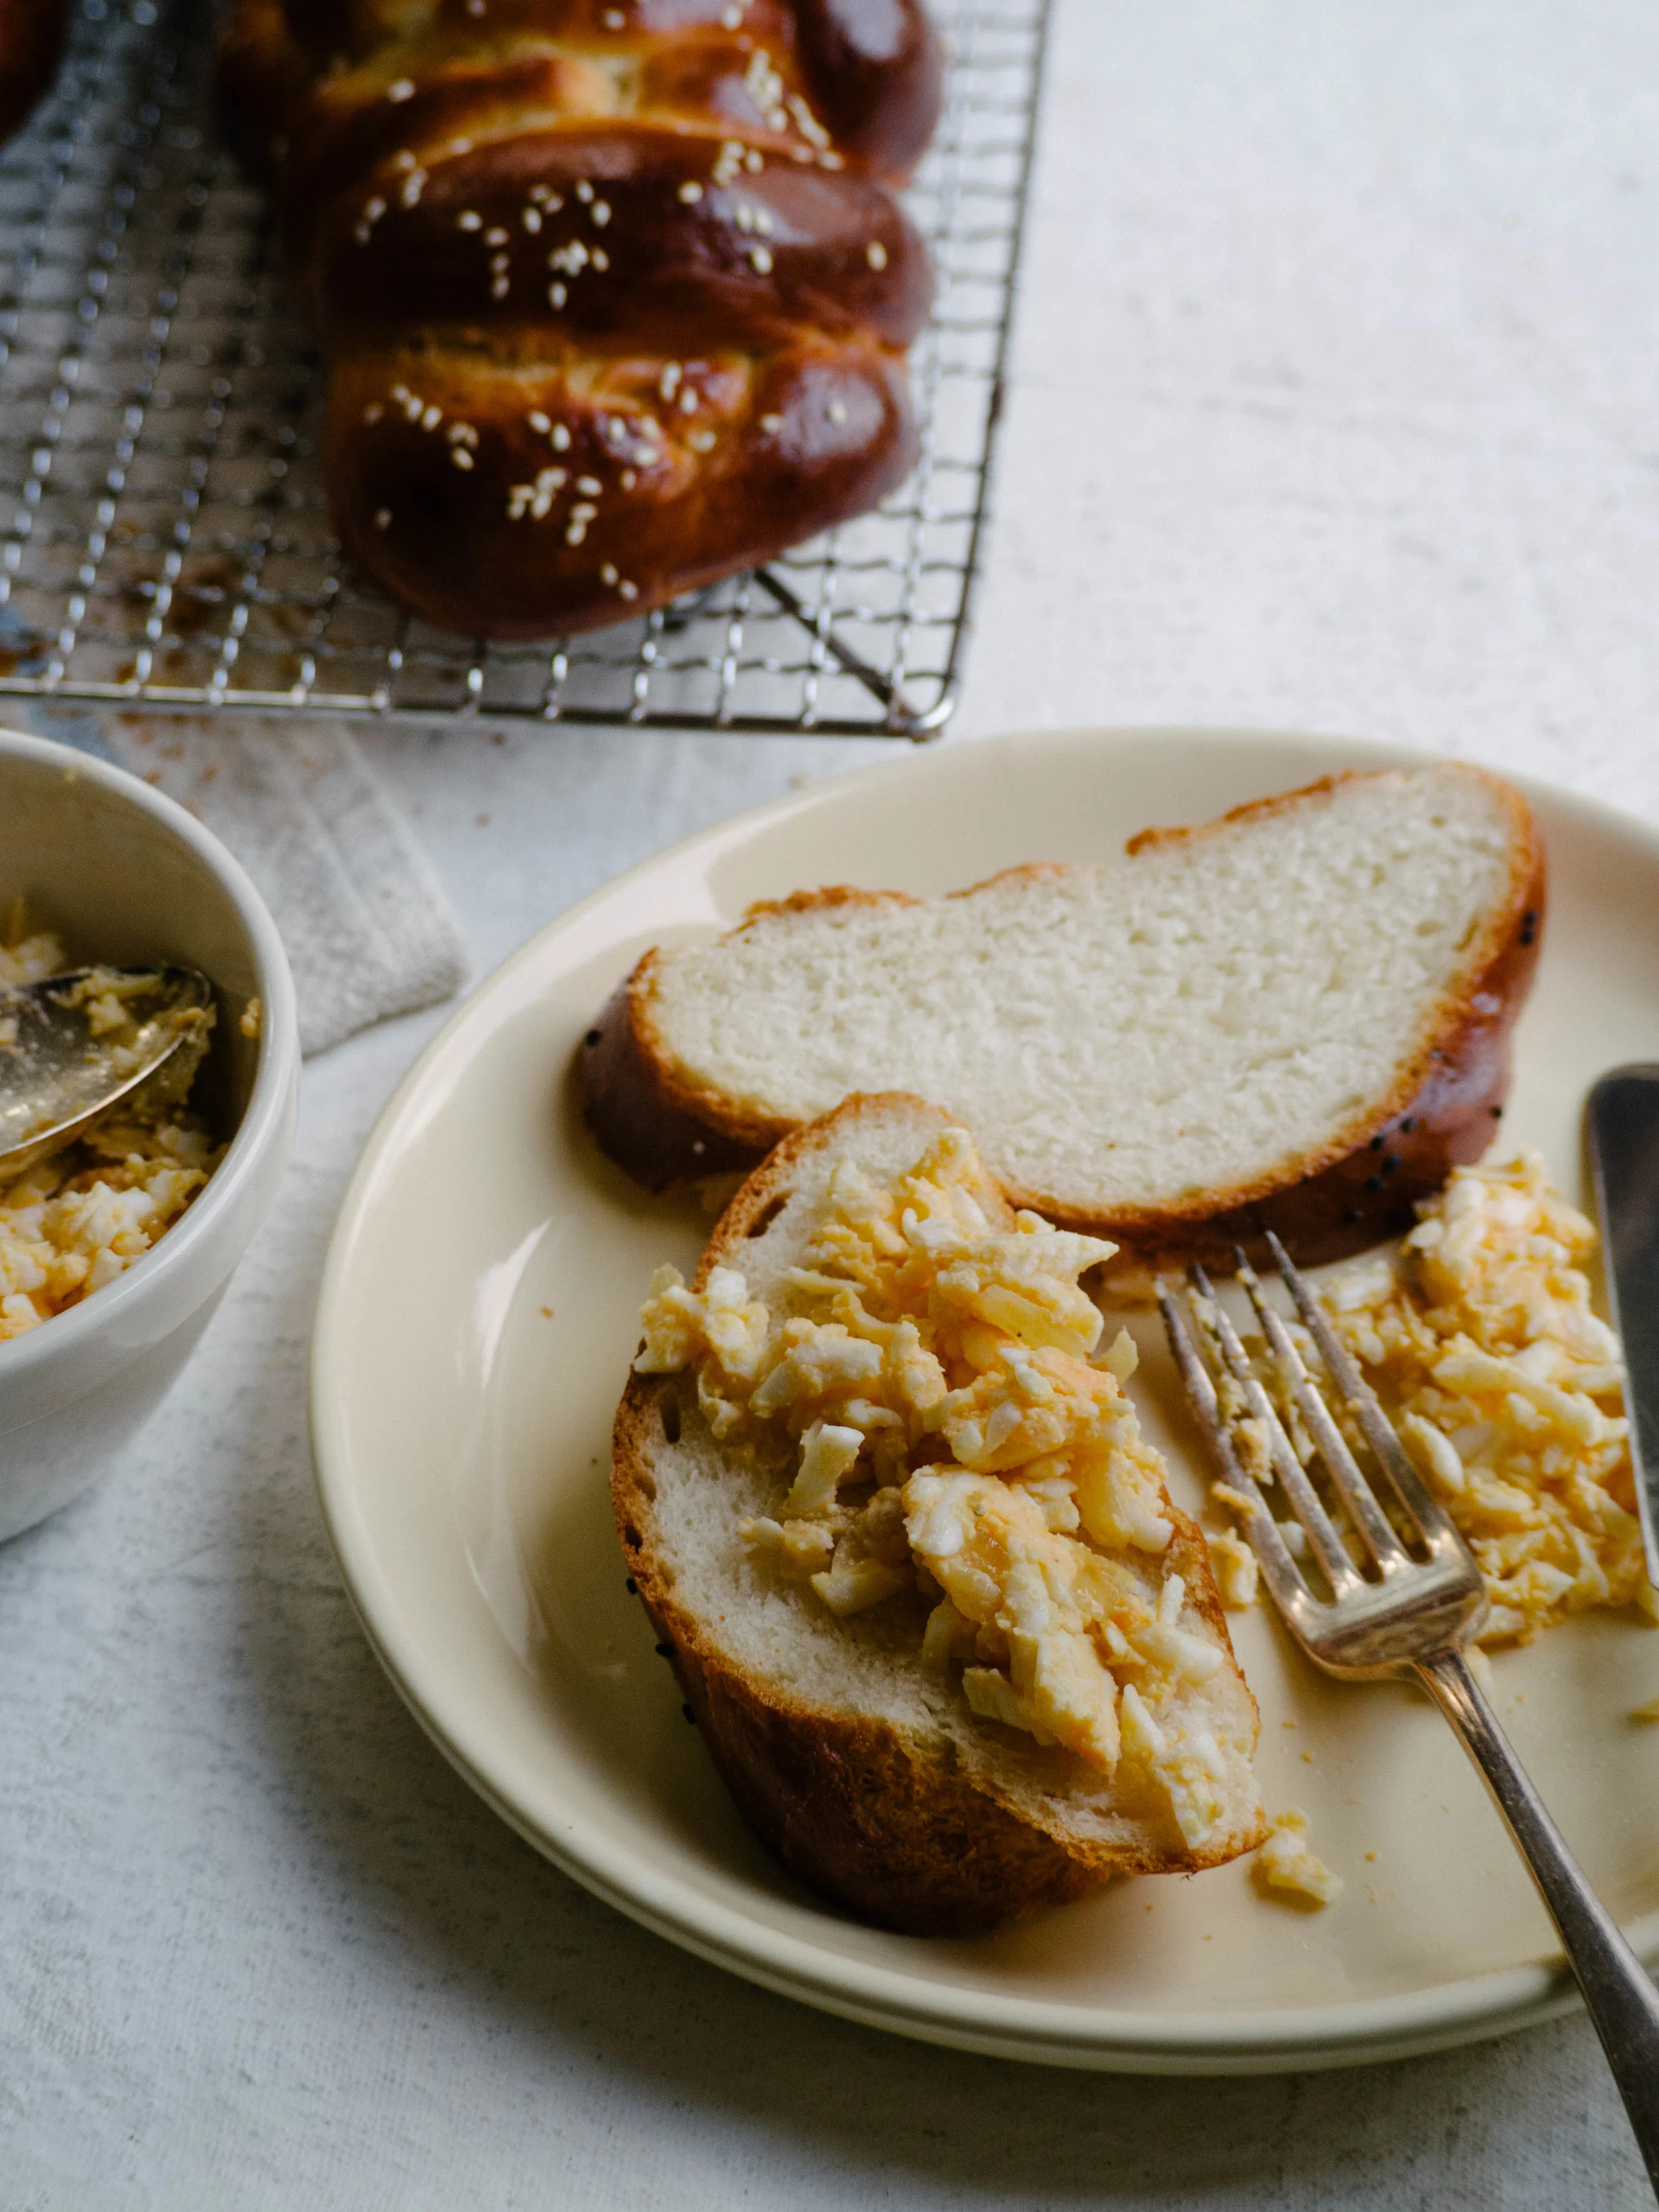
And as a note, I am still exclusively using the Monday Morning Cooking Club challah recipe, as it genuinely works every time and tastes great made a traditional challah or adapted into something like this. The recipe is in their first self titled book (which I highly recommend, you can read more about it here), and can be found on their website here as well.


Biscoff (Challah) Babka
Ingredients:
500g plain flour, plus extra
250ml warm water
9g dried yeast
85g caster sugar
3/4 tsp salt
1 egg, beaten
63ml canola or vegetable oil
250-300g Crunchy Biscoff Spread
cooking spray
Ingredients for the Glaze:
50g white sugar
60ml water
Method:
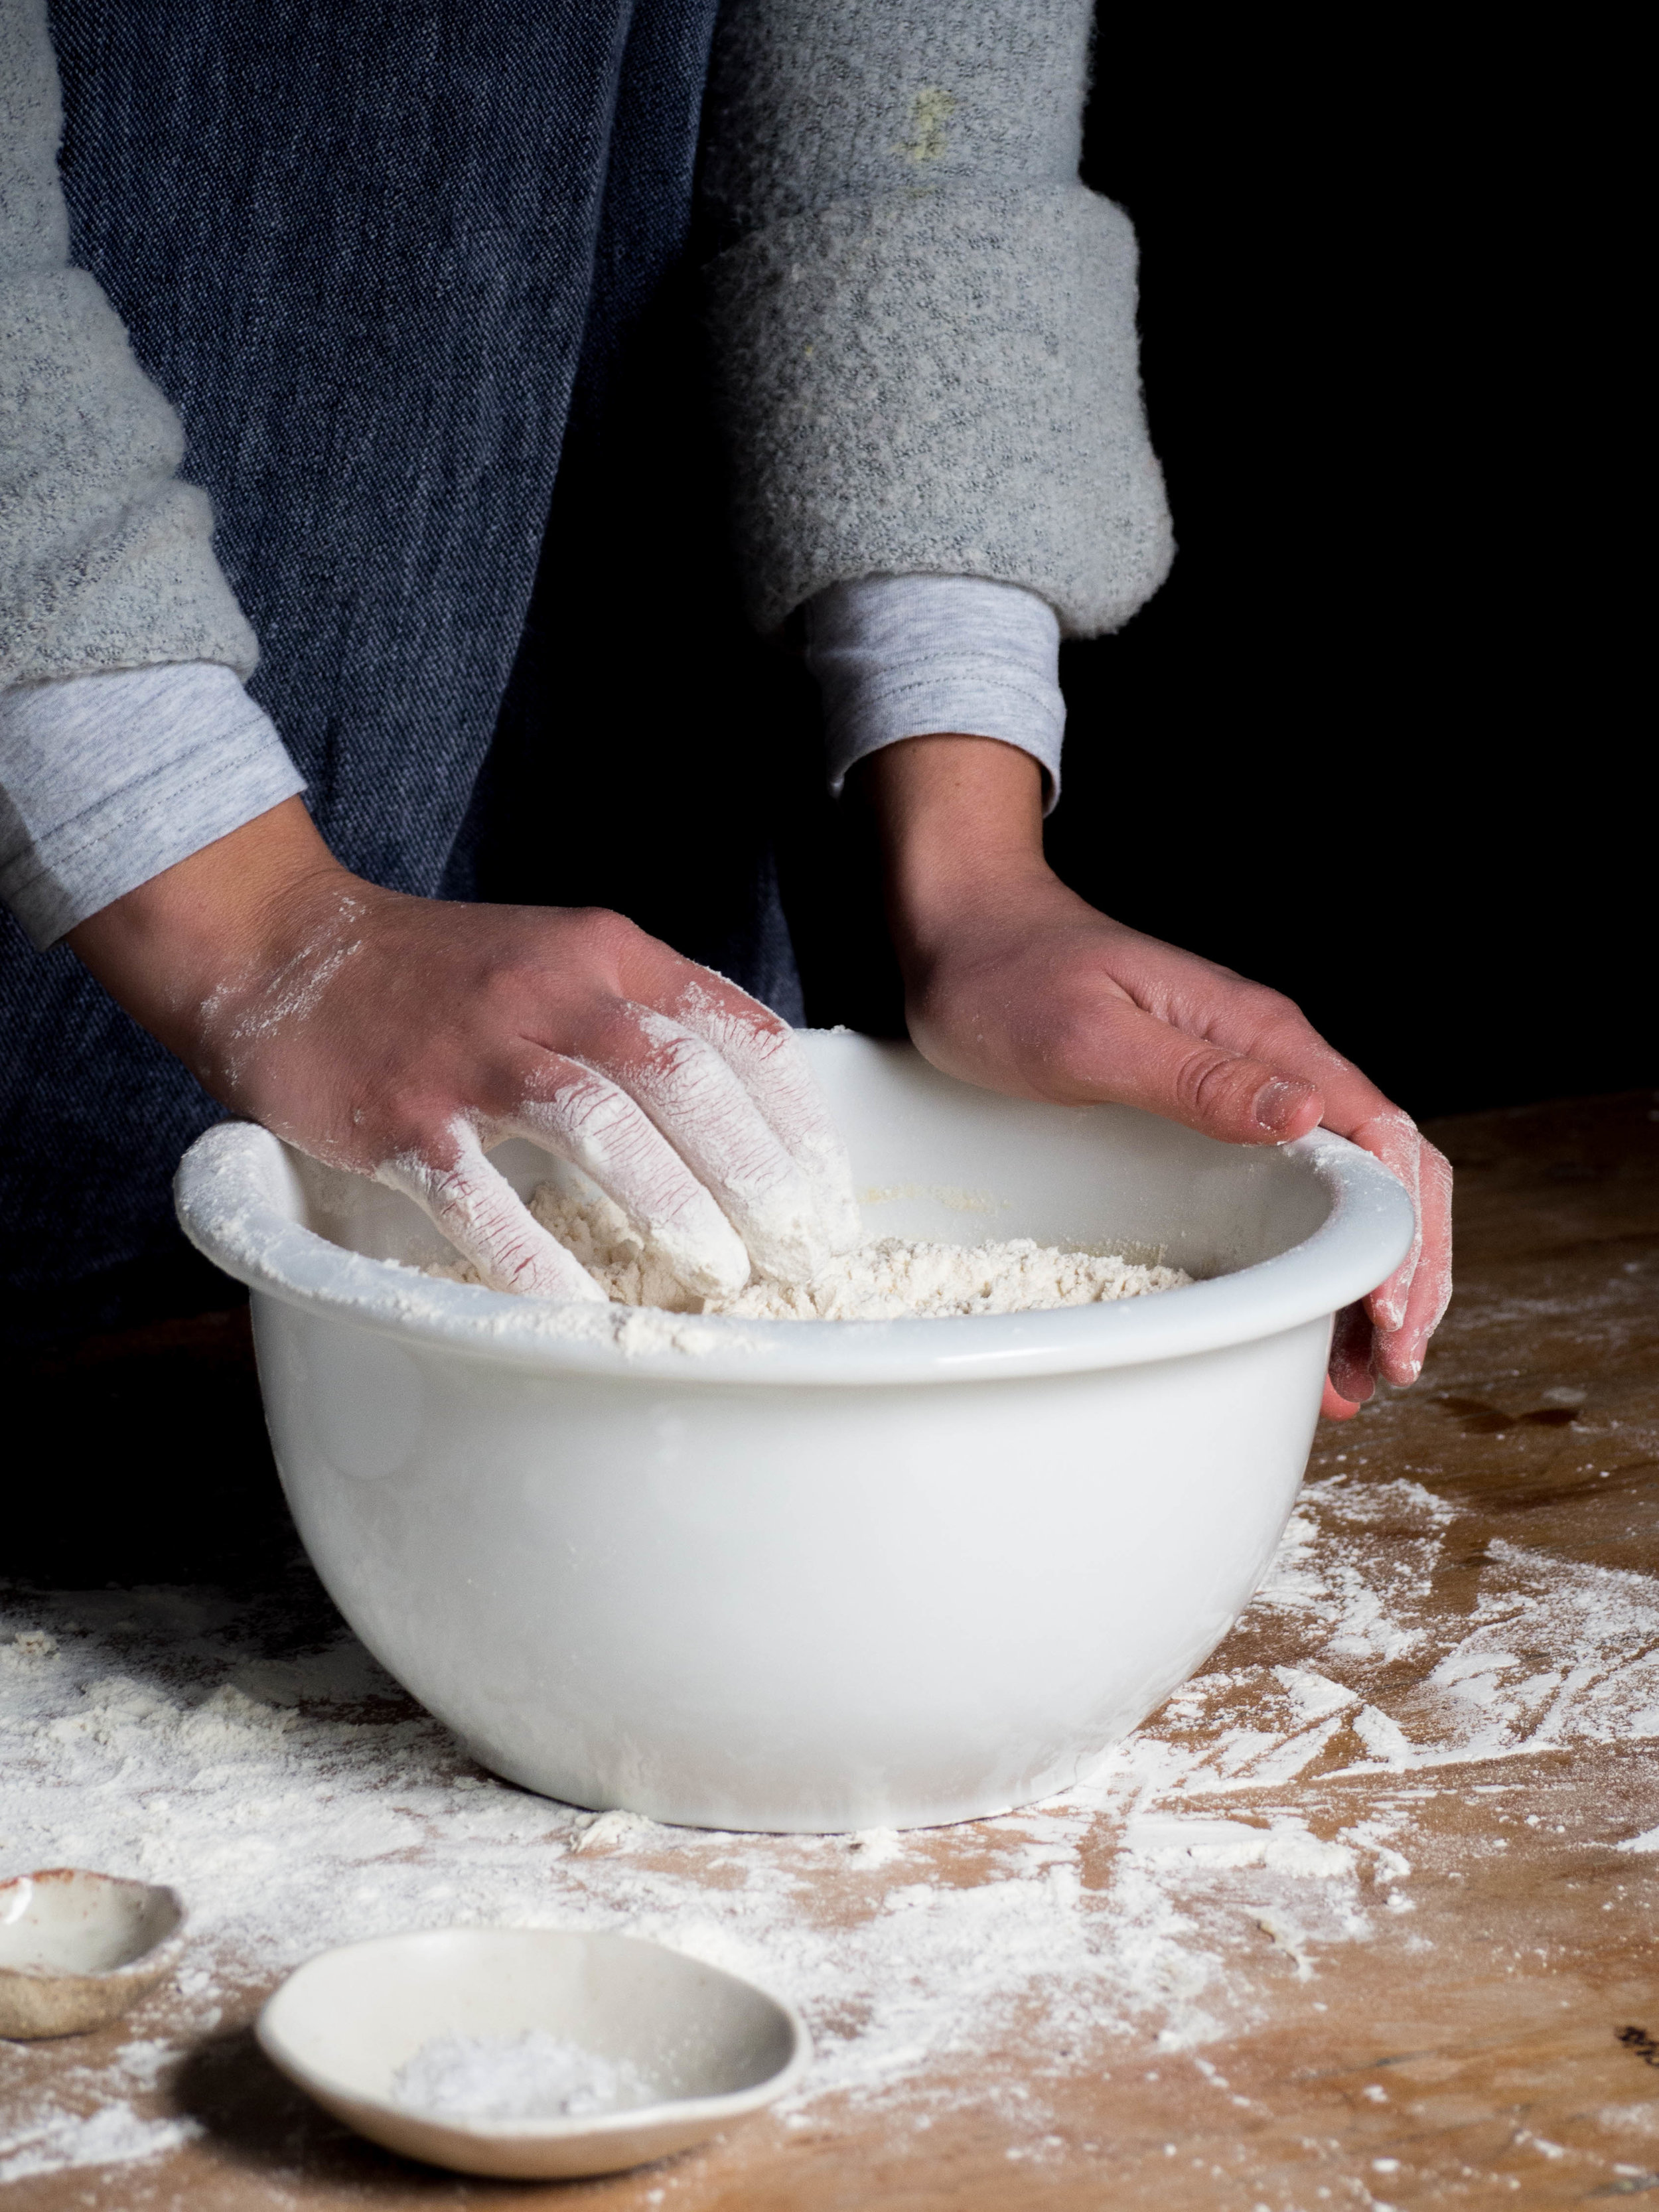
Place the flour into a large bowl (one that fits your stand mixer if you have one). Make a well in the centre of the flour, then pour in the warm water. Add the yeast and 60g of the caster sugar and stir (don’t mix in the flour at this stage). Leave for 10-15 minutes, or until the yeast has become foamy.
Then add the salt and remaining sugar, stir again (don’t mix in the flour at this stage), and wait 5-10 minutes for the yeast to become foamy again.
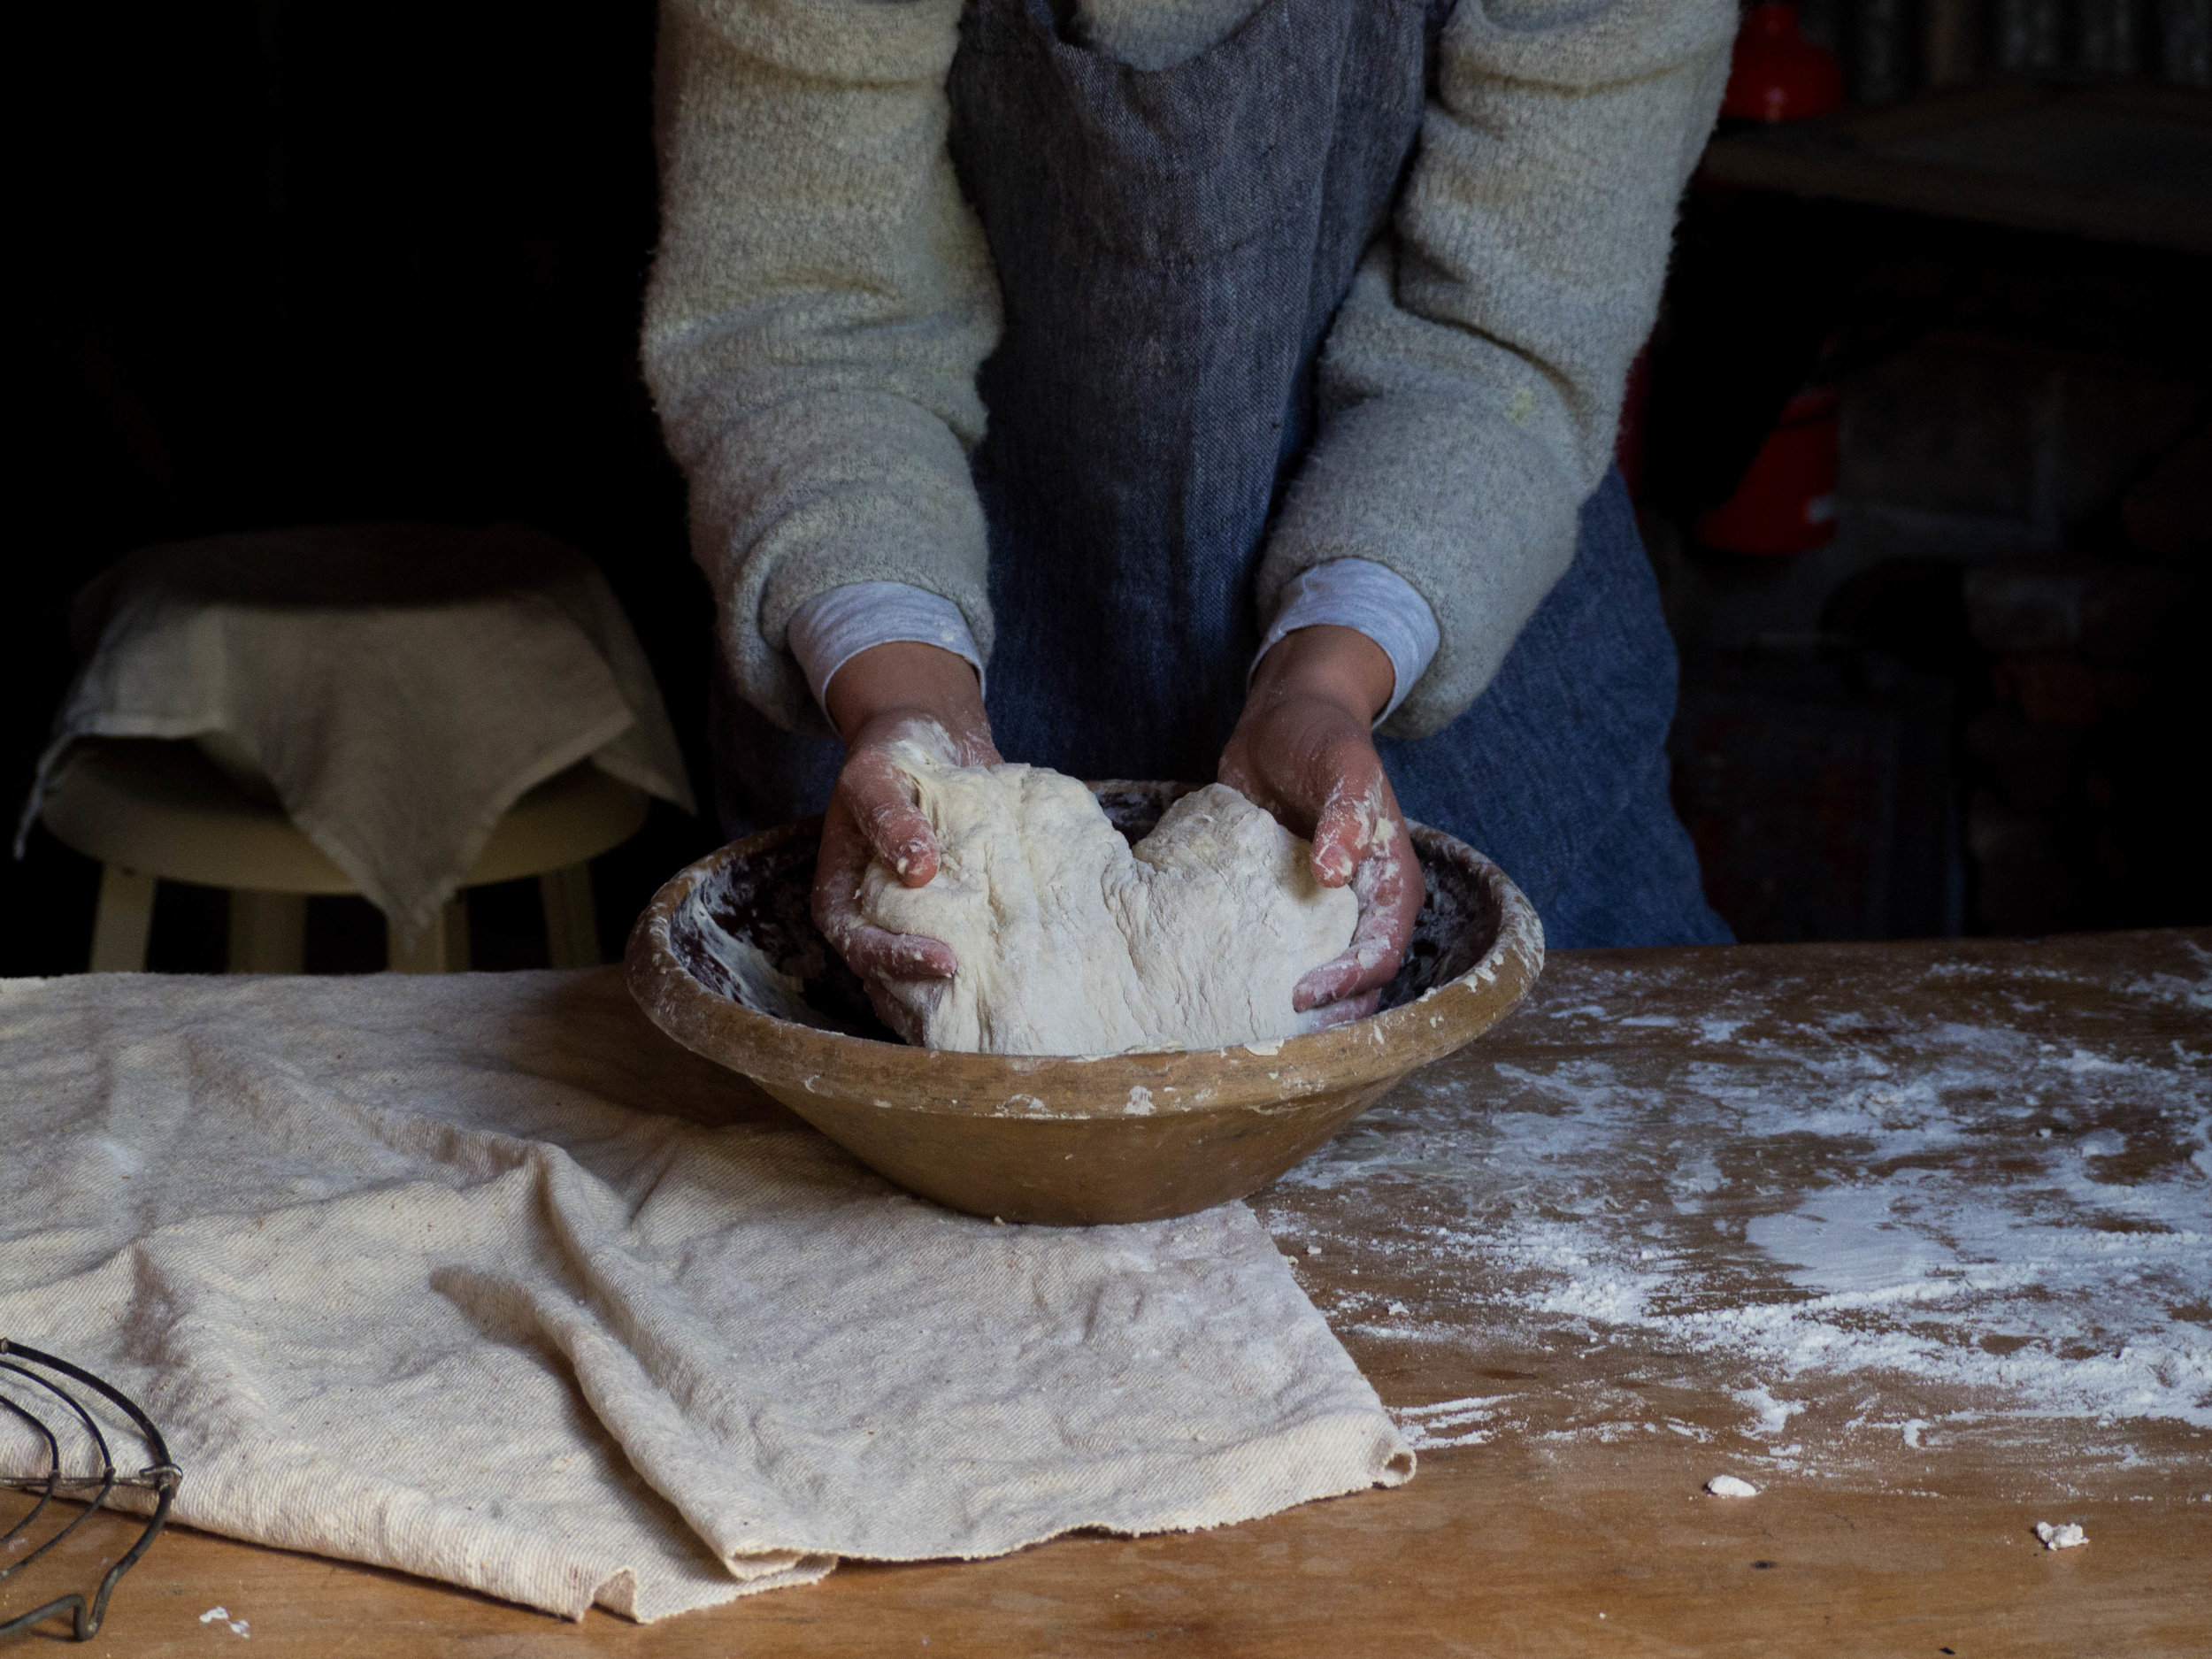
Once the yeast is foamy, add the egg and the oil to the yeast mixture and combine. Then start to gradually incorporate the flour into the wet mixture. Once everything is combined, attach your bowl to your stand mixer fitted with the dough hook, and knead on a medium speed for about five minutes. The dough will be smooth and a little sticky once done. If the dough is too sticky, add a little more flour (1-2 tbsp).
While the dough is kneading, lightly oil a large bowl.
Once the dough is ready, place into the oiled bowl and cover. Leave in a warm spot for 1-1.5 hours, or until the dough has risen and doubled in size.
Spray a 22 x 10 x 8.5cm (approx.) loaf tin with the cooking spray.
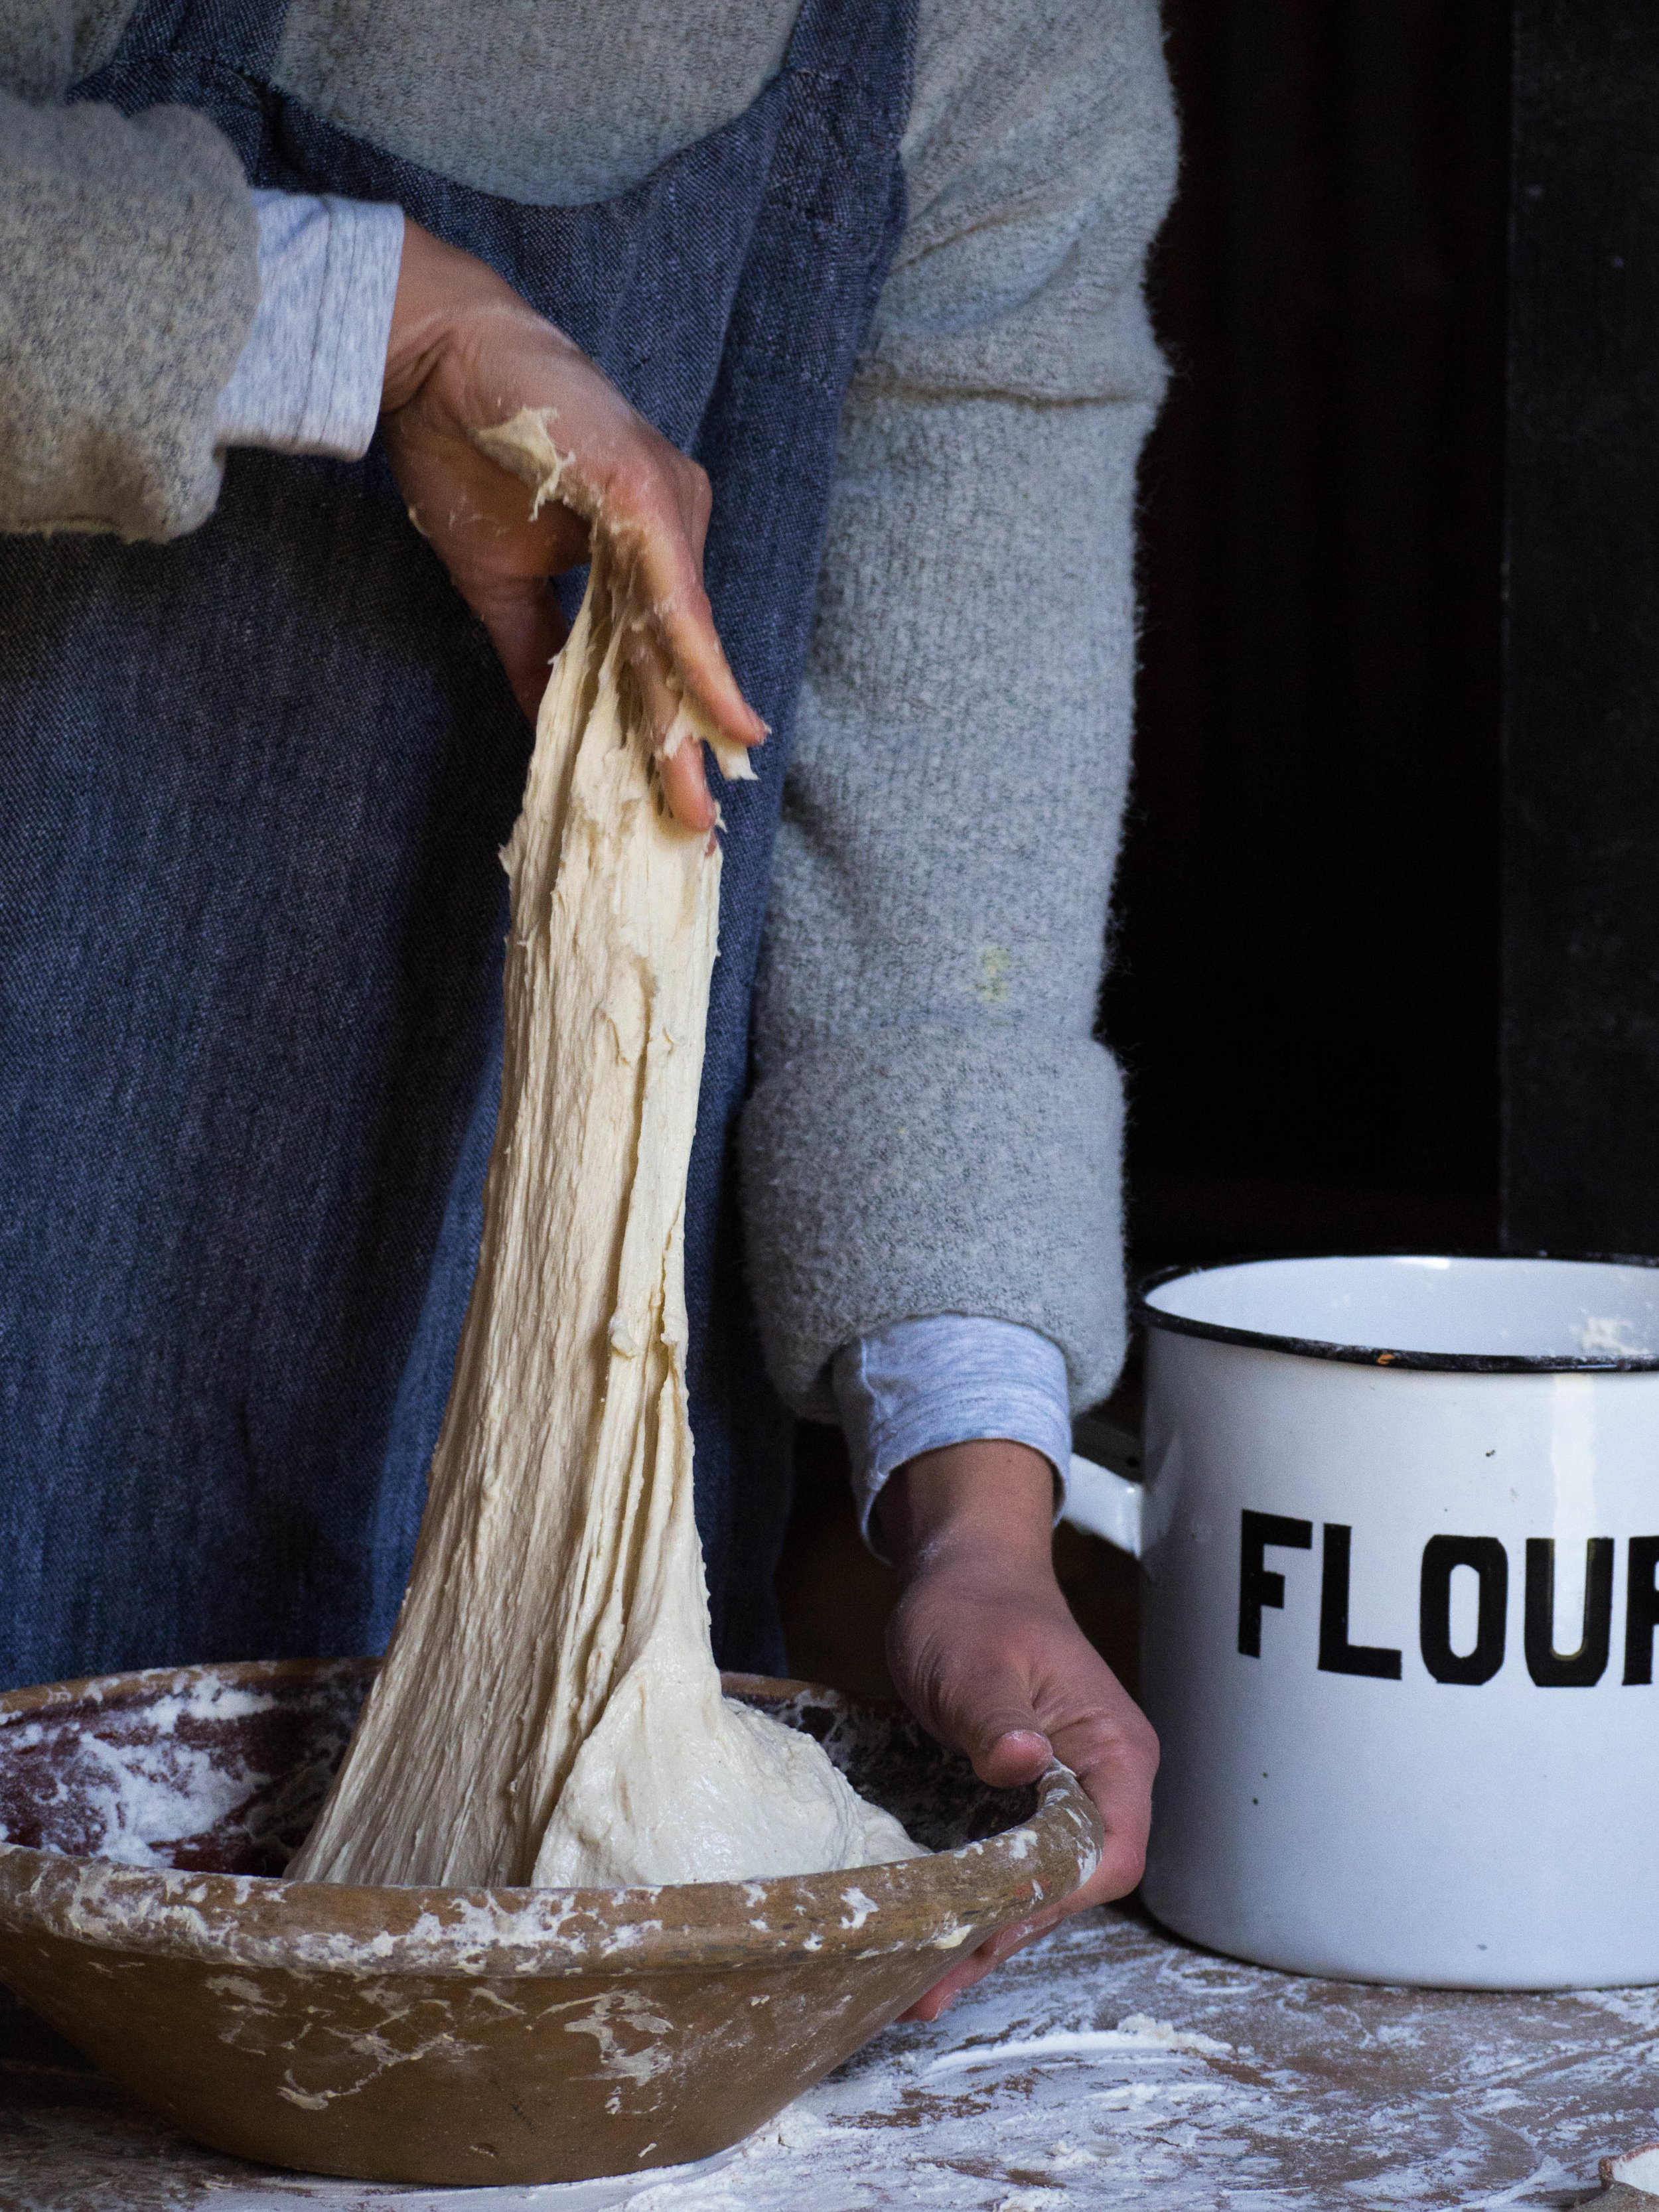
Once the dough has risen, flour your work surface and tip the dough out. Lightly flour the top of the dough to prevent it sticking to your rolling pin. Using a rolling pin, roll out the dough into a rectangle (approx. 20 x 5cm).
Place the Biscoff spread in a heatproof bowl or dish, and put in the microwave for about 10 seconds. This will made it easier to spread over the dough.
Dust any excess flour from the top of the dough, then spread the Biscoff Spread over the surface of the dough. Don’t worry if your sough stretches as you spread the filling over, once the dough is rolled up you can gently push it from either end to make it a little less long.
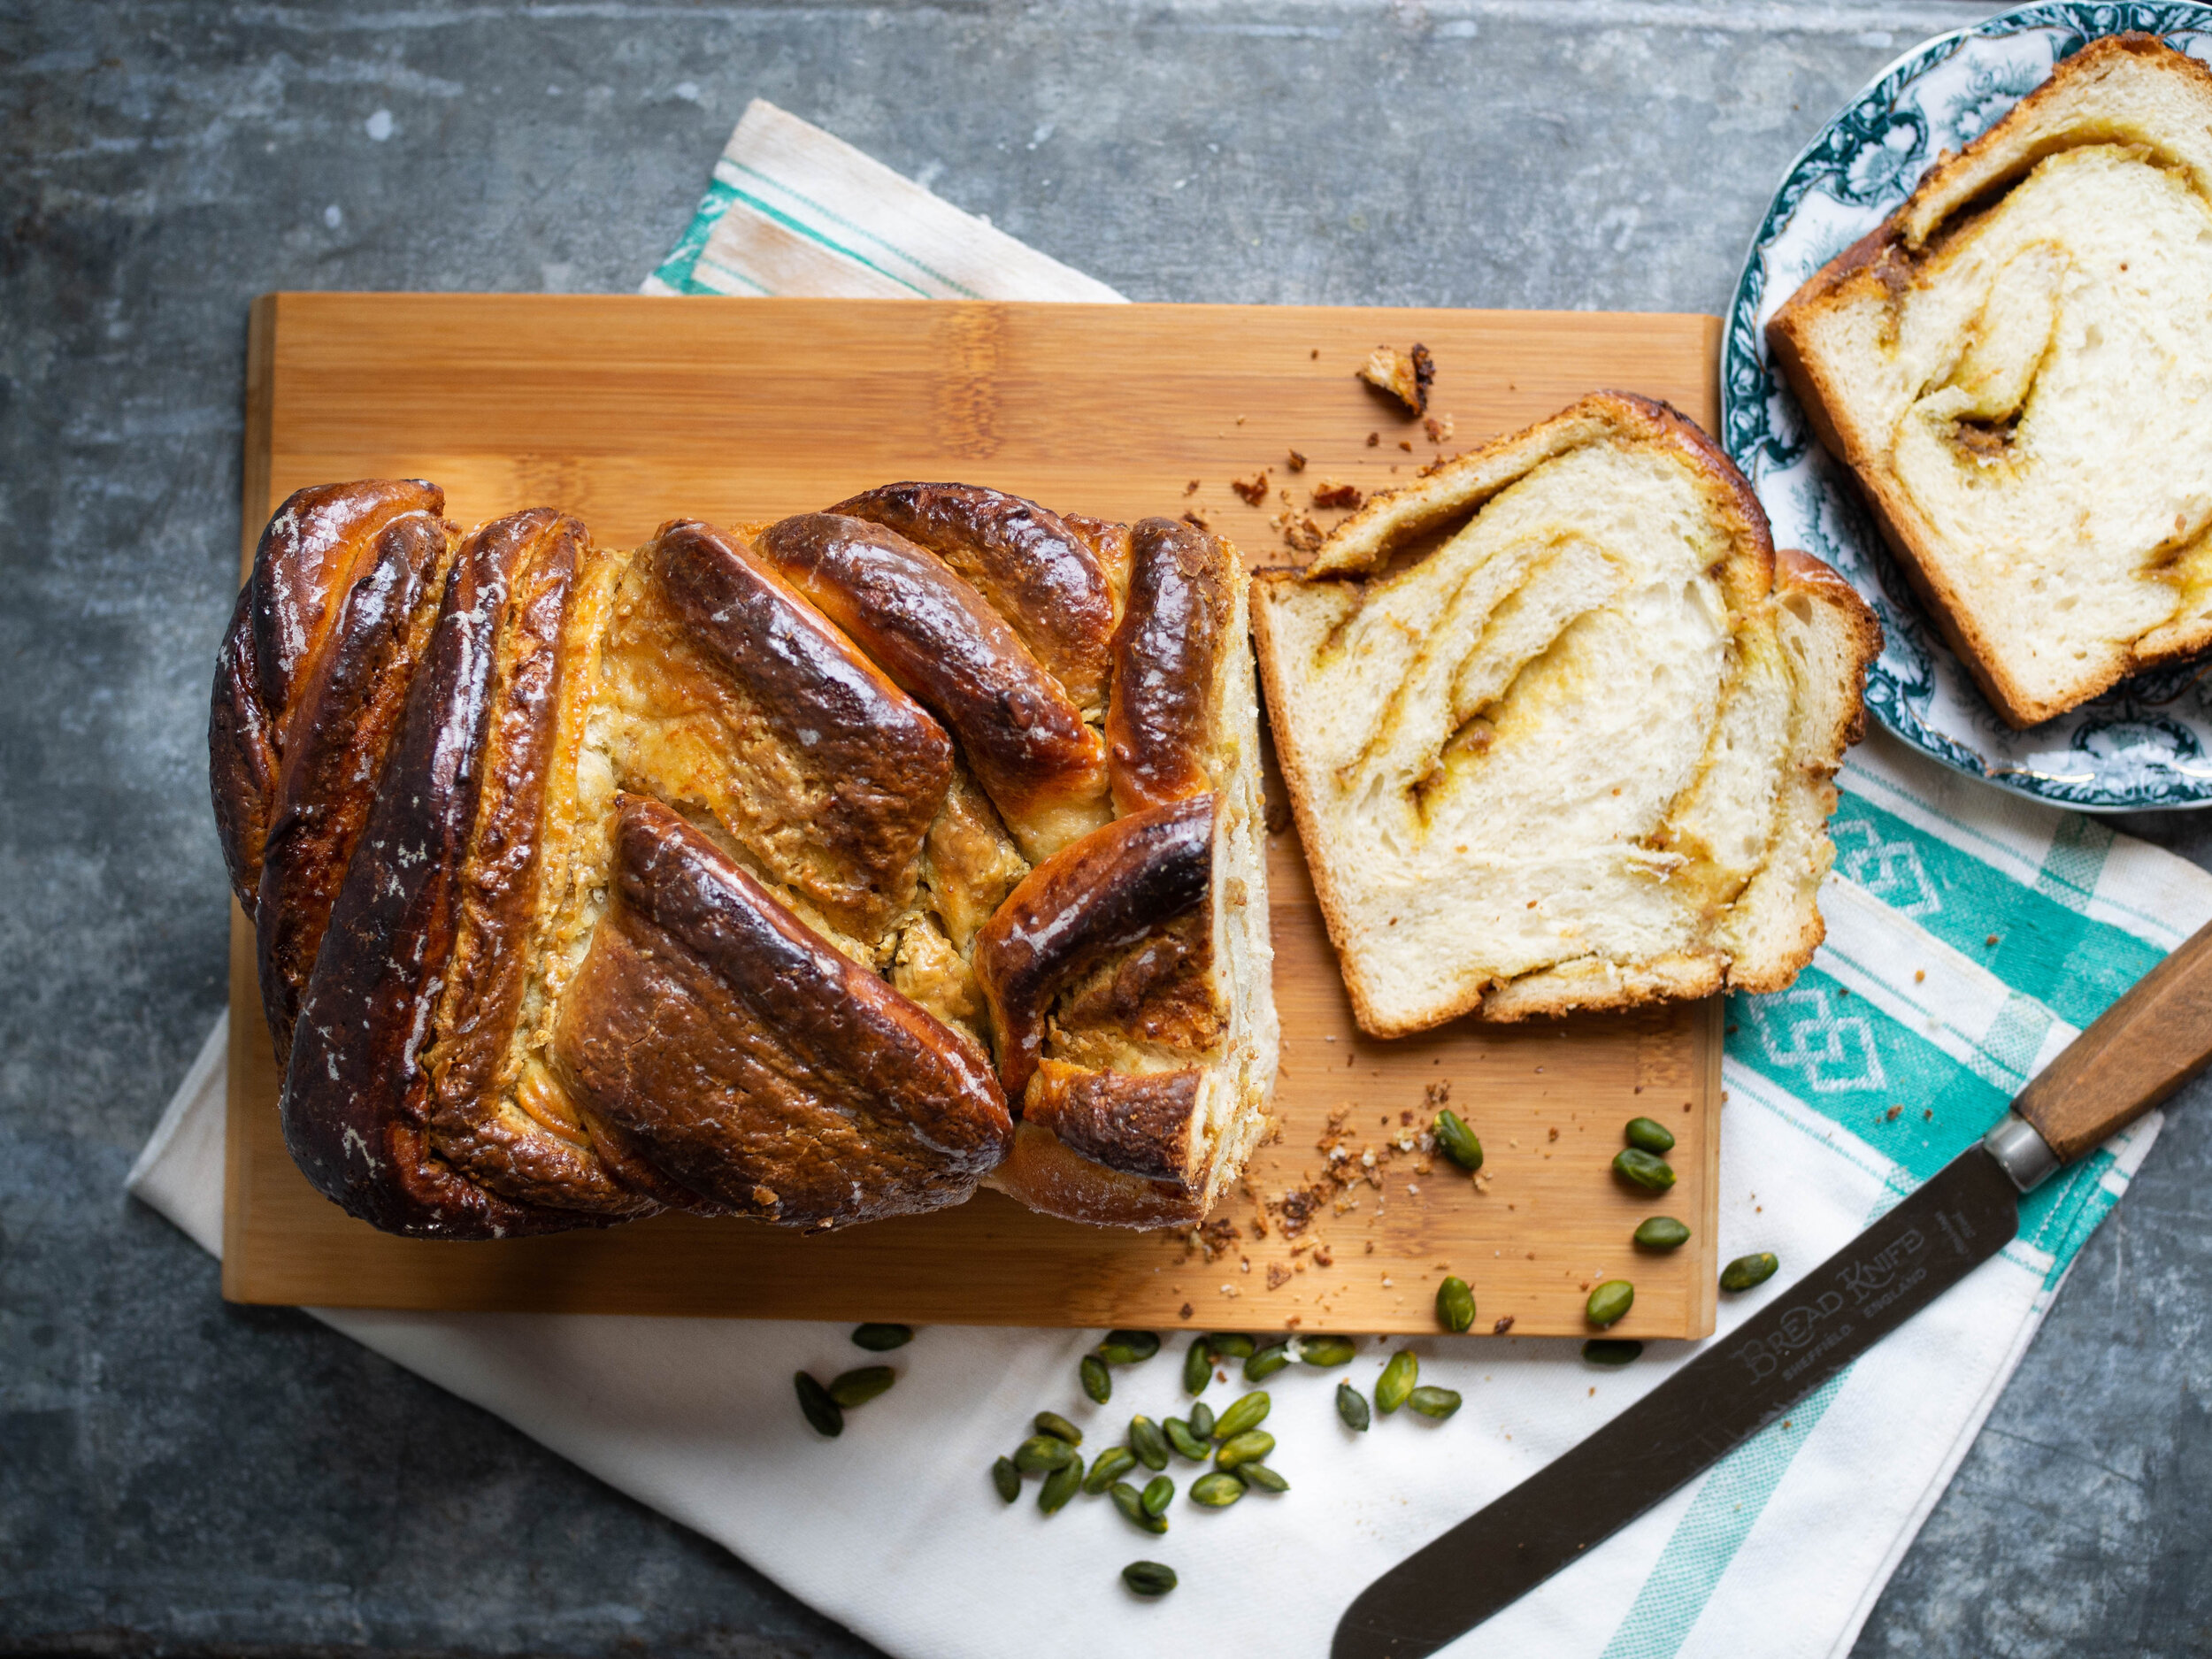
Roll the dough tightly from one of the long edges to form a long log. Trim the ends off to neaten it up, and cut the log evenly down the middle.
Turn the cut side of each piece of dough so it is facing up, then twist the two strands of dough together. Tuck the ends under, and gently squash the dough from either end to make it a bit more tight if it has become quite long.
Place the dough into the prepared tin, cover and leave in a warm spot for about 30 minutes, or until the dough has risen.
While the dough is rising, preheat oven to 180 degrees Celsius.
Once the dough has risen, place in the oven for 40 minutes. Check after 20 minutes, and loosely place some foil over the top to prevent the babka from over browning.
While the babka is baking, make the glaze. Place the water and sugar in a small saucepan over medium heat and stir until the sugar has dissolved. Allow it to come to the boil, and then simmer for 3-5 minutes. Remove from the heat and allow to cool.
The babka will be ready when it is golden on top, and sounds hollow when gently tapped. Remove babka from the oven, and place on a wire rack. Using a pastry brush, paint the top of the babka in about three layers of the syrup (this will help preserve the babka and stop it drying out), then leave to cool for 15-20 minutes.
Once the babka has had a little time to cool, remove from the tin, and either cut into slices and serve immediately or allow to cool completely then slice.
Babka like many homemade breads, is best eaten on the day it is made. If you won’t be eating all on day it is made, once the babka has cooled, cut into slices and freeze each individually.

Reference: ‘Monday Morning Cooking Club - The Food, The Stories, The Sisterhood’ by Merelyn Frank Chalmers, Natanya Eskin, Lauren Fink, Lisa Goldberg, Paula Horwitz and Jacqui Israel (HarperCollins, 2013), p.263.