Kulinary Adventures of Kath

Food Photography, Recipes & Baking
  • home
  • About
  • Work with Kath
  • Shop
  • Blog
    • The Blog
    • Recipe Archive
  • Newsletter
  • Contact
  • home
  • About
  • Work with Kath
  • Shop
    • The Blog
    • Recipe Archive
  • Newsletter
  • Contact
Raspberry Pistachio Rose Cake (23 of 25).jpg

The Blog

Recipes and Food Photography by Kath Vincent.

  • The Blog
  • Recipe Archive
  • All
  • Biscuits/Cookies
  • Breads Etc.
  • Breakfast
  • Cakes & Slices
  • Confectionary
  • Drinks
  • Events
  • Food Photography Tips
  • From The Mailing List
  • Heirloom Recipes
  • Holidays
  • Ice Cream
  • Jams Preserves & Spreads
  • Muffins
  • Off the Shelf
  • Other Desserts
  • Savoury Dishes/Meals
  • Scones
  • Tarts & Pastry
  • Travel
Mixed Berry Shortcake

Mixed Berry Shortcake

Mixed Berry Shortcake

Kath November 28, 2016

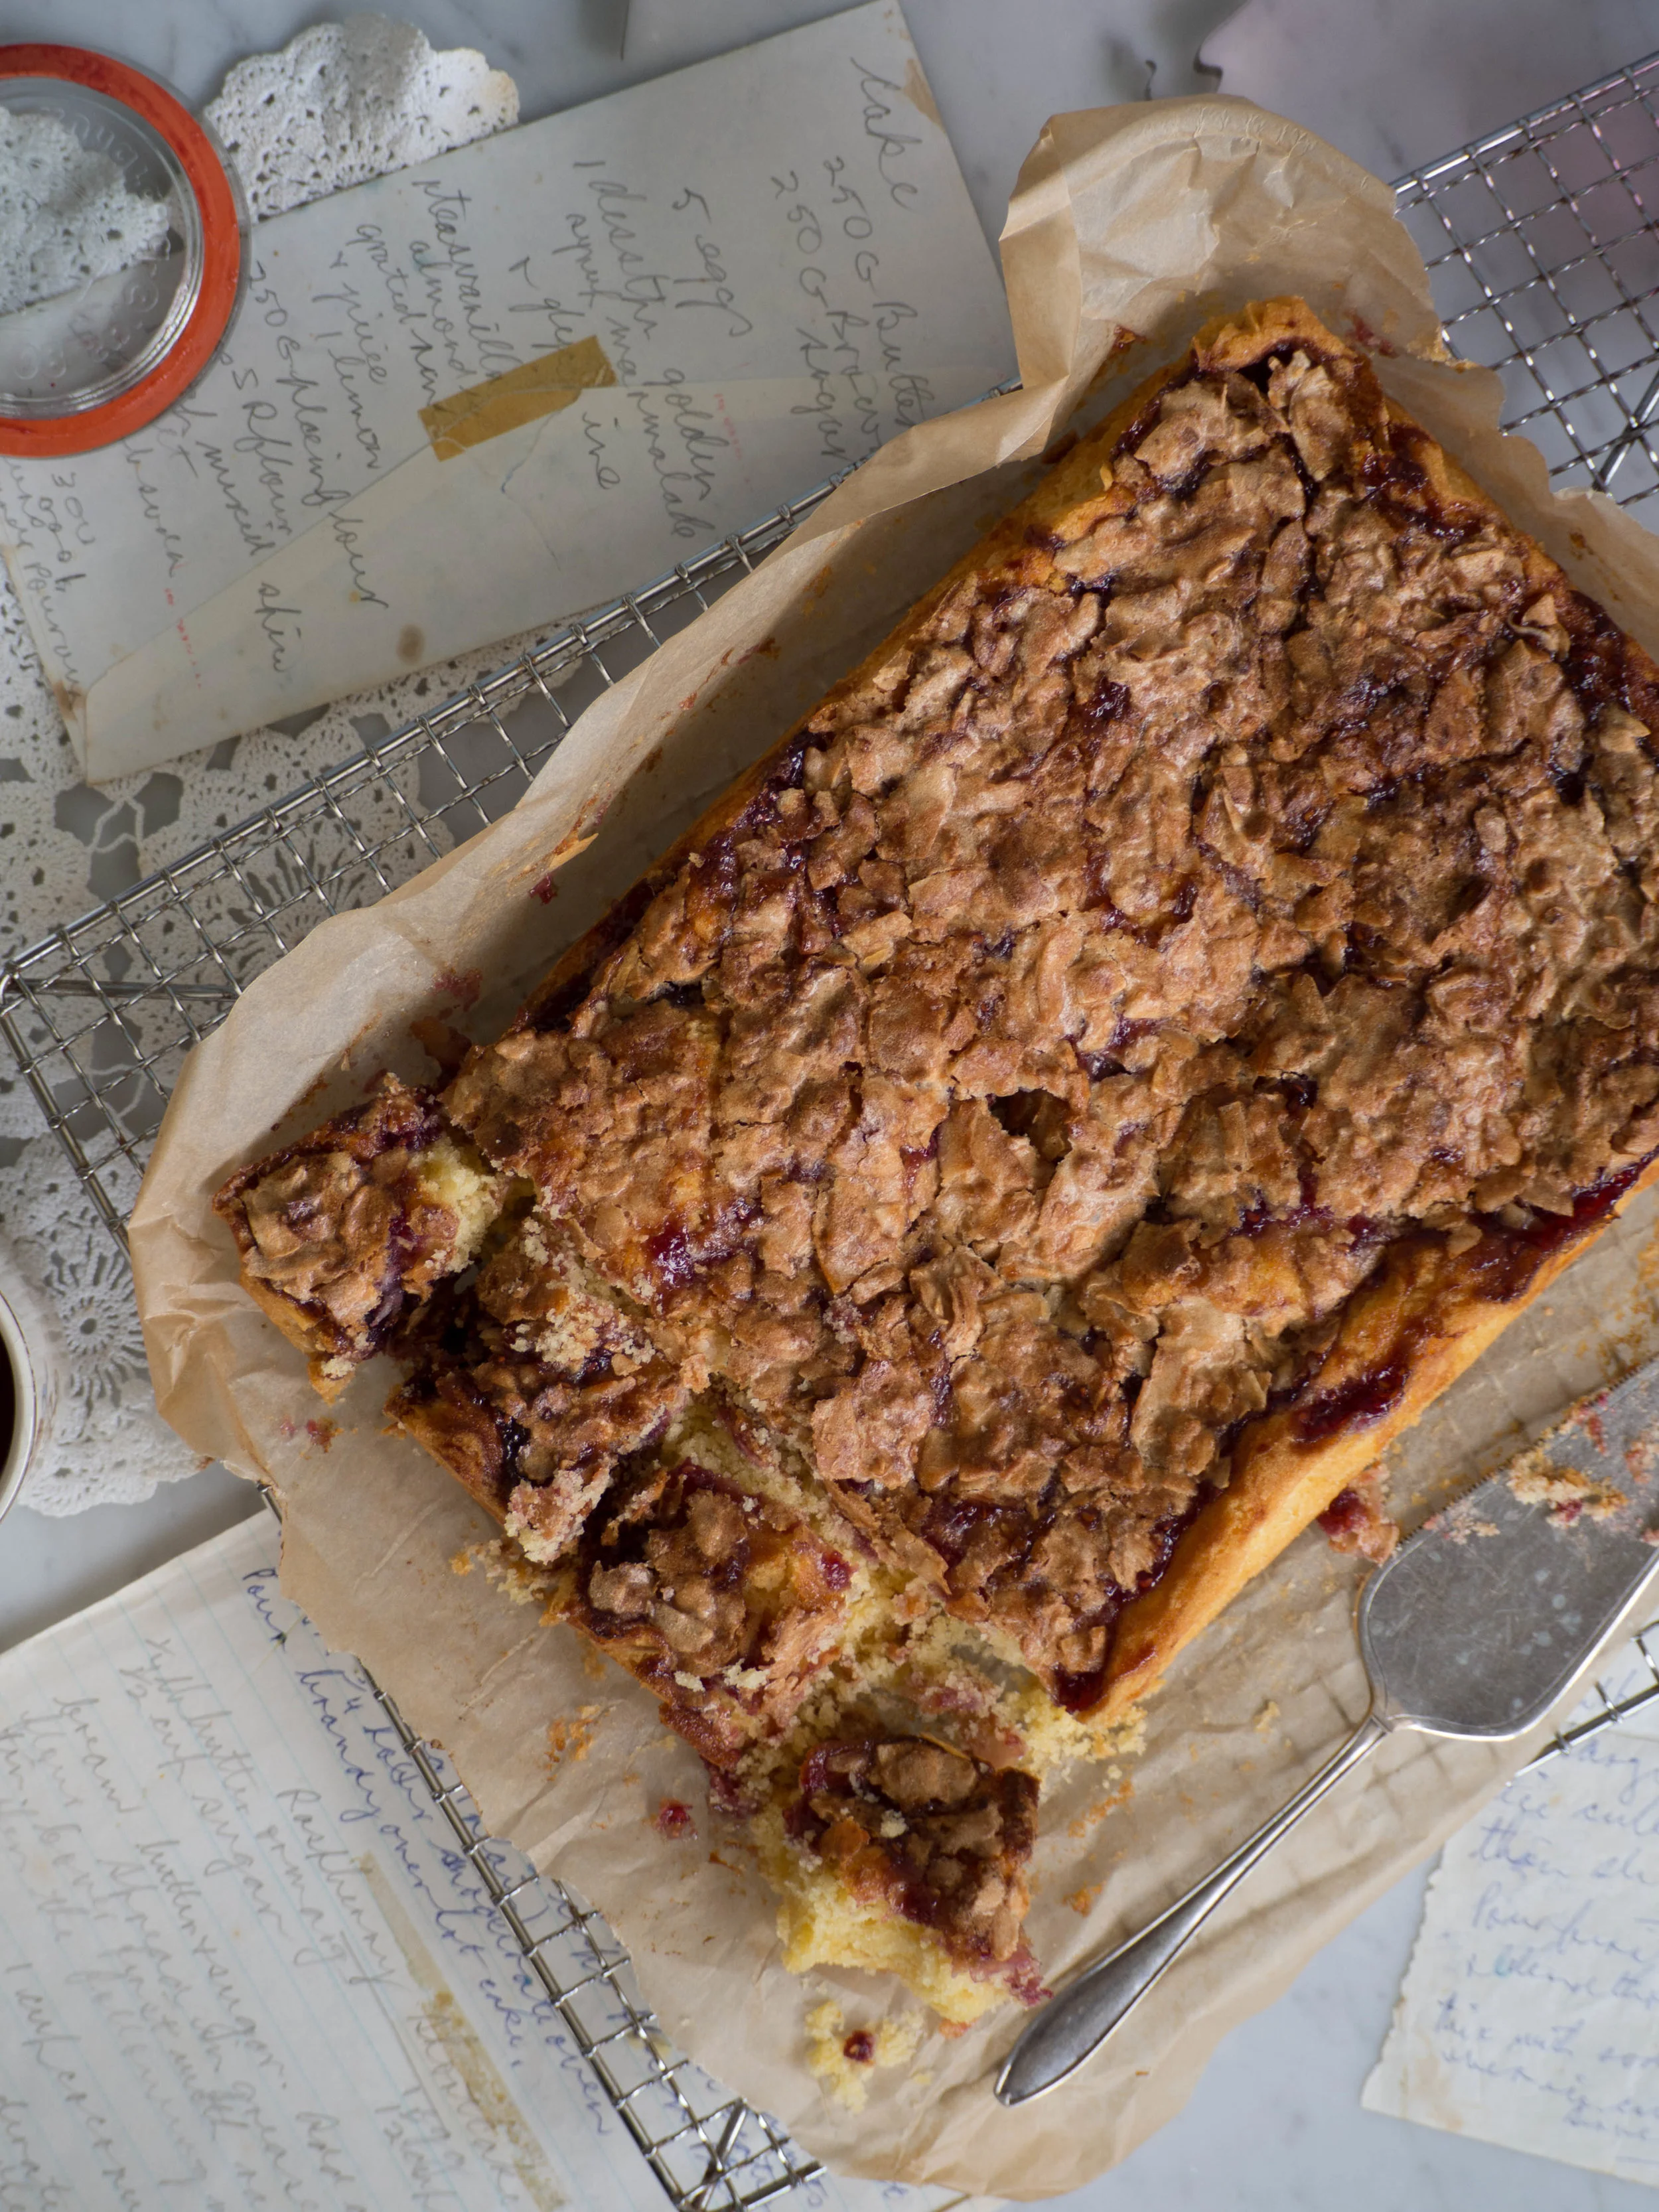
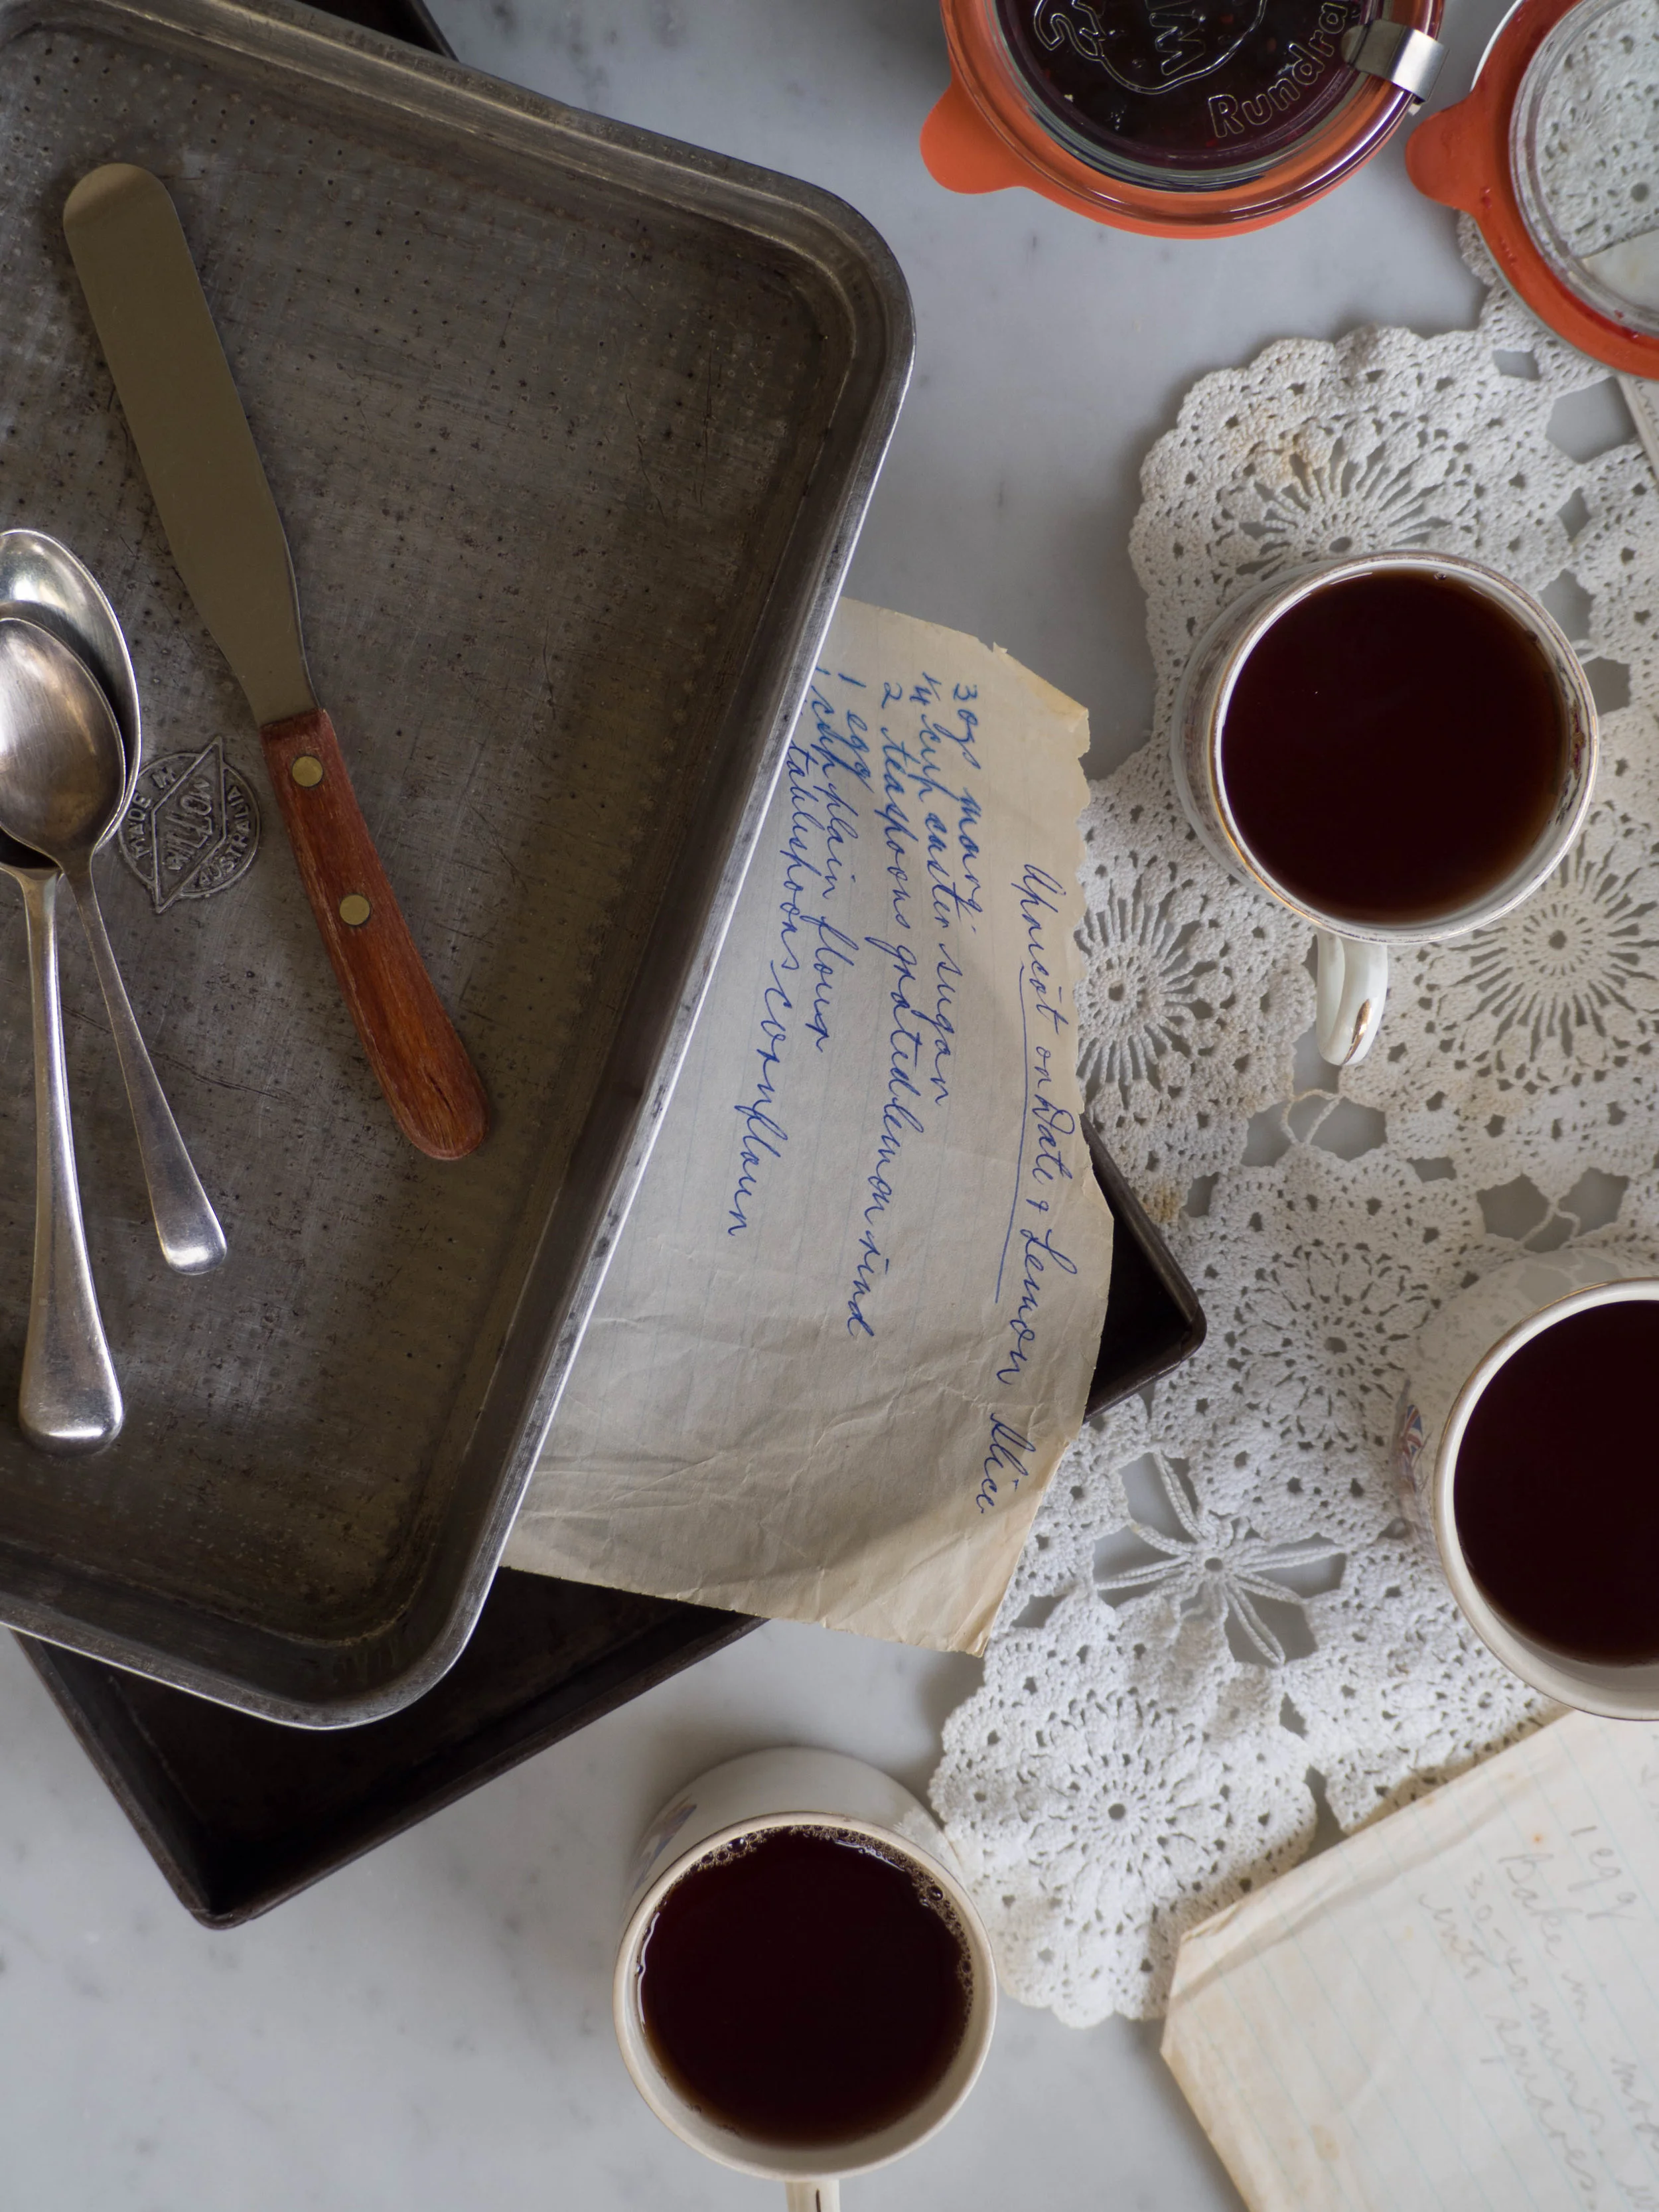
This is another recipe I have found in my Grandma’s collection. I never remember her making it, I think by the time grandchildren came along her baking repertoire had been much refined to her favourites and she didn’t seem to sway from them very often. Not that any of us complained. There was comfort knowing your favourite would be served to you when you visited or brought with her to share when she came over to us. Even if the baked good du jour wasn’t your favourite, it was still one of her well known staples. 

Looking back, it probably would have been slightly shocking if Grandma turned up with some new baked creation - I mean, no one likes change, do they?! Particularly where nostalgic baking is concerned. I remember one time Grandma was inspired by a pavlova made at a cake shop I was working at at the time, which was quite different to hers. When we next had dinner she made a pavlova, but had lightly crushed some toasted hazelnuts and mixed them through the meringue before cooking. I was silently horrified that my beloved pavlova had been altered and didn’t have the heart to tell her that hazelnuts were not the ‘secret ingredient’ of the pavlova she was trying to re-create. In hindsight, I probably should have encouraged my Grandma’s baking creativity a little more. Maybe then more family favourites would have been found and more baking discussions would have been had. But I guess now, I will have to be happy with the cookbooks and handwritten recipes I have from her, and the memories we did create in the kitchen. 

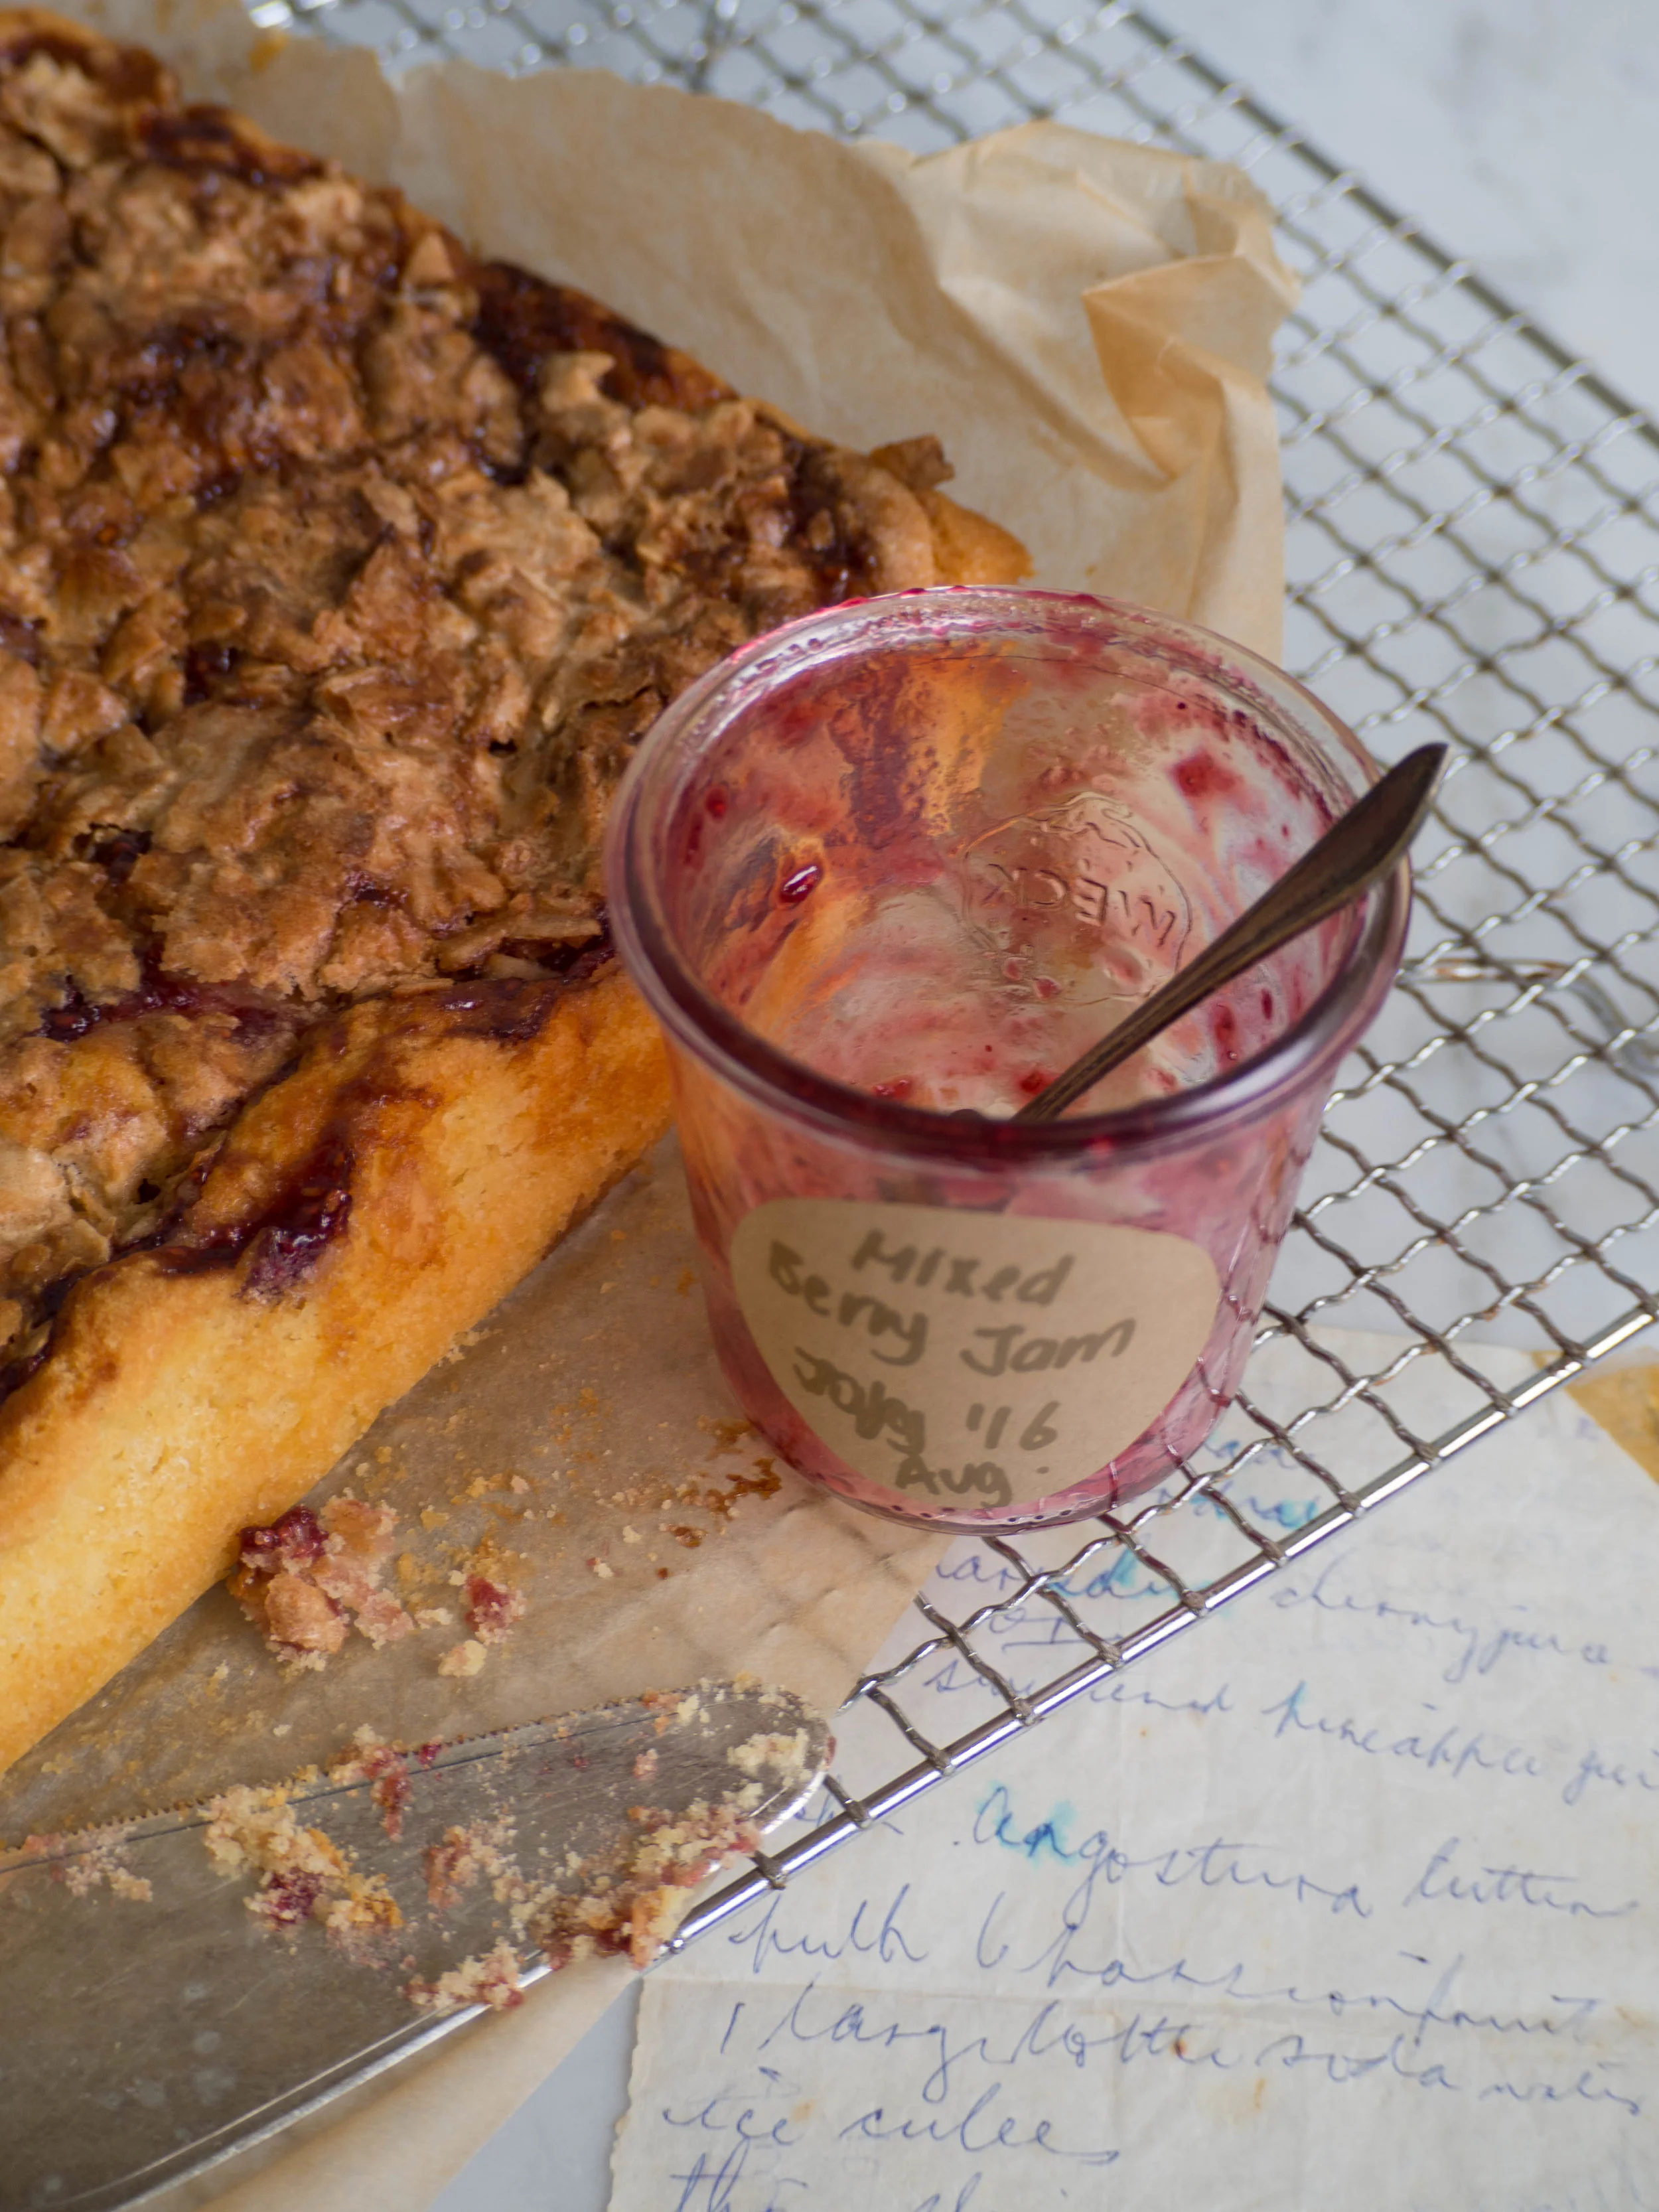
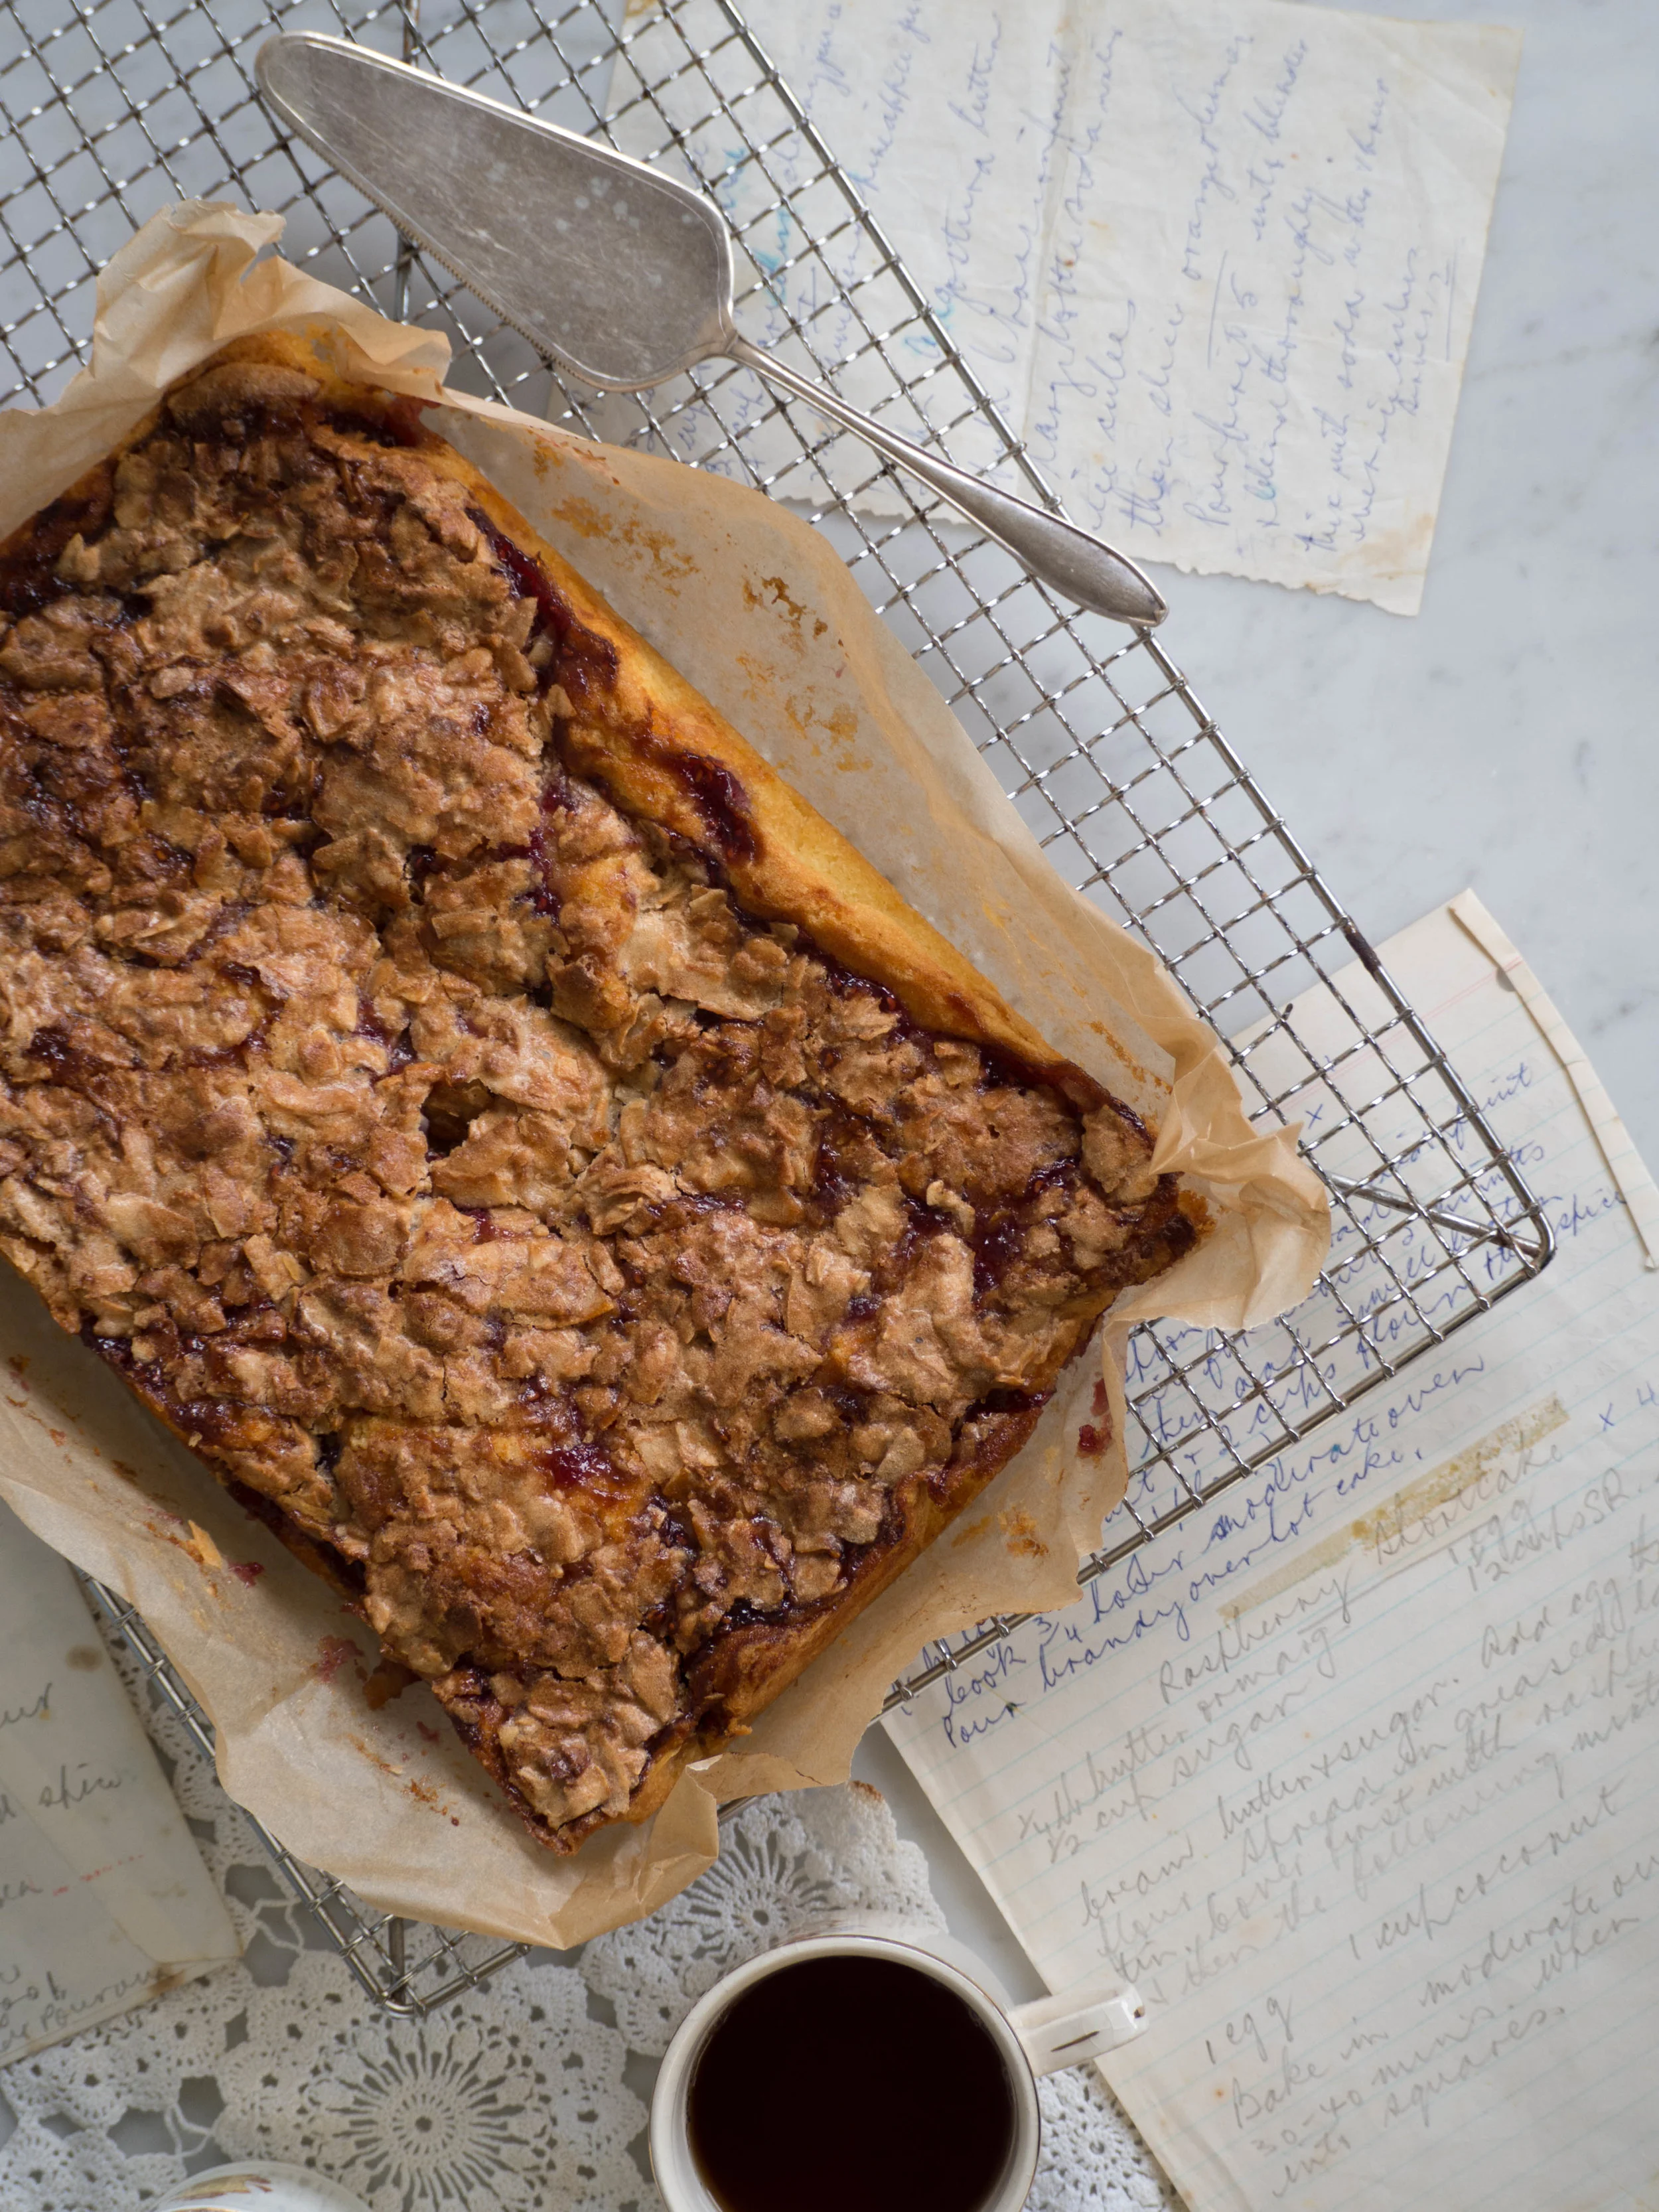
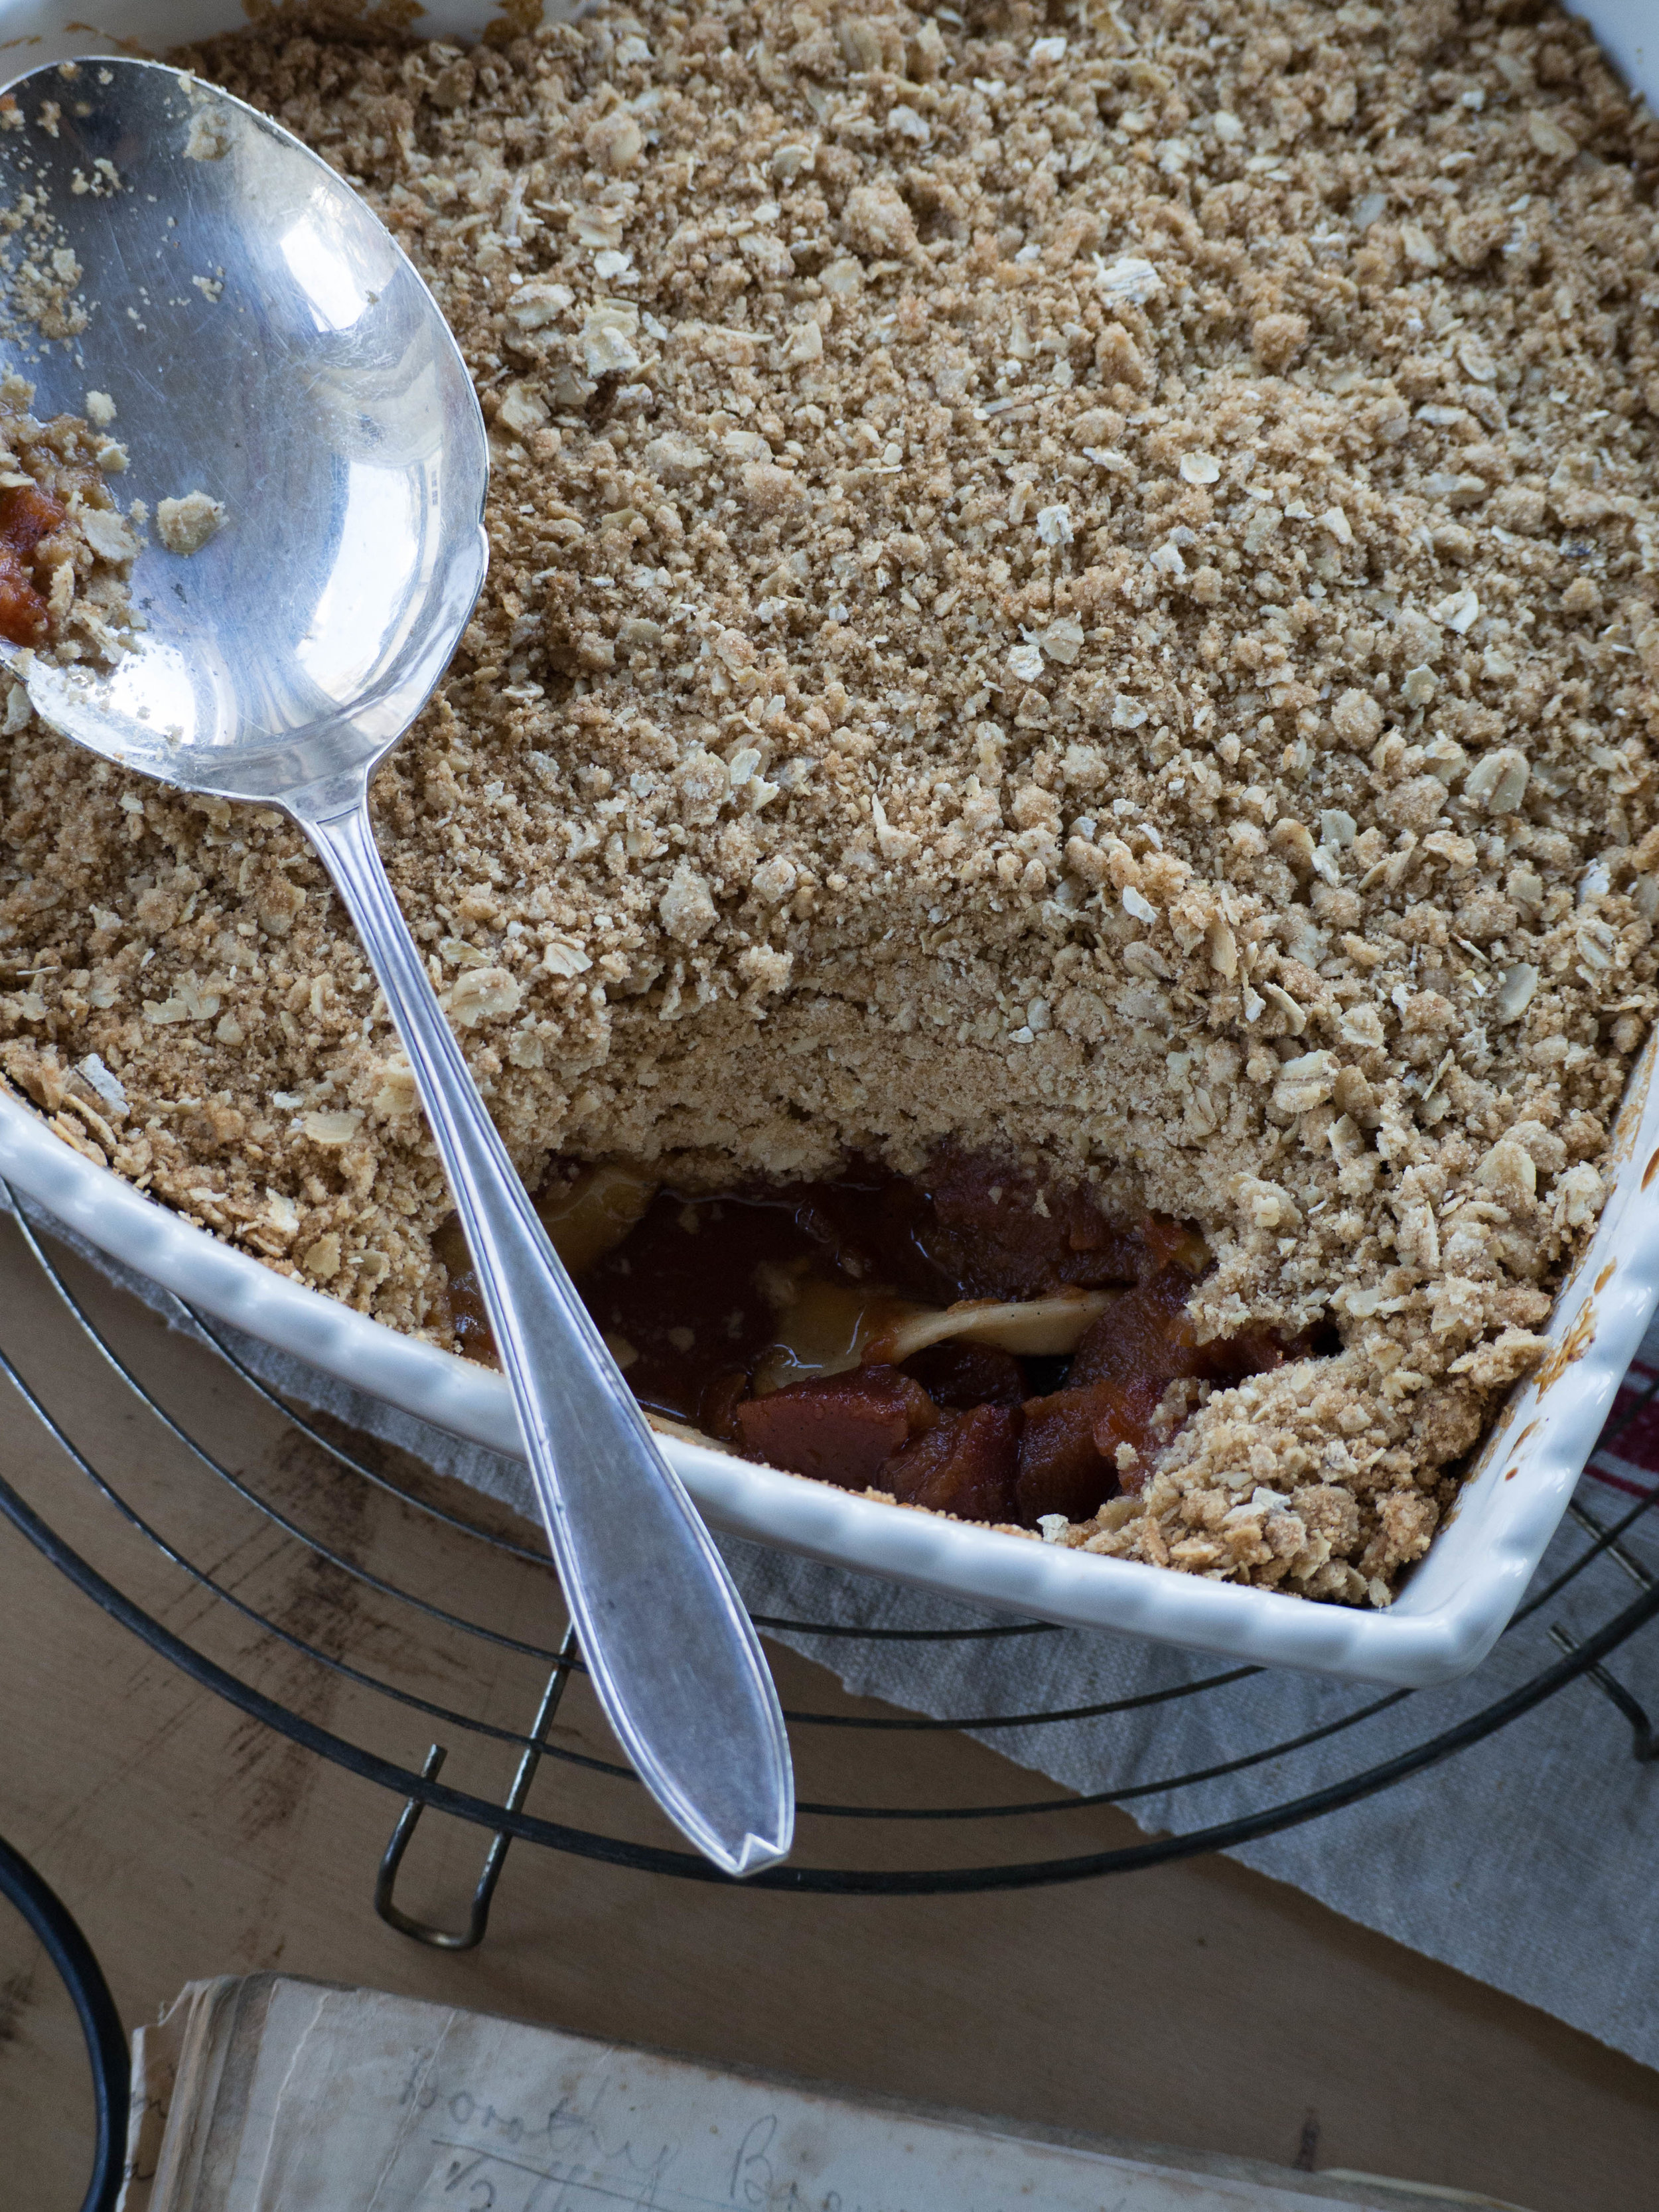
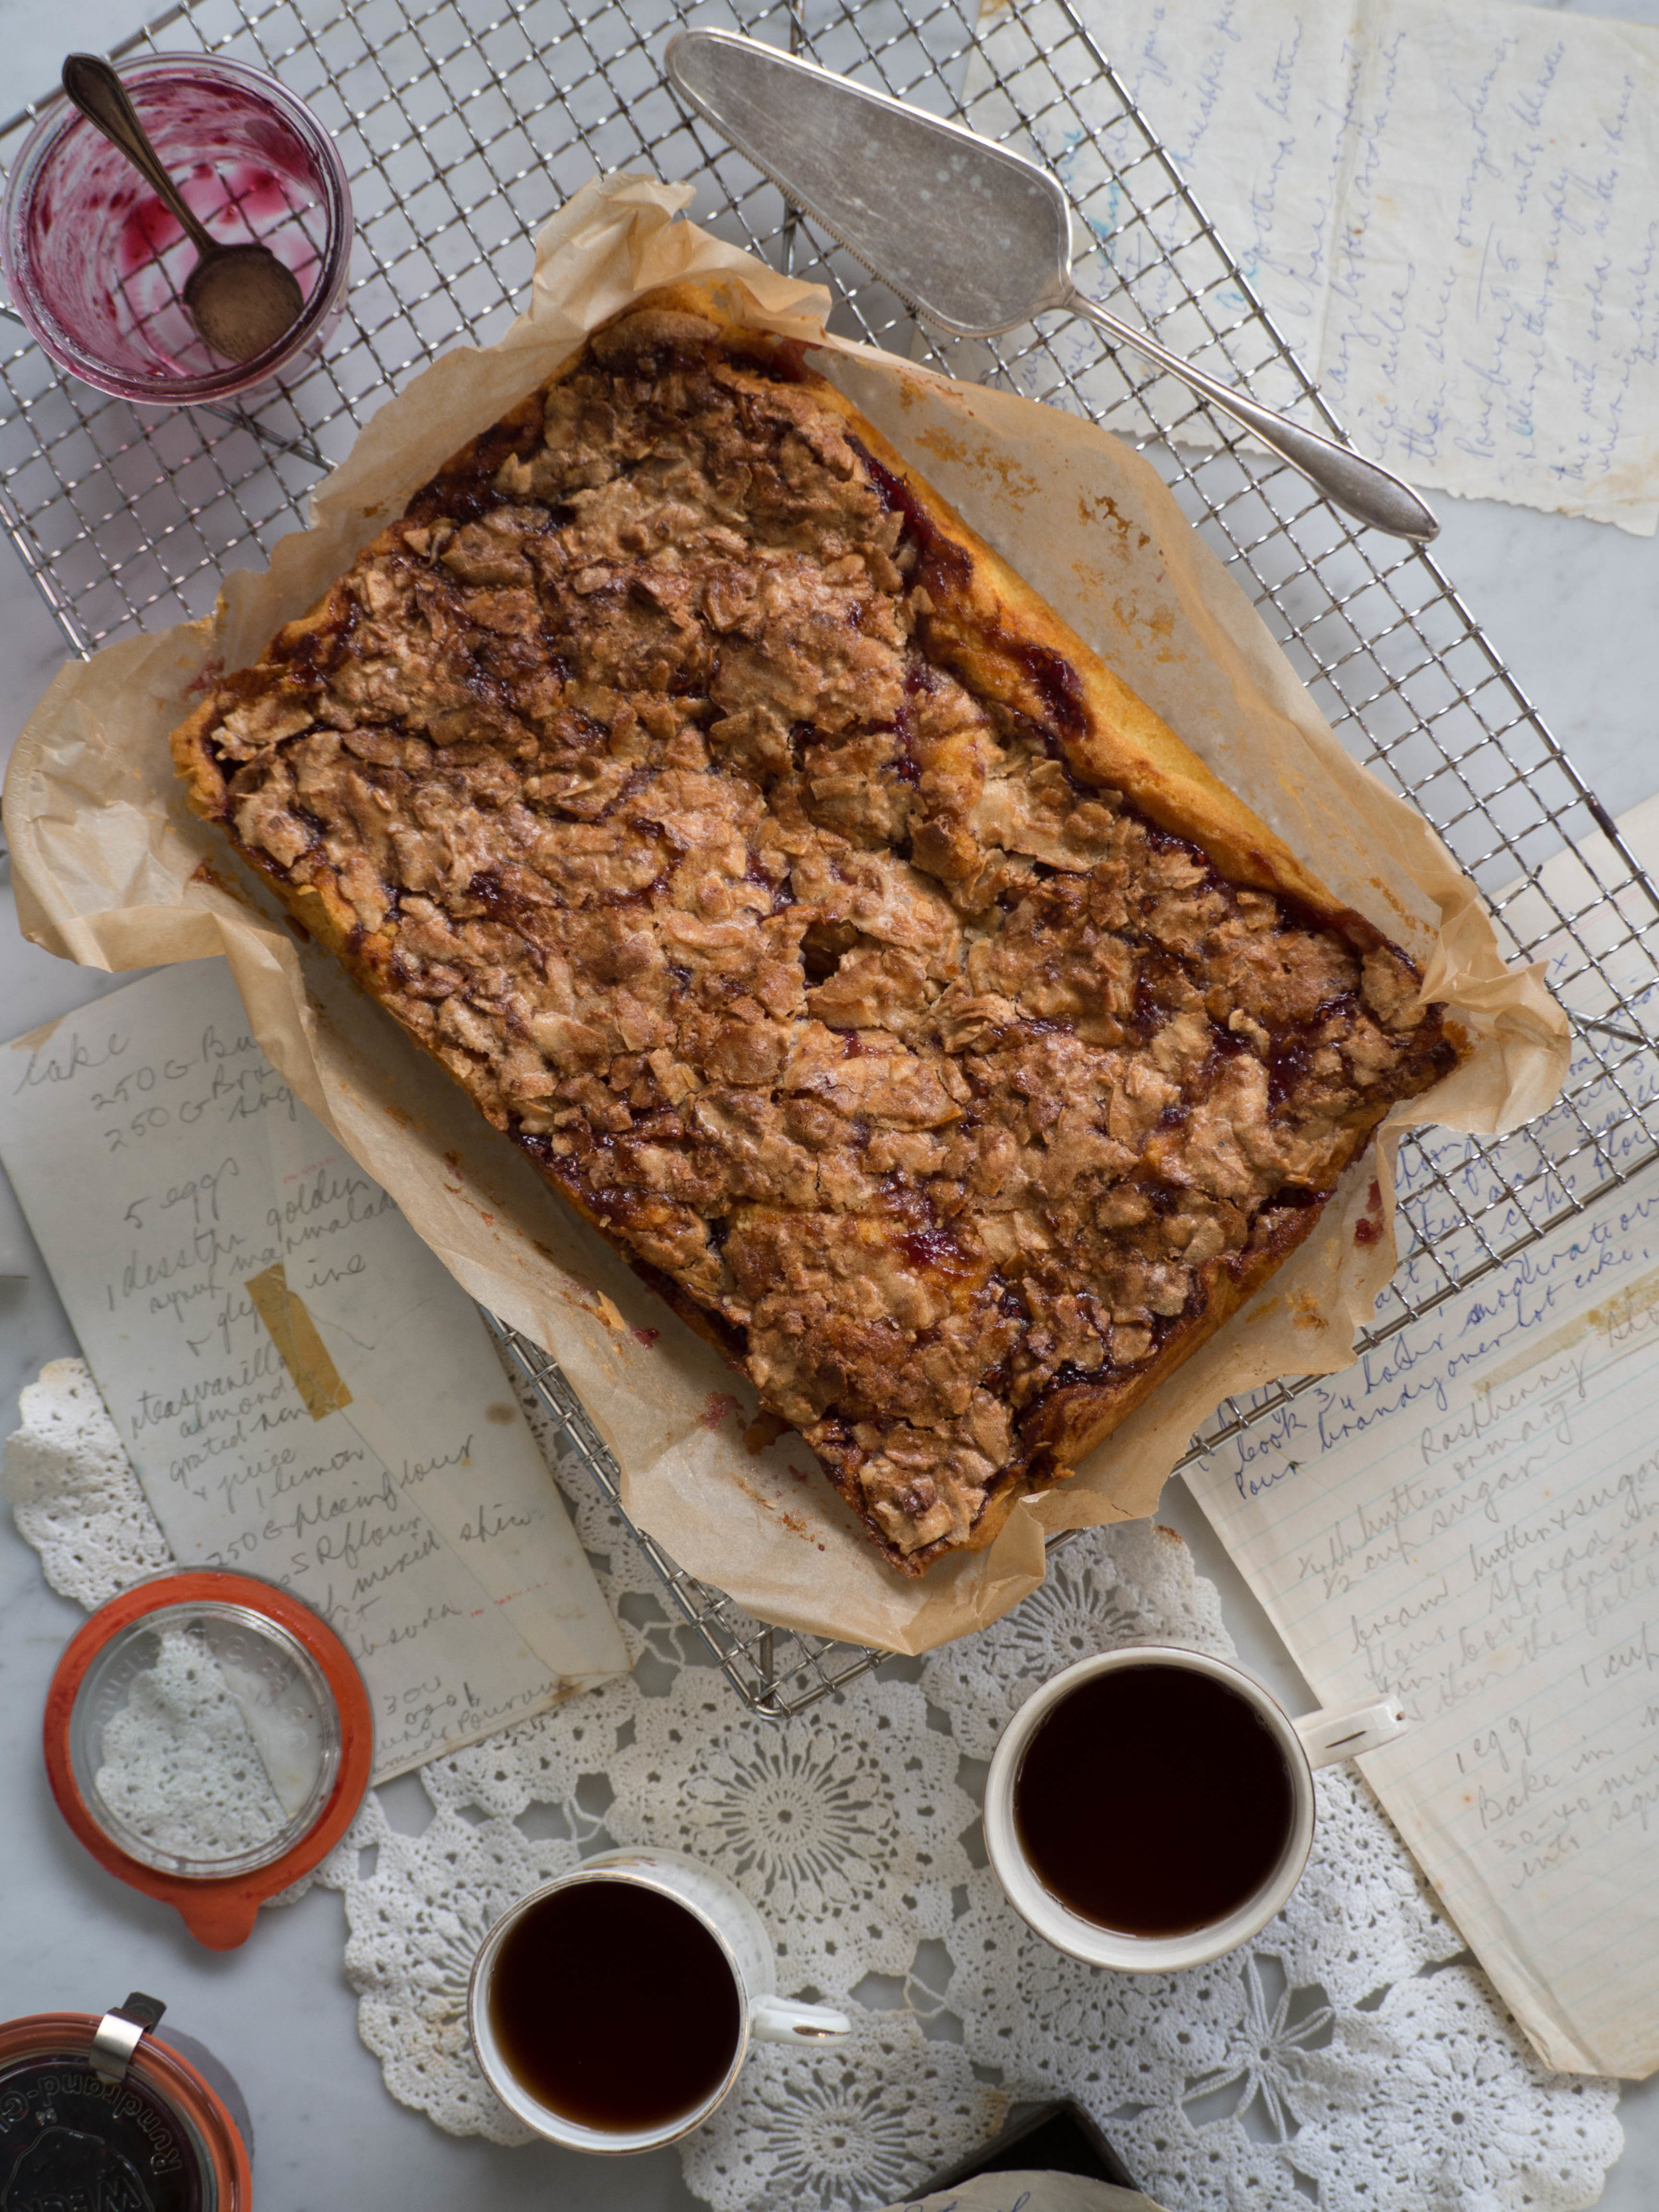
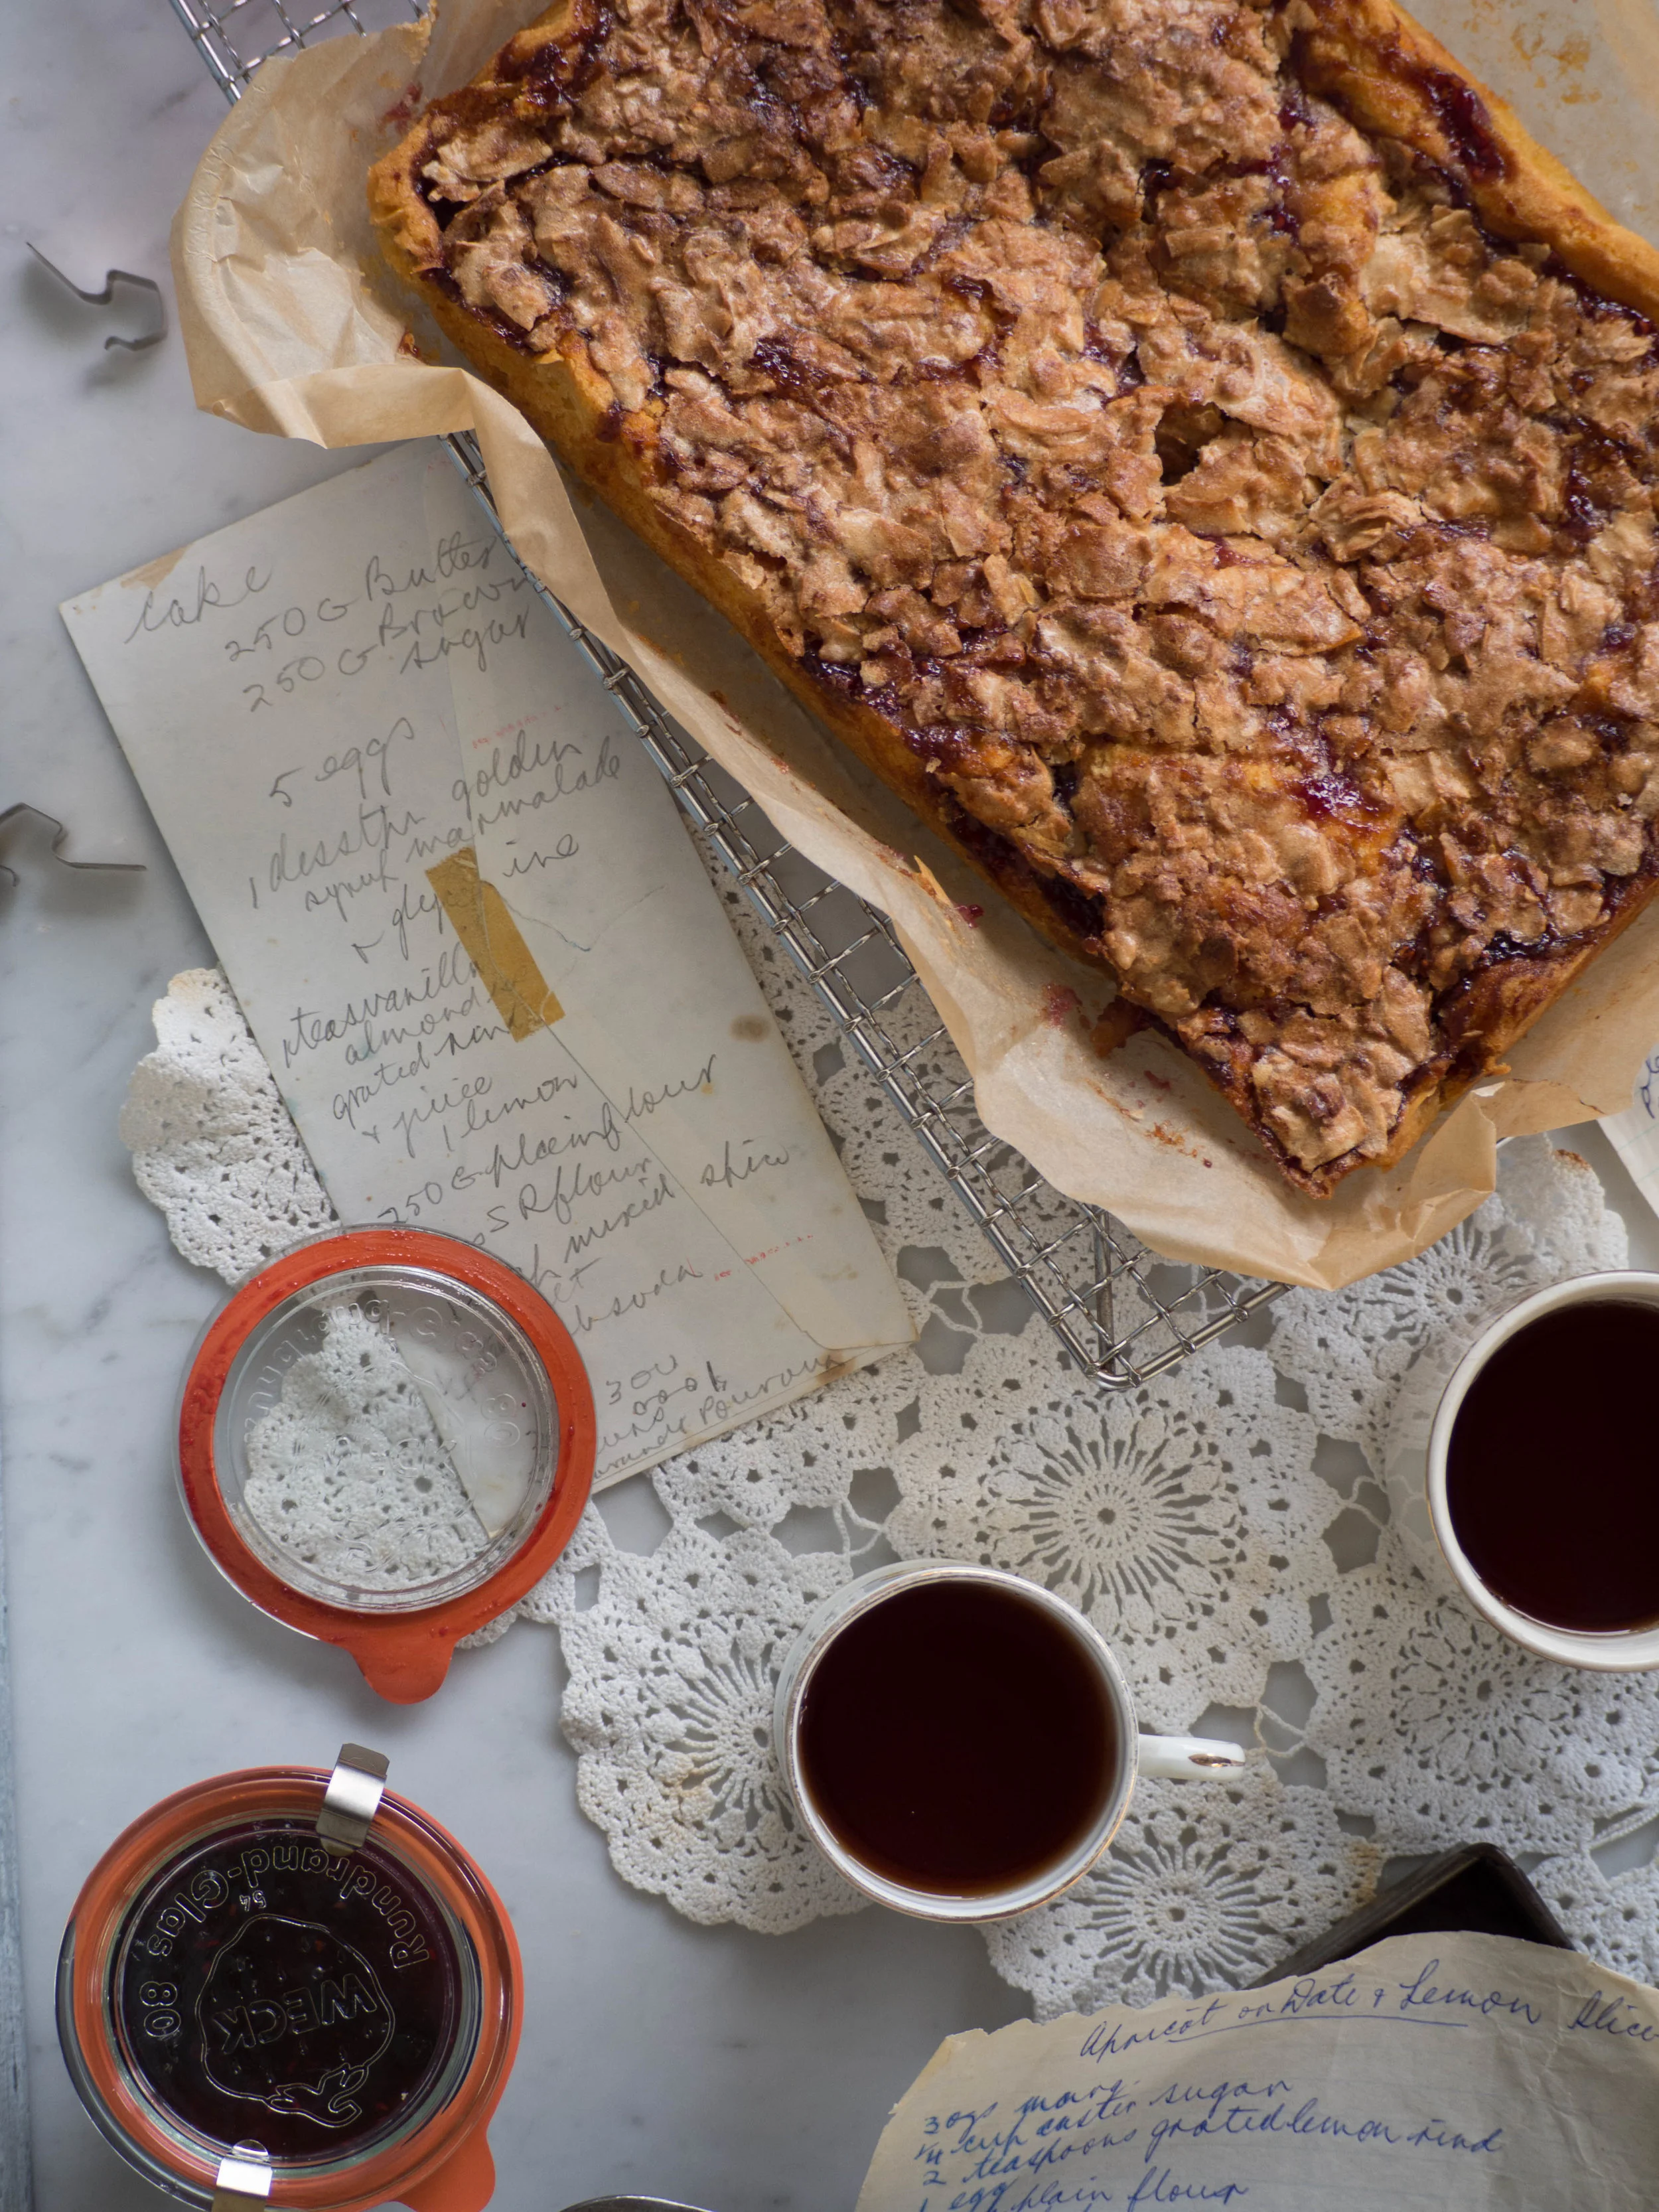
This shortcake, is kind of a slice/cake combination and is very simple to make, and very easy to eat! Many jams would work here, but I can rarely pass up a good berry jam. 

Mixed Berry Shortcake

Ingredients: 

340g margarine (flavourless) or unsalted butter

240g caster sugar 

1 tsp vanilla extract

2 eggs 

250 g self-raising flour 

210g mixed berry jam (I used this homemade jam) 

55g coconut chips or shredded coconut


Method: 

Pre-heat oven to 160 degrees Celsius, and line a 30 x 20 cm (approx.) lamington tin (I use this one). 

Cream together the margarine, 120 g of the sugar and the vanilla until it becomes light and fluffy. Then add 1 egg and mix well to incorporate. Add the flour and mix to combine. 

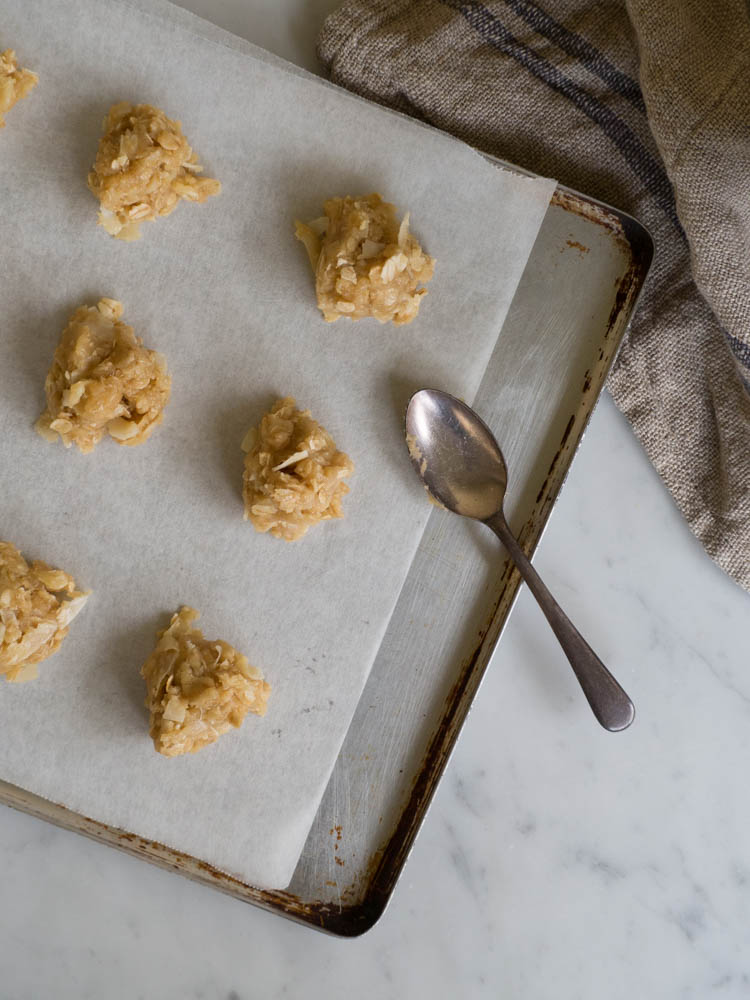
Evenly spread the mixture into the lamington tin, ensure you push it into the corners. Gently spread over the jam. 

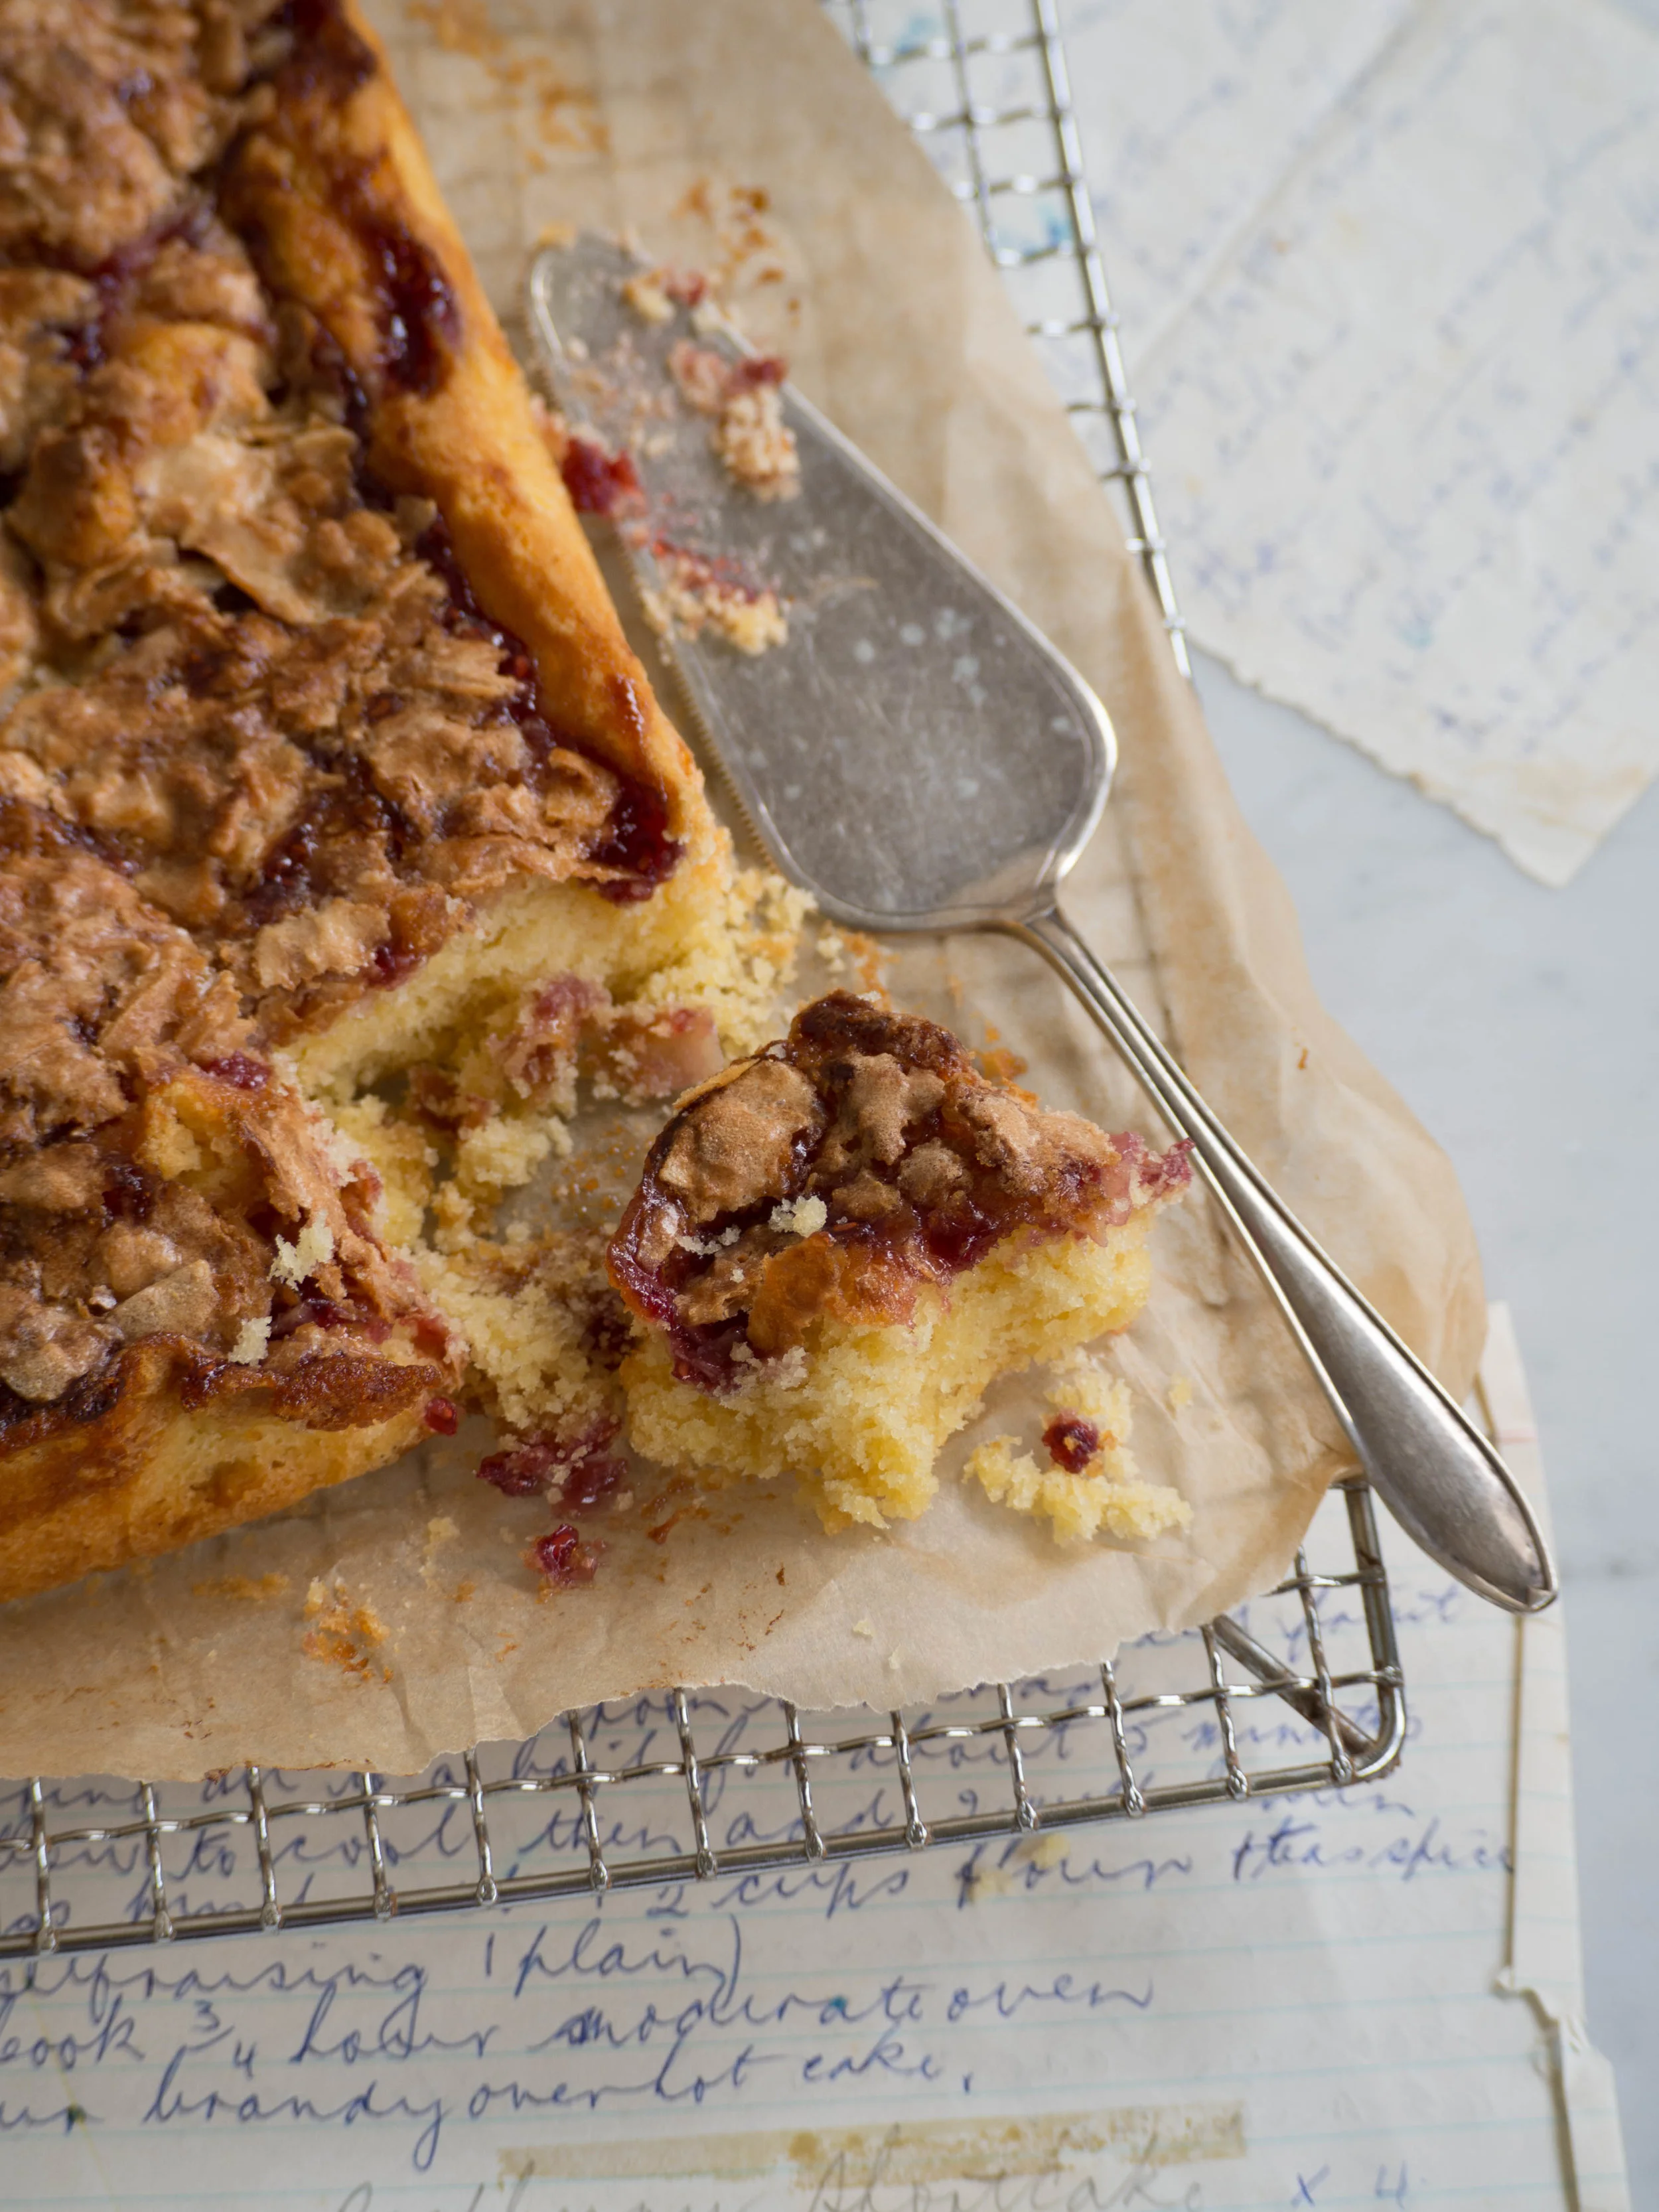
Then in a bowl, gently whisk the remaining egg with a fork, then add the coconut and remaining sugar. Mix well to ensure the ingredients are well incorporated. Gently spread the coconut mixture over the jam. The coconut mixture will only end up being a thin layer over the jam - it may look like there isn’t enough but don’t worry, it will work! 

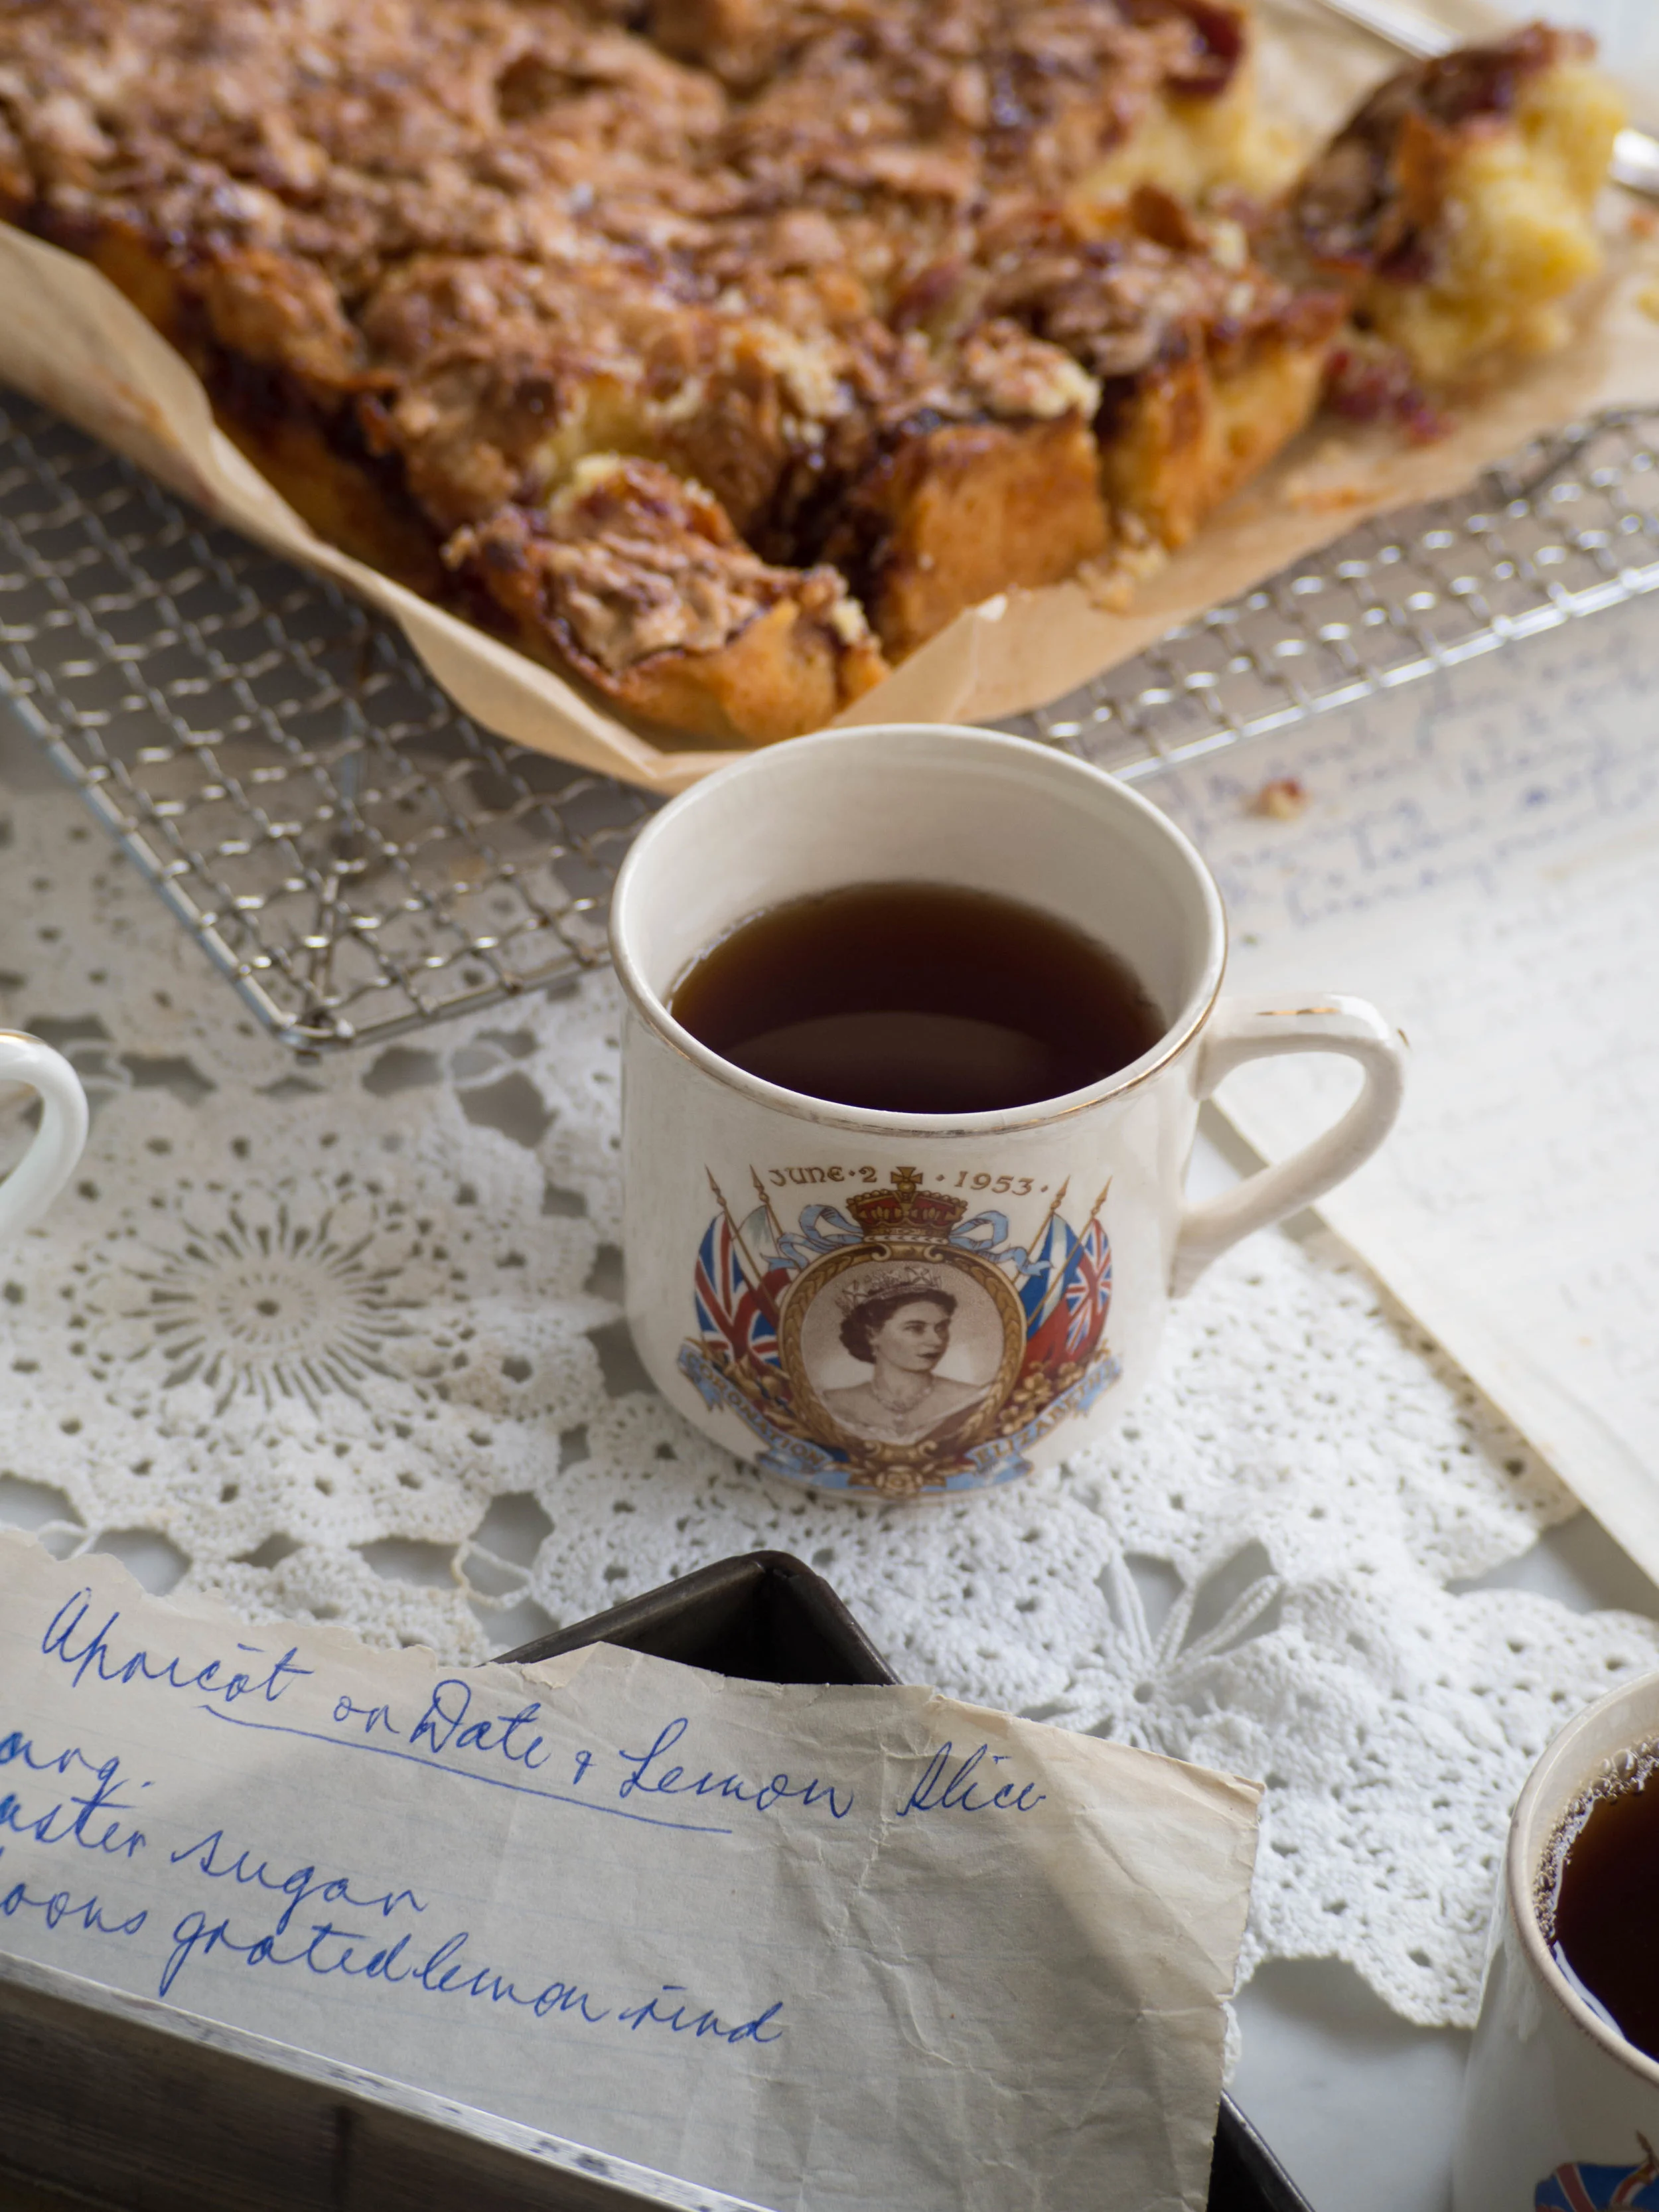
Bake for about 40 minutes, or until the top has turned golden brown and the cake underneath is cooked through (use a skewer to check). Remove from the oven and leave in the tin for about 5 minutes to start cooling, then transfer to a wire rack to cool completely. 

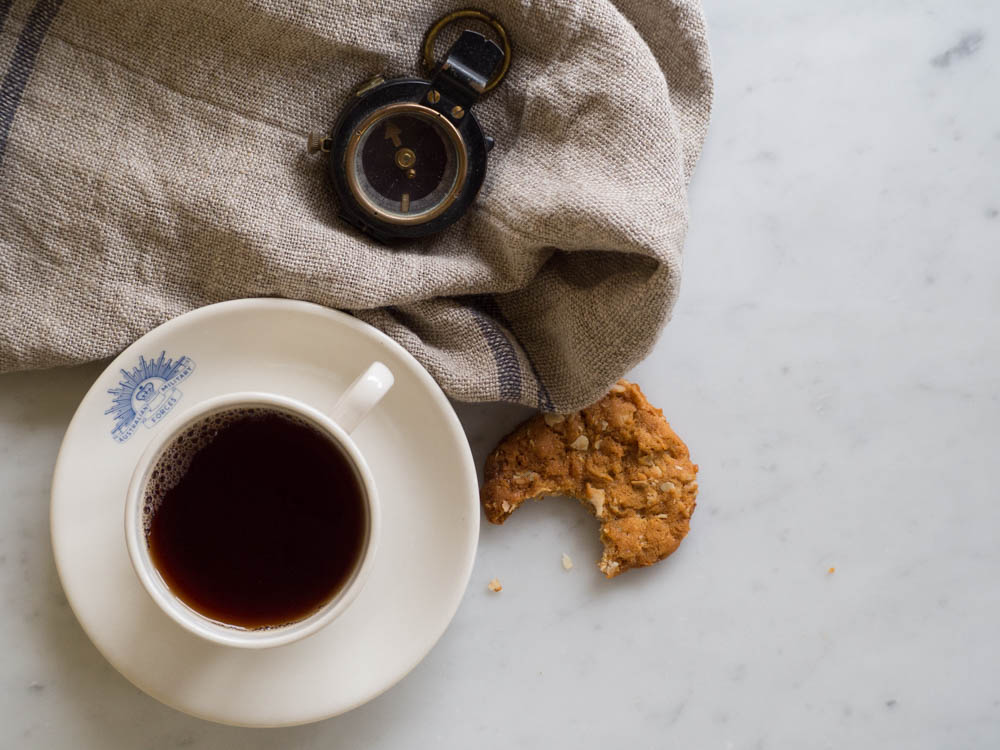
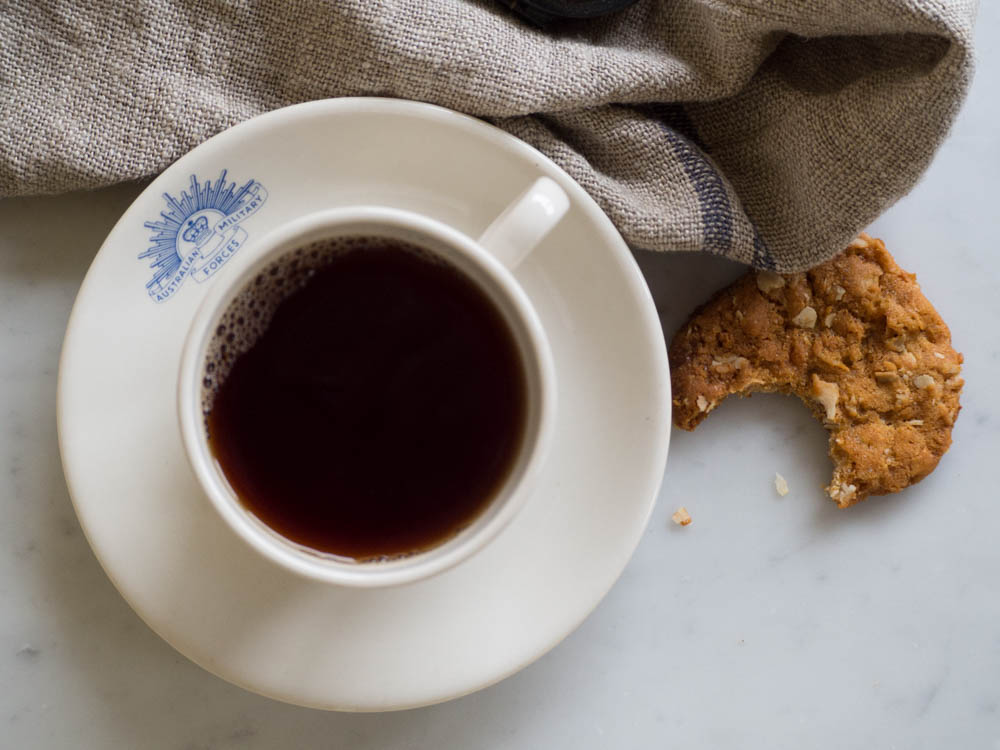
Cut into squares and serve with tea, and maybe some cream! 

The shortcake will keep in an airtight container for a few days.

In Cakes & Slices, Heirloom Recipes Tags heirloom baking, Berry Jam, Slices, shortcake, Grandma
Comment
Quince & Apple Crumble

Quince & Apple Crumble

Quince & Apple Crumble + How to Make Homemade Vanilla Ice Cream (Egg Free)

Kath September 25, 2016

This recipe is highly inspired by my Grandma’s cooking. Although I don’t think she ever poached quince or made her own ice cream, crumbles were definitely a staple dessert in her house. Rhubarb was the filling I remember most and as I have alluded to before, I would not try the Rhubarb Crumble’s my Grandma made. This was in protest of the fact that the dessert wasn’t Pavlova, which was, to me the only obvious choice for dessert at any time of year. 

My Grandma’s Pavlova was my absolute favourite (still evidenced by how many times it has appeared in some form on this blog!), and I remember feeling such bitter disappointment when I noticed it had not been my Grandma’s chosen dessert that evening. While the pink hue of the rhubarb should have drawn my interest as a child, I was firmly opposed to the idea of eating a vegetable in a dessert, even if it was served with ice cream. I would then moodily sit eating my plain vanilla ice cream, hoping our next visit would include my favourite Pavlova. 

Now being older and having made much more of an effort to try new foods, I have come around the to humble crumble. I could not however find amongst my Grandma’s hand written recipes, a recipe for any type of crumble. It is likely it was something she started making later in life, maybe seeing it made on one of the cooking shows on TV she liked watching, or amongst the recipes found in the newspaper. I did however stumble across a little section in her copy of ‘Delia Smith’s Complete Cookery Course’ on crumbles and I guess it is also possible the recipe she used or was inspired by came from there. The book is ‘a new edition for the 1990s’, which would fit in well with my thought that she made many more crumbles later in life. It also fits in rather perfectly with my childhood memory of boycotting her rhubarb crumble. 

My Grandma’s copy of Delia’s book, looks somewhat used, maybe just a little less so than her handwritten notebooks and recipe books from the 1950s. A few pages are marked with scraps of paper with handwritten recipes on them (including a lemon sponge and oatmeal cookies), and a couple of cut outs from the food section of a newspaper (one recipe and one reader cooking tip). There is also a bookmark from the Stroke Foundation holding the place between Spanish Pork with Olives and Ossobuco in the ‘Meat: Casseroles and Braised Dishes’ section. Such a find is slightly bittersweet considering how my Grandma’s life came to an end, but also a reminder of her understanding of her vulnerabilities and attention to preventing them.

Finding little notes, recipes and newspaper cut outs in my Grandma’s cookbooks give me little snapshots and reminders of her every time, and maybe one day in another book I’ll find a scrap of paper with a recipe for her crumble. 

For my crumble recipe I have used a combination of fruit which is slightly more Winter-y, however I thought equally as delicious and satisfying during any season. If you have some poached quinces definitely use them, they work so well with the crumble topping. If you wish to substitute the quinces for something else, I would suggest rhubarb (of course!), either sliced finely with a mandolin or lightly softened on the stove first - just keep the quantity of rhubarb about the same as the quinces or so it fits nicely into the dish you are using. If making, the ice cream should be made earlier in the day or the night before so it has ample time to freeze. It is quite a simple ice cream recipe, requiring no eggs just some sugar, milk, cream and vanilla. I would suggest doubling the ice cream recipe if you wish to feed more than 5 or so people. 

Homemade (Easy) Vanilla Ice Cream

Homemade (Easy) Vanilla Ice Cream

Homemade Vanilla Ice Cream (Egg Free)

Ingredients: 

165ml full cream milk 

6 tbsp white sugar

250ml pouring cream 

1 tsp vanilla extract 

2 tbsp vanilla bean paste 


Method: 

Whisk the milk and sugar together until the sugar has dissolved and the milk has become frothy. Then add the cream and both vanillas and whisk until combined. 

Transfer mixture into the bowl of an ice cream machine, and process according to machine instructions. I found the churning process took about 10-15 minutes. Once ready, transfer ice cream into a freezer safe container and freeze for at least 2 or 3 hours. 

Quince and Apple Crumble

Ingredients: 

6 poached quince, approx. 930g 

2 Pink Lady Apples, approx. 250g

2 very small pears, approx. 140g 

2 tbsp quince poaching liquid

2 tsp vanilla bean paste

75g unsalted butter, softened and cubed

110g plain flour 

110g oats (not instant) 

110g brown sugar 

1/2 tsp ground cinnamon 


Method: 

Pre-heat oven to 180 degrees Celsius. 

Remove the poached quinces from their poaching liquid, reserving the liquid. Roughly chop the quinces and place into a large mixing bowl. 

Very finely slice the apples and pears (I used a mandolin), discarding the cores. Place in the bowl with the quince and gently mix together. Add the vanilla bean paste and the quince poaching liquid and mix again. Then tip the mixture into a 2-2.5L capacity pie/gratin/baking dish. Spread the mixture out so it sits in the dish evenly. 

To make the crumble topping place the flour, oats and cinnamon into a mixing bowl then add the butter. Rub the butter into the flour and oats until the mixture starts to look crumbly. Add the sugar and mix well. 

Spoon the crumble mixture over the fruit ensuring it is evenly dispersed. The thickness of your crumble topping will depend on the size and depth of your dish. I used a fairly deep dish so I ended up with a nice thick crumble topping. 

Cook crumble for 30-40 minutes, or until the top has turned lightly golden brown. 

Serve warm with the vanilla ice cream. 

References: ‘Lomelino’s Ice Cream’ by Linda Lomelino (Roost Books, 2015), p.13: ‘Delia Smith’s Complete Cookery Course’ by Delia Smith (BBC Books, 1998), pp. 594-5.

In Other Desserts, Heirloom Recipes, Ice Cream Tags Crumble, Quince, Apple, Grandma, Ice Cream, Vanilla, Delia Smith, heirloom baking, Dessert
Comment

ANZAC Biscuits Revisited

Kath April 24, 2015

I have posted a fairly similar version of this recipe before. It is one of my favourite recipes from my Grandma’s collection, and often I adapt it to suit what types of ingredients we have or to try some new ingredient I have found. 

More recently, I wanted to play with the ingredients to alter to final texture of the biscuit. The type of sugar you use will determine whether these ANZAC biscuits are crisp and crunchy or softer and chewier. I like to try gain some kind of middle ground between these two opposites, by using a combination of caster sugar and raw sugar. If you like a more chewy biscuit use a combination of caster and brown sugar. 

I also found coconut chips in a deli a while back, and they are great in this recipe. The bigger chunks of coconut give the biscuits a litter more substance and highlight the coconut amongst all the other ingredients just that much more. Any coconut will do, but it’s nice to try something different every once in a while! 

I am posting this recipe again, not just because of my adventures in experimenting with it. It is of course ANZAC Day tomorrow, and a very significant one at that. I’ve said before that the main way I tend to mark these kind of significant holidays or events is with food. Not to lessen the significance of the occasion, but to mark it in my own way. I’m not one, especially on this occasion, for immersing myself in it all too much. Being a modern history major and the relative of some who have served and are currently serving, often makes the connection of the day a little too overwhelming for me. 

So I bake, look through family photos and reflect on the lives of those to whom this Day has real significance. 

Ingredients: 

1 cup rolled oats

1 cup plain flour

1/2 cup caster sugar

1/2 cup raw sugar

3/4 cup coconut chips

1 tbsp golden syrup

110 g unsalted butter

1 tsp bi-carb soda

2 tbsp warm water 


Method:

Pre-heat the oven to 150 degrees Celsius and line three large baking trays with baking paper. 

Mix the oats, flour, sugar and coconut in a large bowl. Melt the golden syrup and butter on a medium-low heat, then mix the bi-carb soda and warm water together and add to the butter. The butter mixture should froth a little. 

Take the butter mixture off the heat and add to the dry ingredients and mix together. 

Place teaspoon sized balls of the mixture on the trays, leaving room for the biscuits to spread. Bake for 10 - 20 minutes, or until golden. 

Makes approx. 32 biscuits.

In Heirloom Recipes, Biscuits/Cookies Tags ANZAC Day, ANZAC, Australia, Biscuits, ANZAC Biscuits, heirloom baking, Grandma
Comment
P6240806_Fotor.jpg

My Grandma's Pavlova (Gluten Free)

Kath October 11, 2014

In my last post I talked about the concepts of fressing and heirloom baking. This recipe is my ultimate recipe from my heirloom collection and I think fits very nicely into the idea of fressing as it is so enjoyable to eat. This was the dish I got excited about every time we went to my Grandparent’s for dinner. I would be desperately disappointed if it wasn’t the dessert of choice for that evening, and would ask my Grandma in a sad voice ‘but why didn’t you make a pavlova?’ as if the world had now come to an end. 

If I was in luck and pavlova was made for dessert, before (or sometimes during) dinner I would reach up onto the bench and pick off little bits of the meringue that had formed little peaks on the edges of the pavlova. I always remember being served my piece of pavlova on its own or only with ice cream. There probably was other fruit to go with it, I was just to picky to want it sitting on my piece. 

This recipe makes a crisp meringue and despite my childhood fussiness, does go well with cream and fruit. I have left this out of the recipe, purely because I wanted to make it as I remembered it. However, feel free to top the pavlova with some freshly whipped cream and fruit (such as passionfruit, raspberries, strawberries, banana, blueberries etc), just before serving. 

Ingredients: 

x4 egg whites 

250g caster sugar 

1 tsp vinegar

1/2 tsp vanilla extract 

20 g cornflour 


Method: 

Pre-heat oven to 200 degrees Celsius. Line a large baking tray with baking paper. 

Whisk the egg whites with a mixer on a medium to high speed, and gradually add the sugar. Whisk until the sugar has dissolved and the mixture is thick, glossy and holds its peak. This process should take around 5 minutes. Whisk in the vanilla and the vinegar once this process is almost complete. 

Once the mixture is holding its peak and the sugar has dissolved, sift in the cornflour and gently fold in with a metal spoon or a spatula. 

Gently spoon the mixture in to the centre the prepared baking tray and smooth out until you have a circular shape. Keep the edges of the circle high and don’t smooth out too far. The circle should be around 24-26cm in diameter. It isn’t necessary to be overly precise, you just don’t want a really flat pavlova! 

Turn the oven down to 125 degrees Celsius, and bake the pavlova for 1 hour 30 minutes, no longer. Once the cooking time has elapsed, turn the oven off and leave the pavlova in the oven to cool. You can remove the pavlova immediately but be prepared for it to crack and sink a little (this will also depend on the weather, Summer may be the ultimate time to eat a pavlova, however the humidity does not do baking it any favours!). 


Originally Posted July 16, 2014.


In Heirloom Recipes, Other Desserts Tags Pavlova, Grandma, Recipe, heirloom baking, fressing
Comment
Custard Chiffon Cake

Custard Chiffon Cake

The Monday Morning Cooking Club @ BakeClub and a Custard Chiffon Cake

Kath October 11, 2014

fressing [Yiddish], eating for the pure joy, obsession and love of it. 

Custard Chiffon Cake

Custard Chiffon Cake

When I think about the meaning of fressing, I feel I have been practising this concept for much of my life. I believe food is something that should always be enjoyed. Food and the recipes that accompany it play a large role in our lives. Apart from being sustenance, food can bring people together, be the centre of a celebration, be a comfort, and become an heirloom.

The concept of fressing and the importance of food is strikingly clear when one looks at the two books produced by The Monday Morning Cooking Club. Both books provide wonderful recipes and focus on the people behind the food and the recipes. It is obvious that food and cooking has and continues to play an important role in the lives of all who have been involved in these books. Through the act of sharing these recipes we are shown how food has brought joy, been loved and fuelled obsessions.

The six women who make up The Monday Morning Cooking Club have focused on the idea of recipes being heirlooms, and have a strong desire to preserve recipes that would otherwise be lost if not written down. Through the act of sharing these many recipes, we have been allowed into the lives and kitchens of the curators and contributors of these books. This in turn, preserves these family recipes, and places these cherished family memories into a collective heirloom in which anyone can share. 

At a recent BakeClub event, I was able to see three of The Monday Morning Cooking Club in action. Baking recipes from their books, but also speaking about The Monday Morning Cooking Club process, evolution and the idea of ‘heirloom baking’. Despite the original book idea being around fundraising for charity, the project had delved into preserving recipes from their community. The concept of recipes as heirlooms is firmly entrenched in The Monday Morning Cooking Club collective and one can only feel privileged that so many families personal food memories and heirlooms, have been shared. 

Cakes & Baked Goods from the Monday Morning Cooking Club event at BakeClub

Cakes & Baked Goods from the Monday Morning Cooking Club event at BakeClub

Cakes & Baked Goods prepared by the Monday Morning Cooking Club. BakeClub event held at the Flash in the Pan Studio. 

Cakes & Baked Goods prepared by the Monday Morning Cooking Club. BakeClub event held at the Flash in the Pan Studio. 

After attending the Monday Morning Cooking Club event at Bake Club, and tasting their amazing food, I decided to attempt the Custard Chiffon. When I first tasted it, it was so light, spongey and sweet. It was pure joy. To me, it also exemplified the notions of fressing and heirloom baking and I hope they don’t mind me sharing this wonderful recipe here.

For this recipe you will need an angel cake tin with a removable base. It is also a great idea to find a bottle whose neck will fit into the centre of the tin. You will need this to invert the cake on after it has finished baking. The whole process might seem a bit strange and involved, however the effort put into this cake really pays off.

Custard Chiffon Cake

Custard Chiffon Cake

Ingredients: 

175 g self-raising flour

35 g custard powder

1 tsp cream of tartar

6 eggs (large), separated

345 g caster sugar

1/2 tsp vanilla extract

170 ml warm water

80 ml vegetable oil 


Method:

Pre-heat oven to 180 degrees Celsius. Have your angel cake tin ready and nearby but do not grease it. The tin should not be a non-stick tin as the cake needs to cling to the sides of the tin as it cooks. 

In a small-medium bowl, sift the flour, custard powder and cream of tartar three times. 

Using an electric mixer, beat the egg yolks with 1 cup of the total sugar, until pale and creamy. If you have a free standing mixer with a paddle attachment, use this attachment for the egg yolks and save the whisk for later. Once pale and creamy, add the vanilla. Place the oil and water in a jug and along with the sifted flour mixture, add to the yolk mixture while the mixer is beating on a low speed. Beat only until just combined. 

Using a separate bowl, whisk the egg whites using an electric mixer until soft peaks have formed. Add the remaining sugar, and whisk until the peaks are stiff (but not dry). 

Gently fold the egg yolk mixture into the egg whites with a metal spoon. Continue to gently fold until the mixtures are just combined. Do not over mix. 

Transfer the mixture to the cake tin and bake for 1 hour, or until a skewer inserted comes out clean. 

Immediately upon removing the cake from the oven you must invert the cake (stand it upside down). Using the hollow centre of the cake tin, place the cake upside down on the neck of a bottle and leave to cool. This process will stop the cake collapsing. This is also the reason for not greasing the tin, as you don’t want the cake to slide out at this stage. If the cake is under baked, it may also slide out at this stage! So be sure it is fully cooked before removing from the oven. 

Once the cake is completely cool, use a small serrated knife to cut the cake out of the tin. Start with the outer sides then lift the cake out using the bottom of the pan. Then carefully cut the cake off the base of the tin. 

To serve, sprinkle with icing sugar if desired.  

Custard Chiffon Cake with Swiss Meringue Buttercream & Dried Edible Flowers

Custard Chiffon Cake with Swiss Meringue Buttercream & Dried Edible Flowers

Original Recipe from ‘The Monday Morning Cooking Club’ by Merelyn Frank Chalmers, Natanya Eskin, Lauren Fink, Lisa Goldberg, Paula Horwitz and Jacqui Israel, p.35 (2011).


Originally Posted July 5, 2014.

In Cakes & Slices, Events Tags Monday Morning Cooking Club, BakeClub, fressing, heirloom baking, Custard Chiffon, Chiffon, Cake
2 Comments

recipes

  • Biscuits/Cookies 39
  • Breads Etc. 9
  • Breakfast 7
  • Cakes & Slices 67
  • Confectionary 5
  • Drinks 6
  • Events 14
  • Food Photography Tips 3
  • From The Mailing List 24
  • Heirloom Recipes 12
  • Holidays 44
  • Ice Cream 9
  • Jams Preserves & Spreads 9
  • Muffins 4
  • Off the Shelf 47
  • Other Desserts 25
  • Savoury Dishes/Meals 15
  • Scones 4
  • Tarts & Pastry 9
  • Travel 13

Sign up to Friday Food Chat with Kath, a weekly newsletter for more food, baking, cookbook chat and more!

Sign Up Here!
instagram-unauth pinterest facebook url

Website Accessibility: To enable text to speech function on the blog, click the sound button to the right of each blog post.

All images & content are the property of Kathryn Vincent, unless stated otherwise. Please do not use without permission.

Kulinary Adventures of Kath

Food Photography, Recipes & Baking

instagram-unauth pinterest facebook url